Carving the wax mold
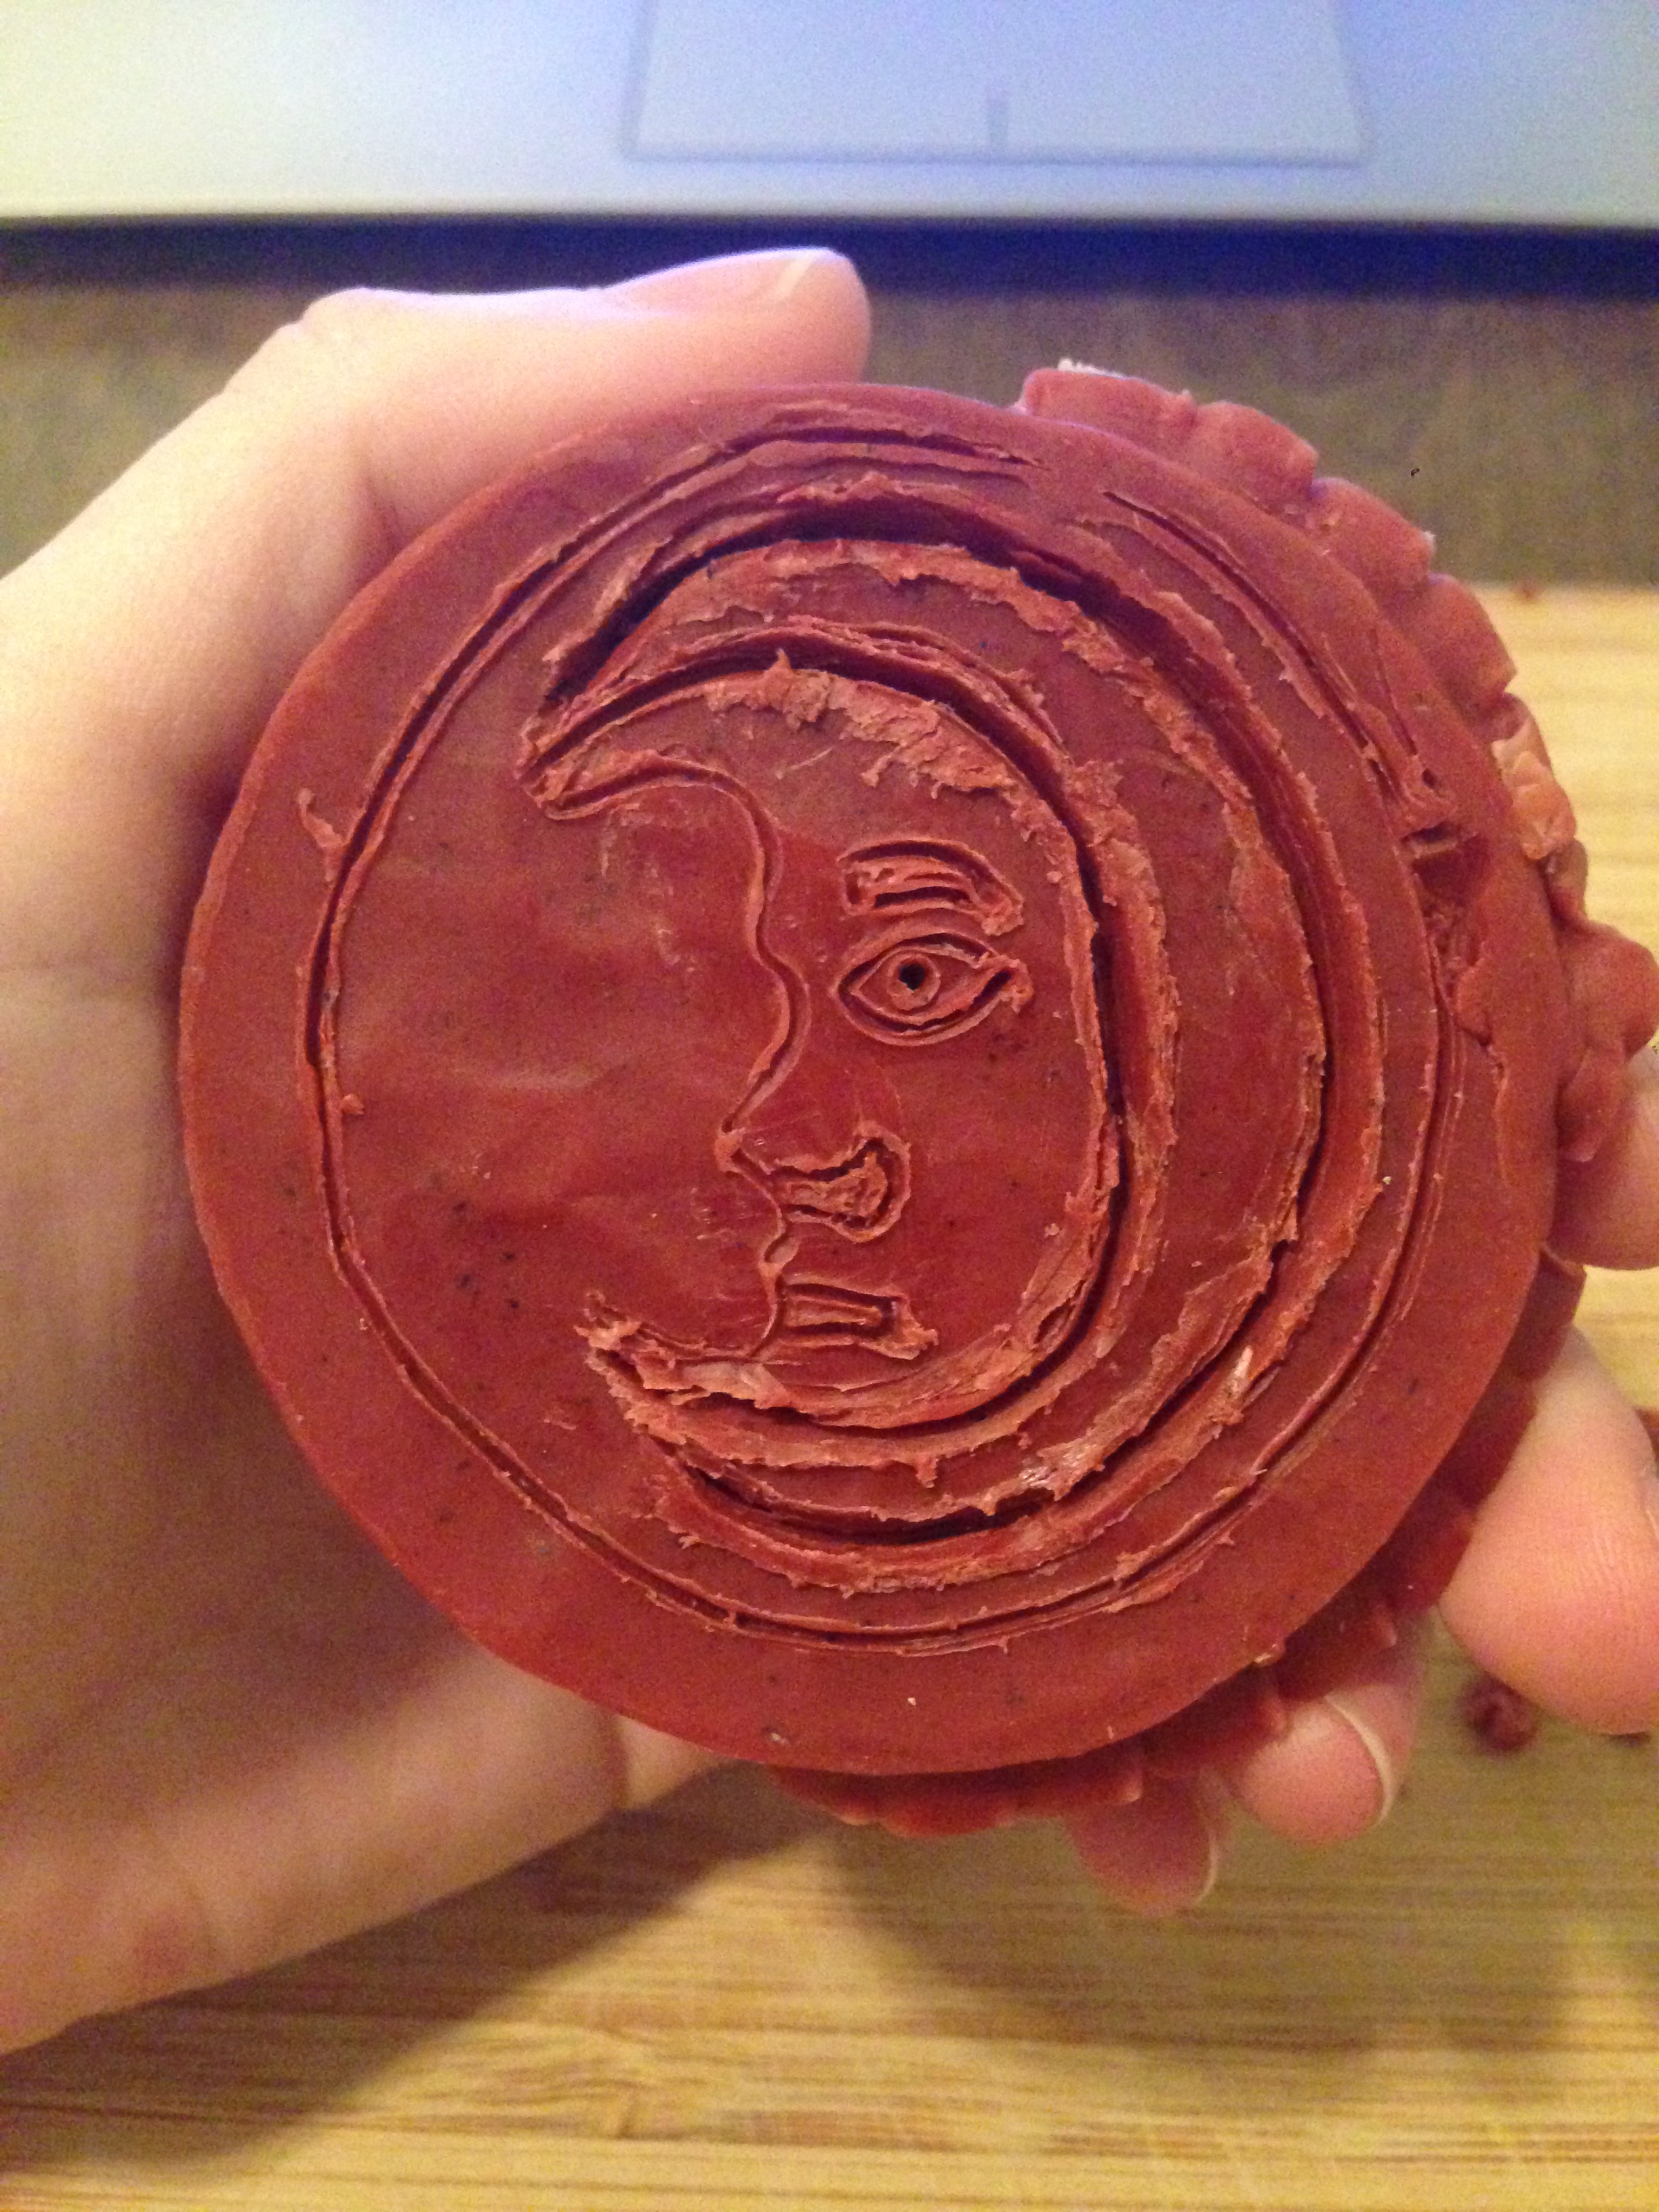
- Initially, I prepared a drawing of what I thought my relief should look like to create a 1560s/70s Dutch Geuzen medal. My drawing specified which parts of the carving would have to be raised and/or lowered for the shape to be cast in relief.
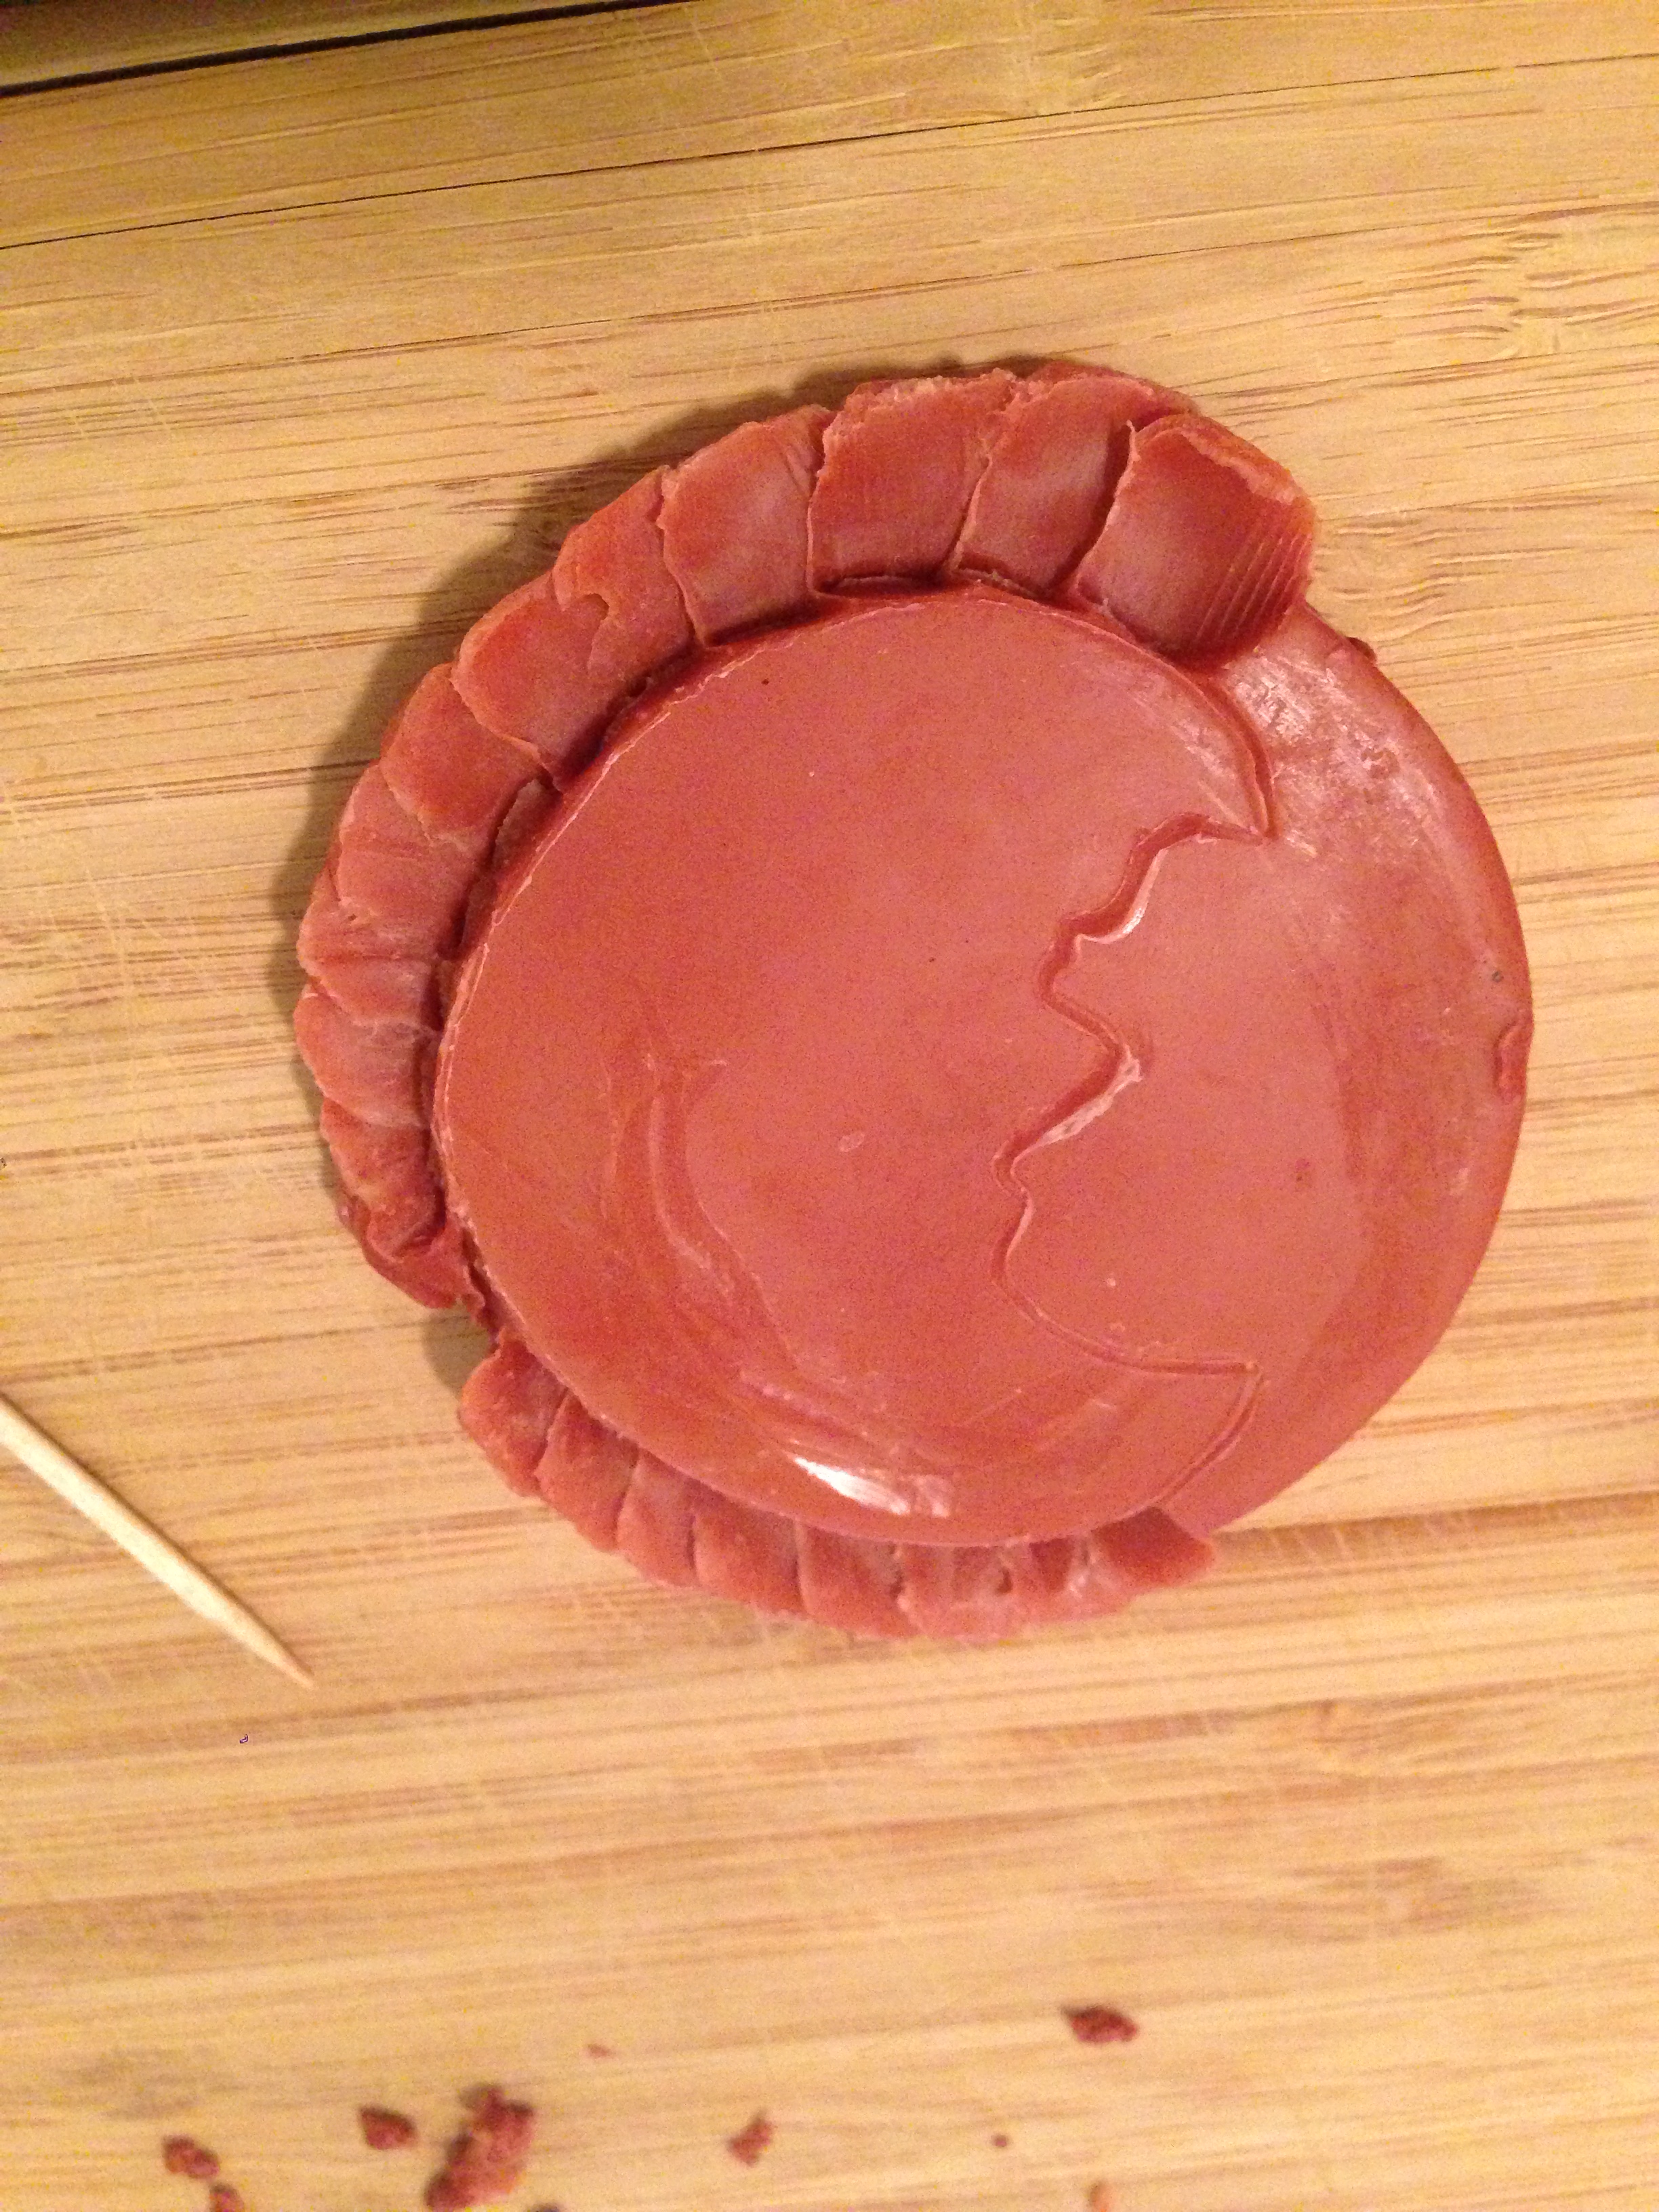
- My initial run with the red wax was rather challenging; the (sharp) knives I was trying to use made little impact on the wax, and moving any of it at all was hard work. I suspect my working environment was not warm enough for the wax to be very malleable; I was working at room temperature, in my kitchen, in the evening.
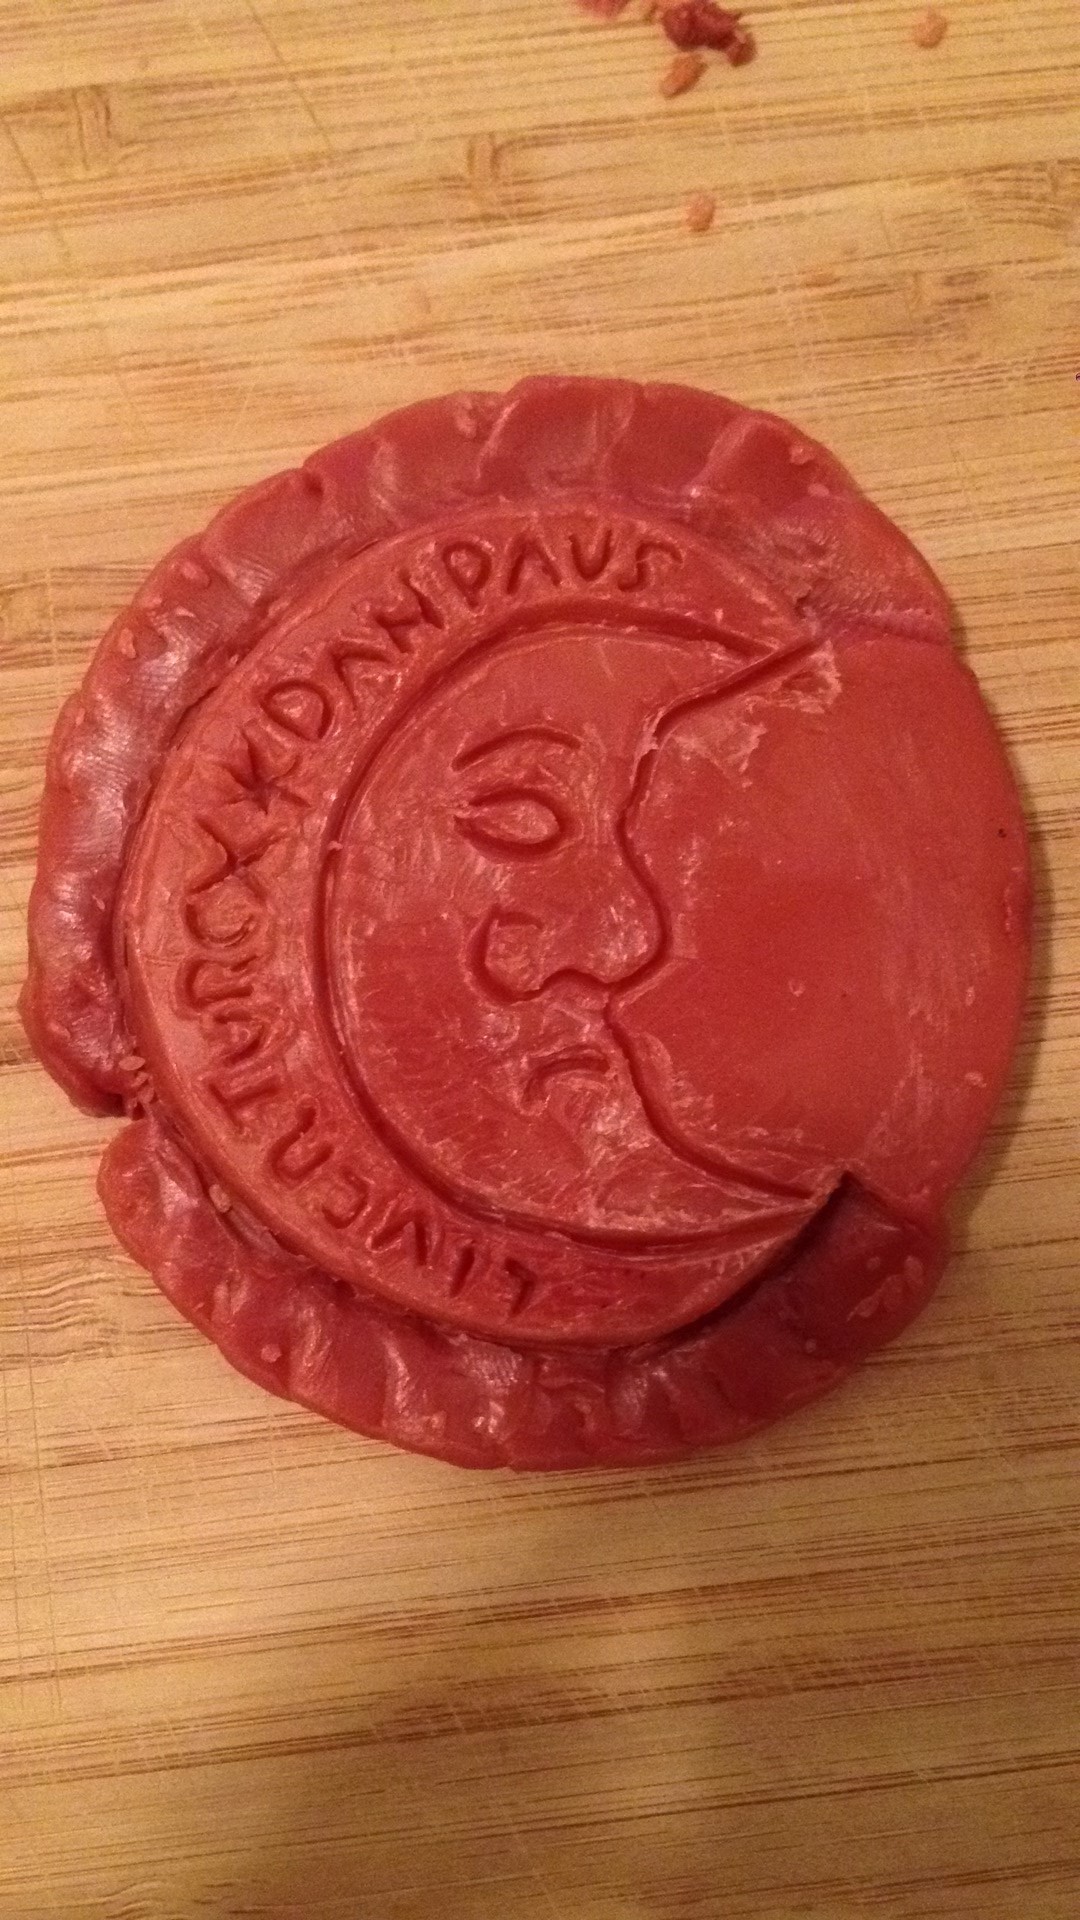
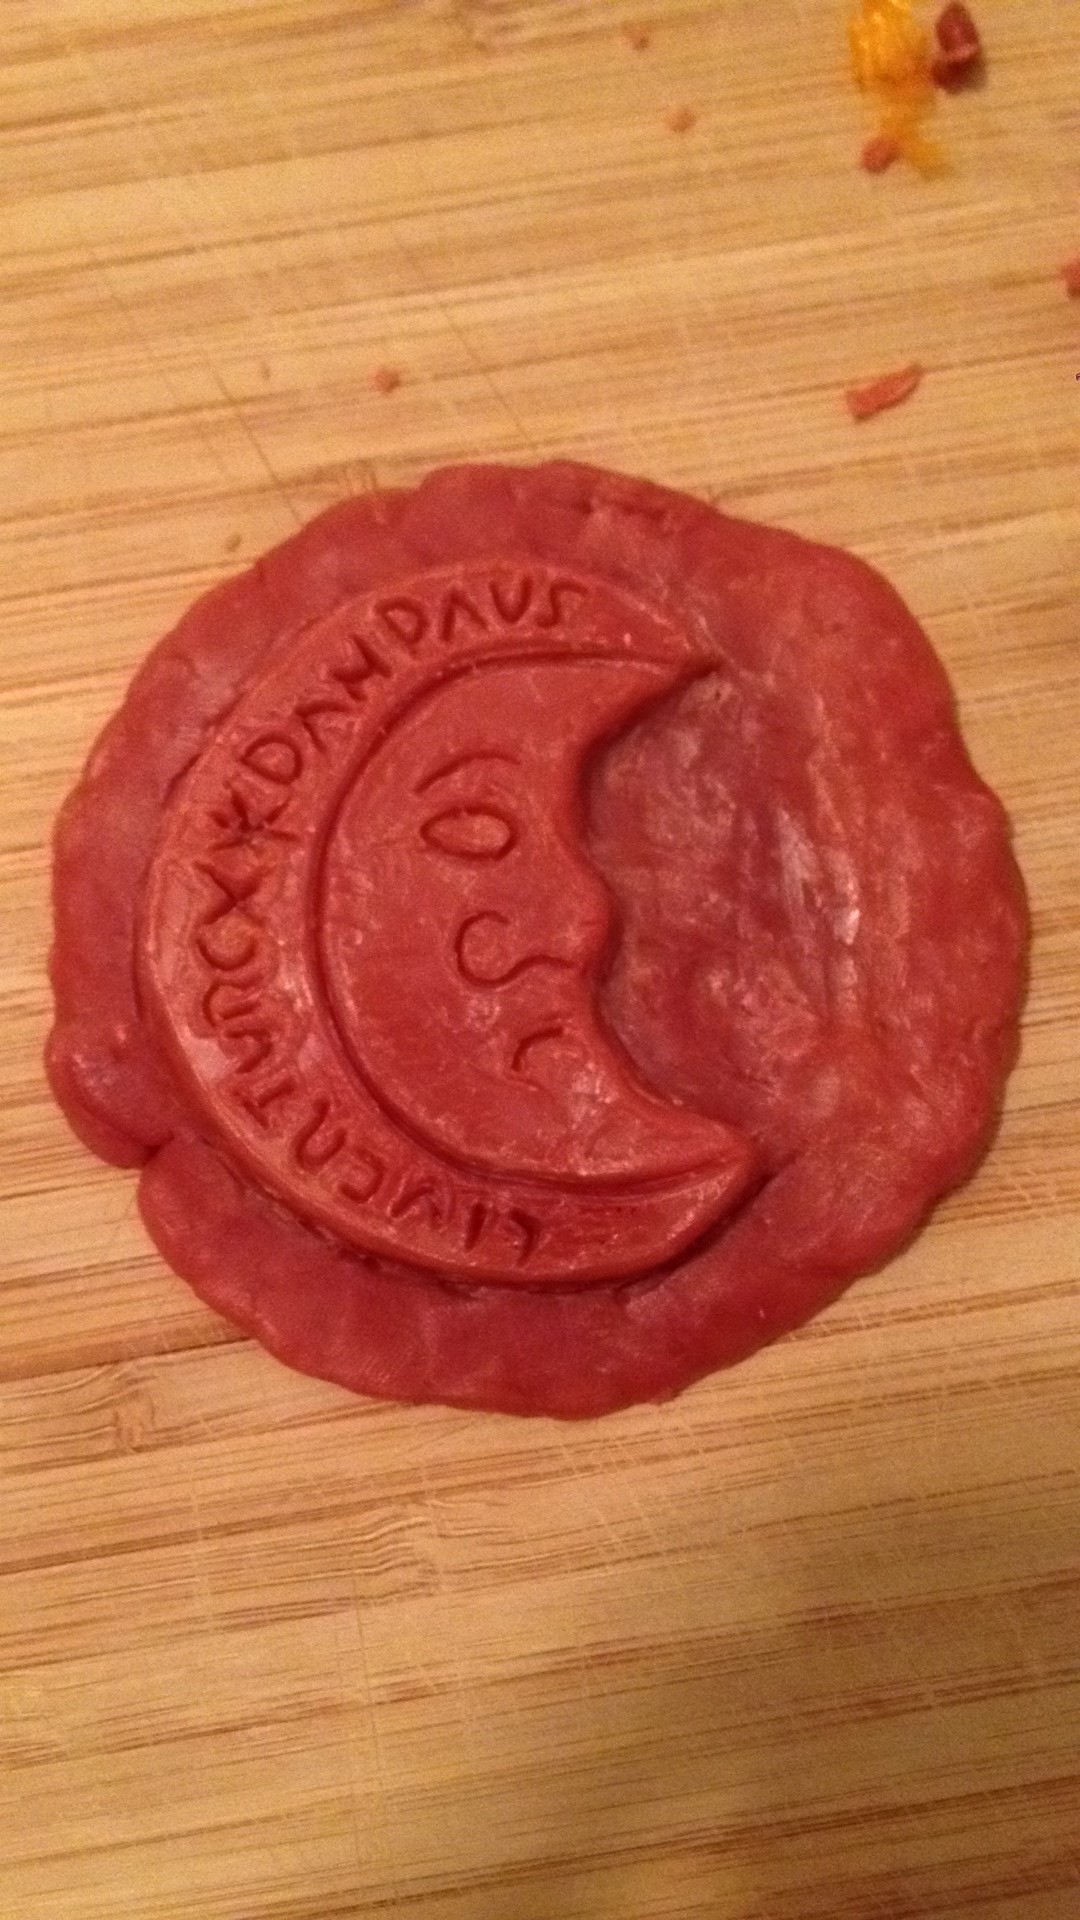
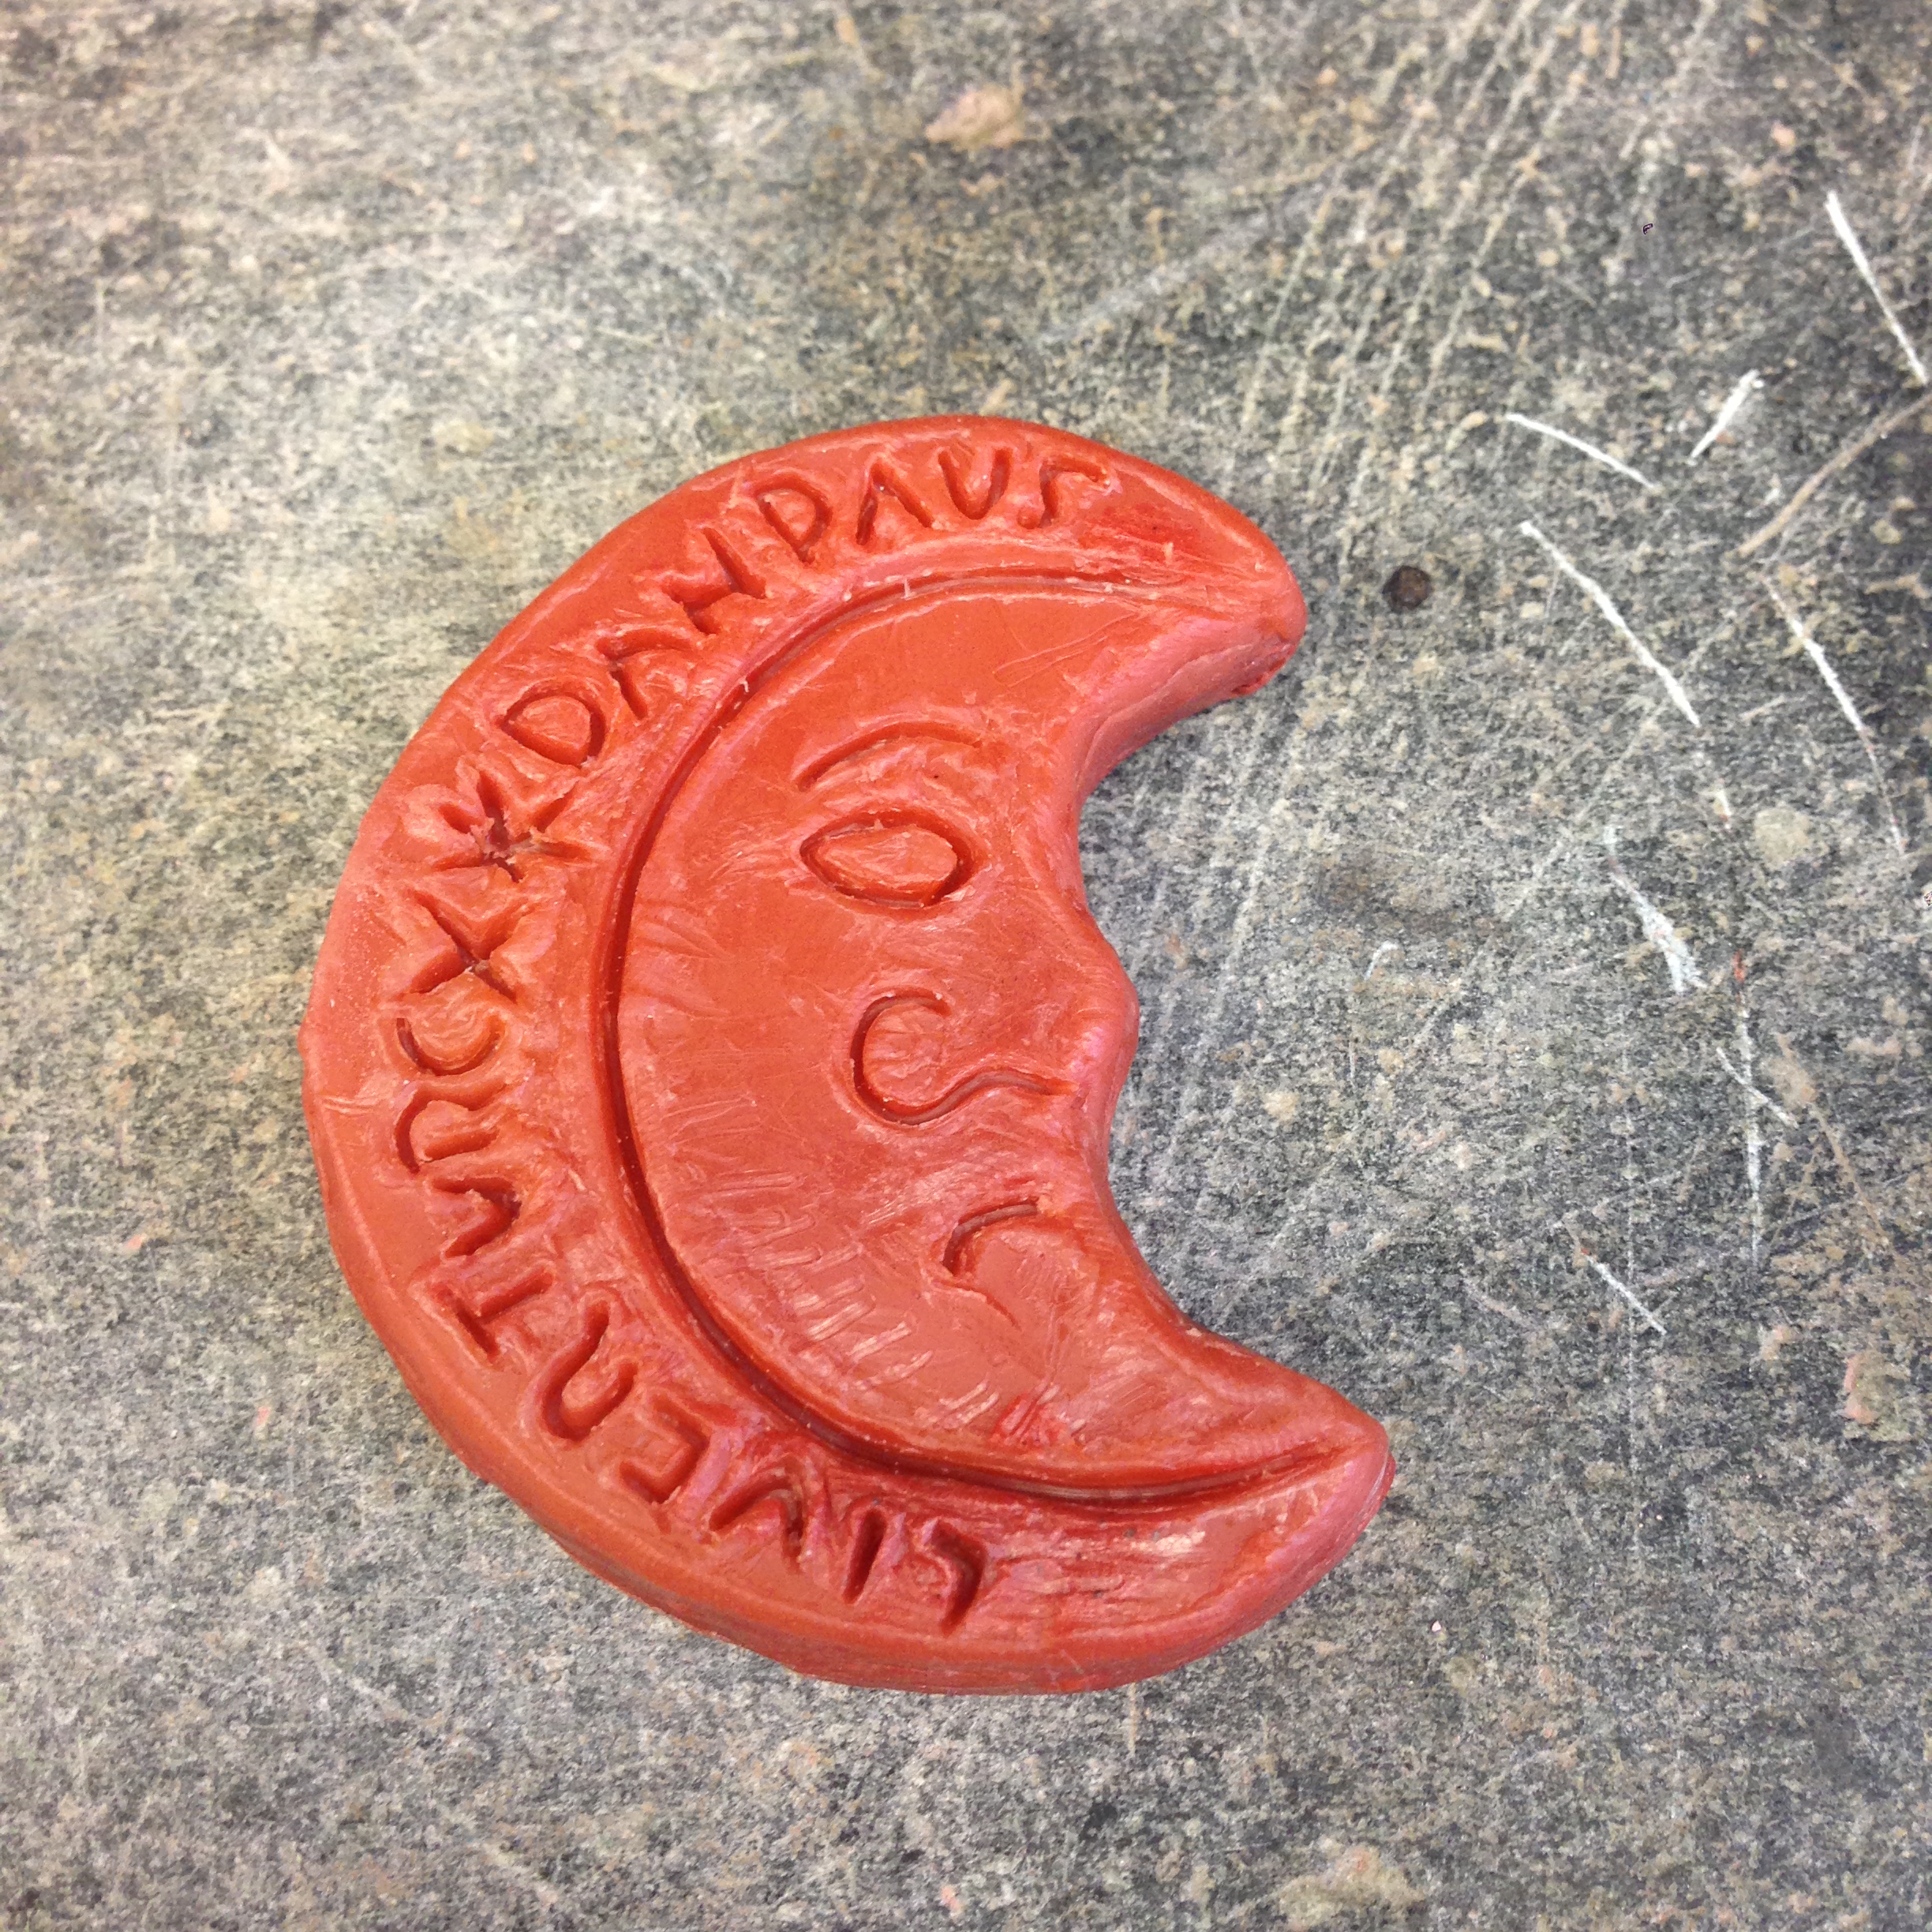
- After switching to using a toothpick as a carving tool, I found the carving to be much easier. However, I also discovered that the complicated plan I had devised to carve the medal as accurately as possible compared to the original was beyond both my capabilities and the size and accommodation of my particular piece of wax. I therefore simplified the design to take out most of the extra lines, and decided that my carved letters would be recessed rather than in relief.
- I carved my second attempt into the other side of the wax roundel. The simplified shape helped greatly, as did switching to using a toothpick, to move around and carve away various pieces of wax, though carving the letters still proved time-consuming and painstaking. Once I had completed the shape of the moon itself, I used a table knife to drive the remaining wax away from the edges of the moon, so that the entire shape stood out in relief.

Preparation for plaster casting
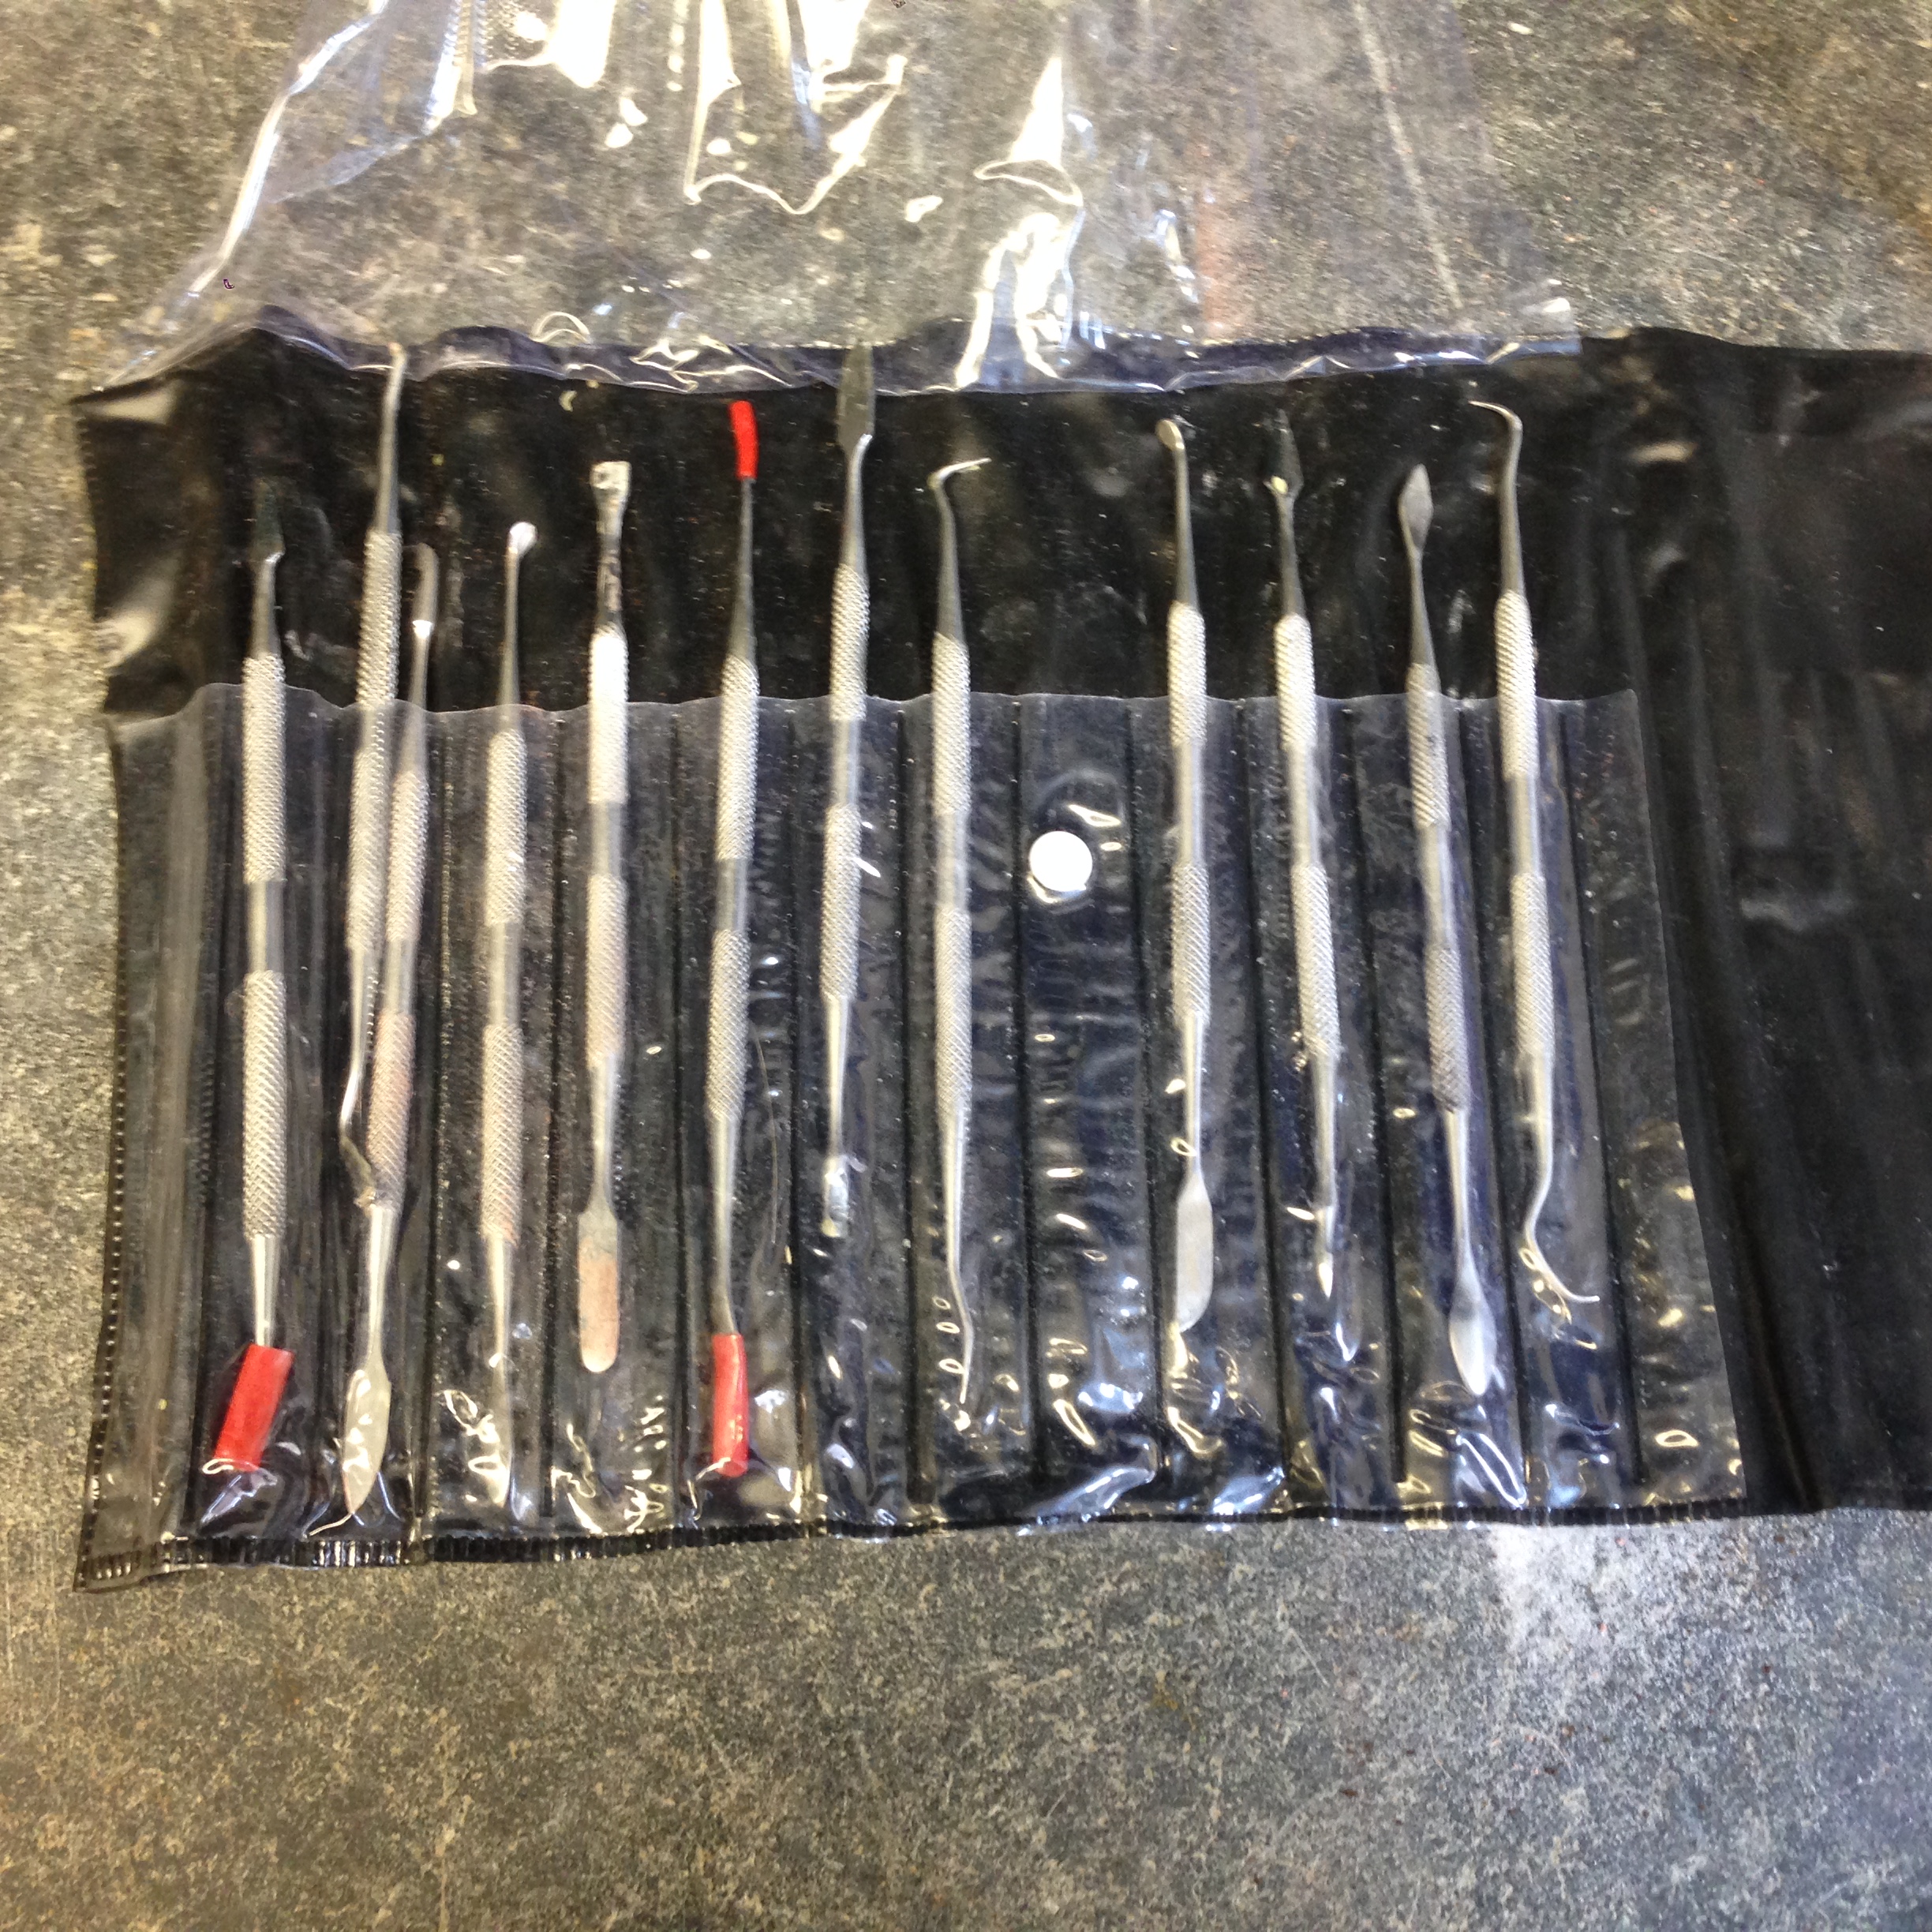
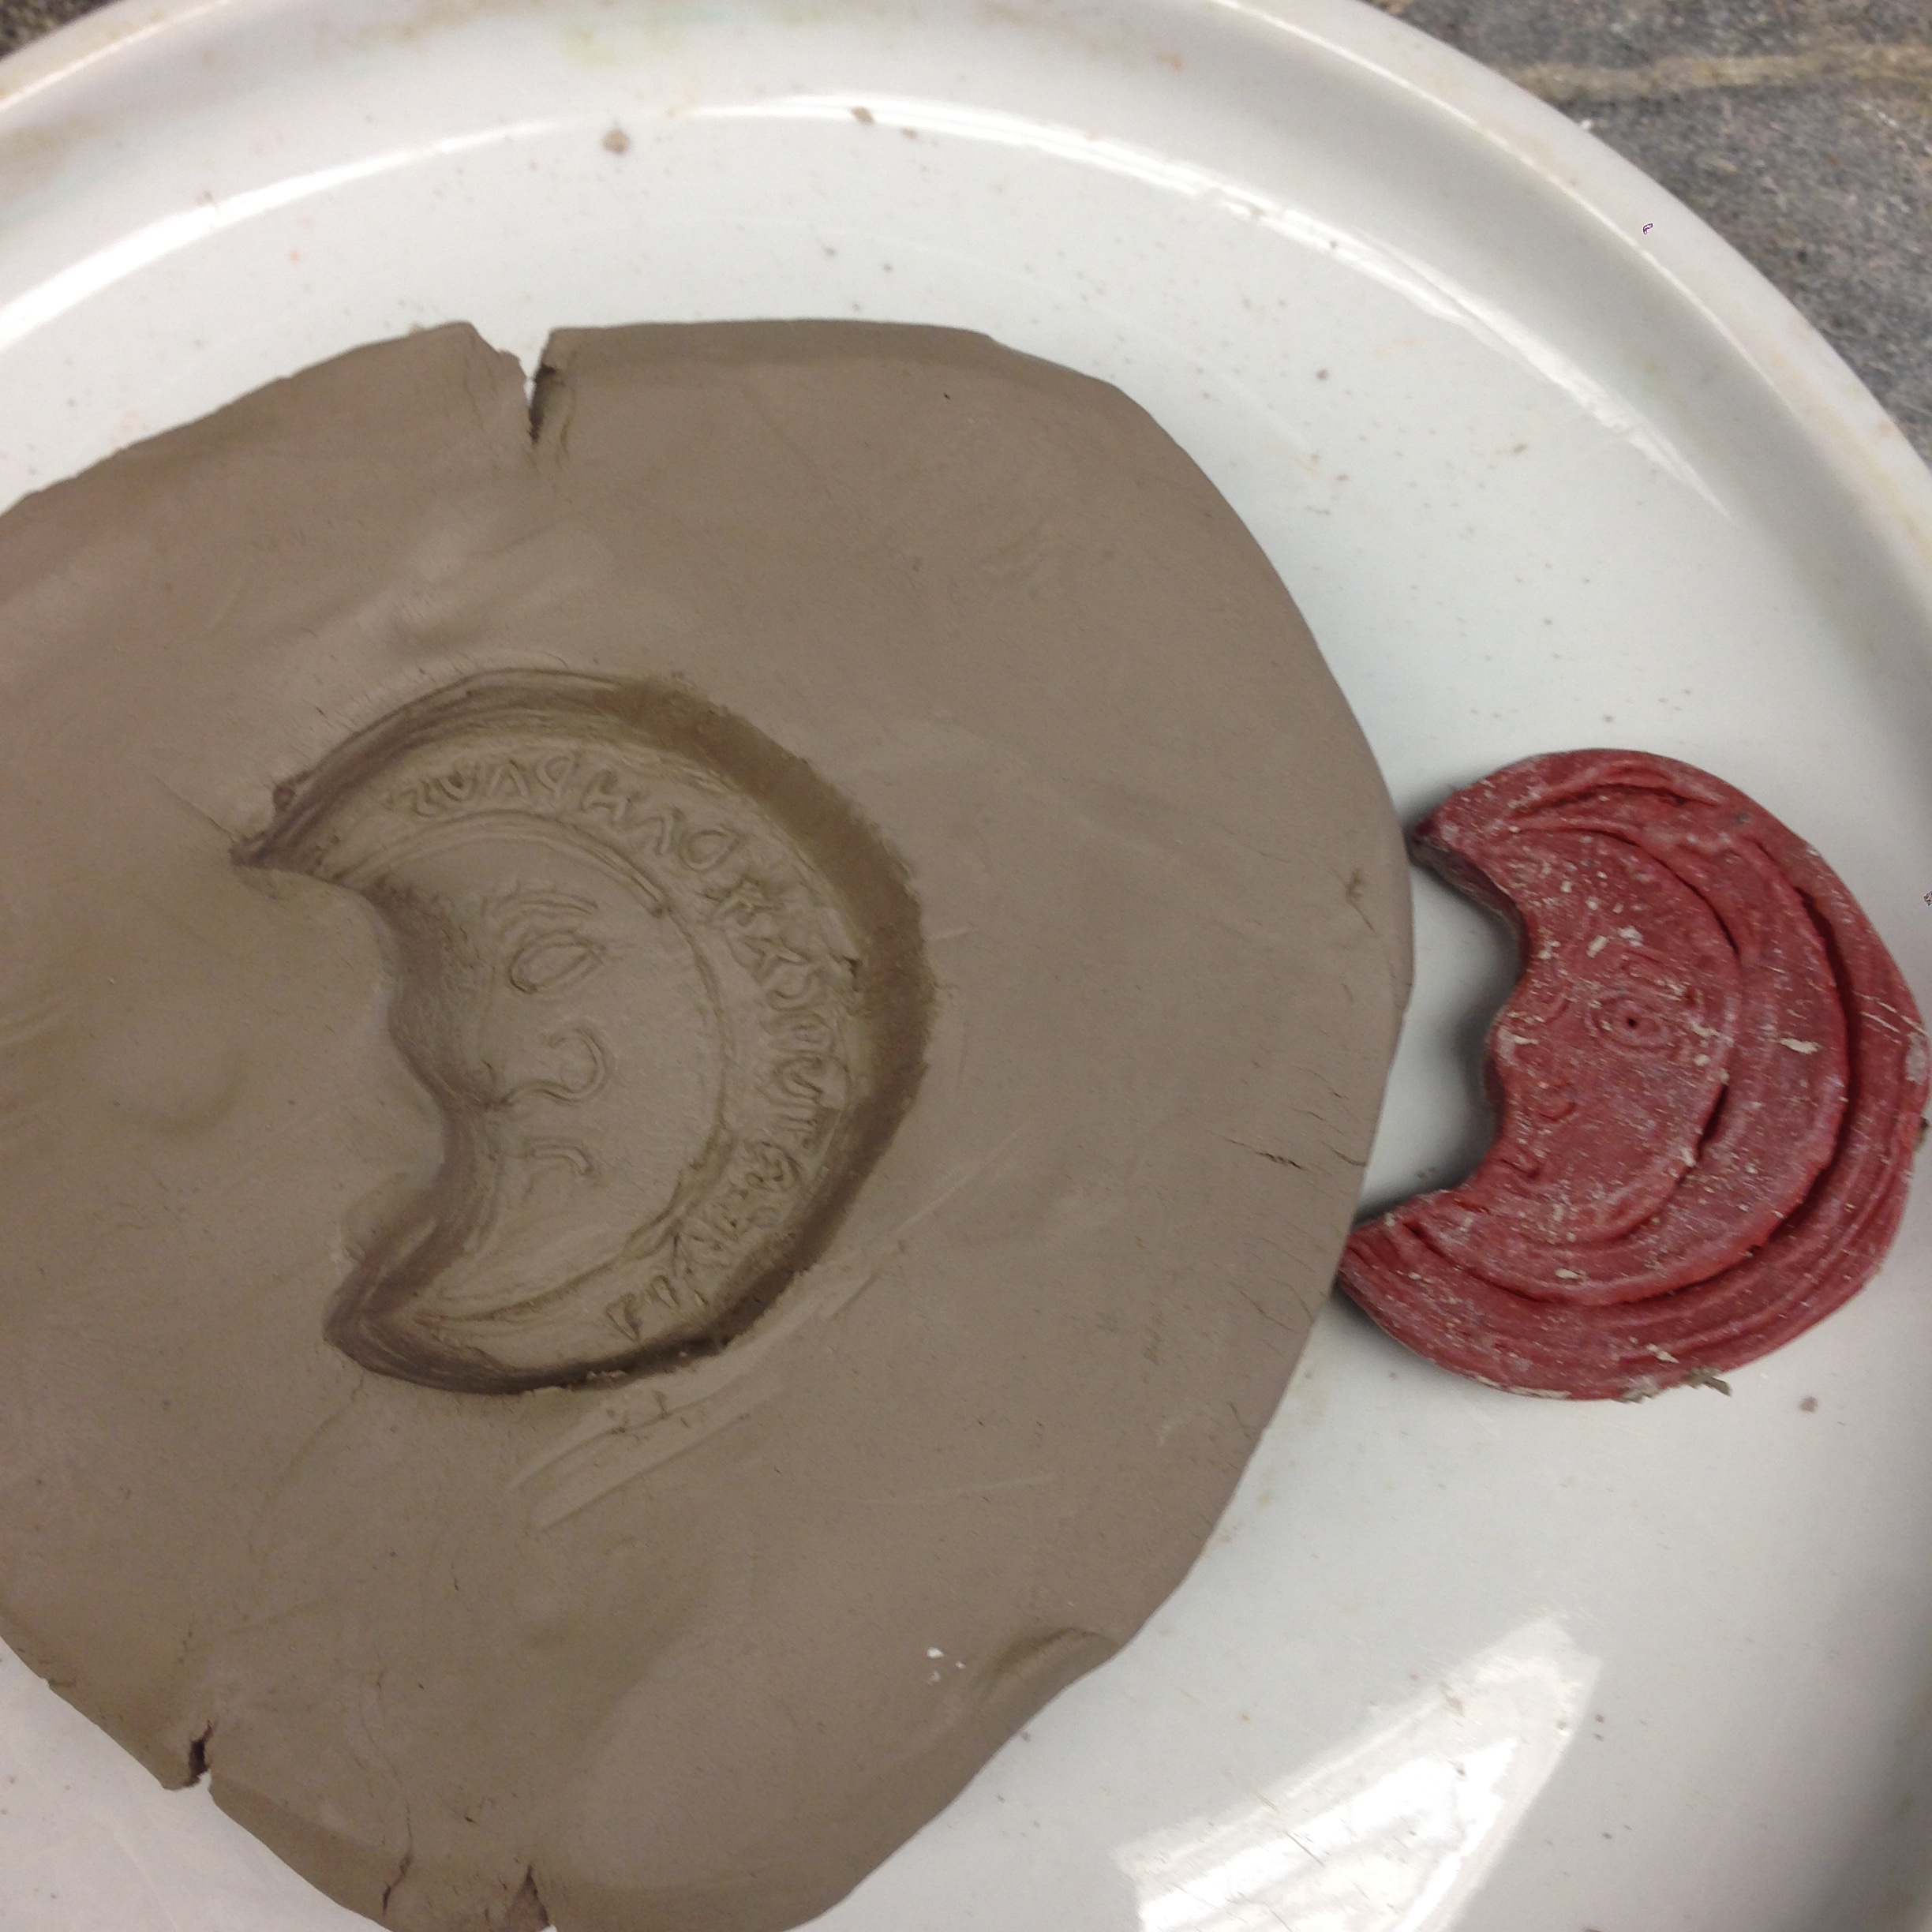
- In the lab on Wednesday 2/18, I decided to pare away the remaining wax edges so that only the moon shape itself would remain to be pressed into my clay mold. This was much easier to accomplish with the proper carving tools that were in the lab!
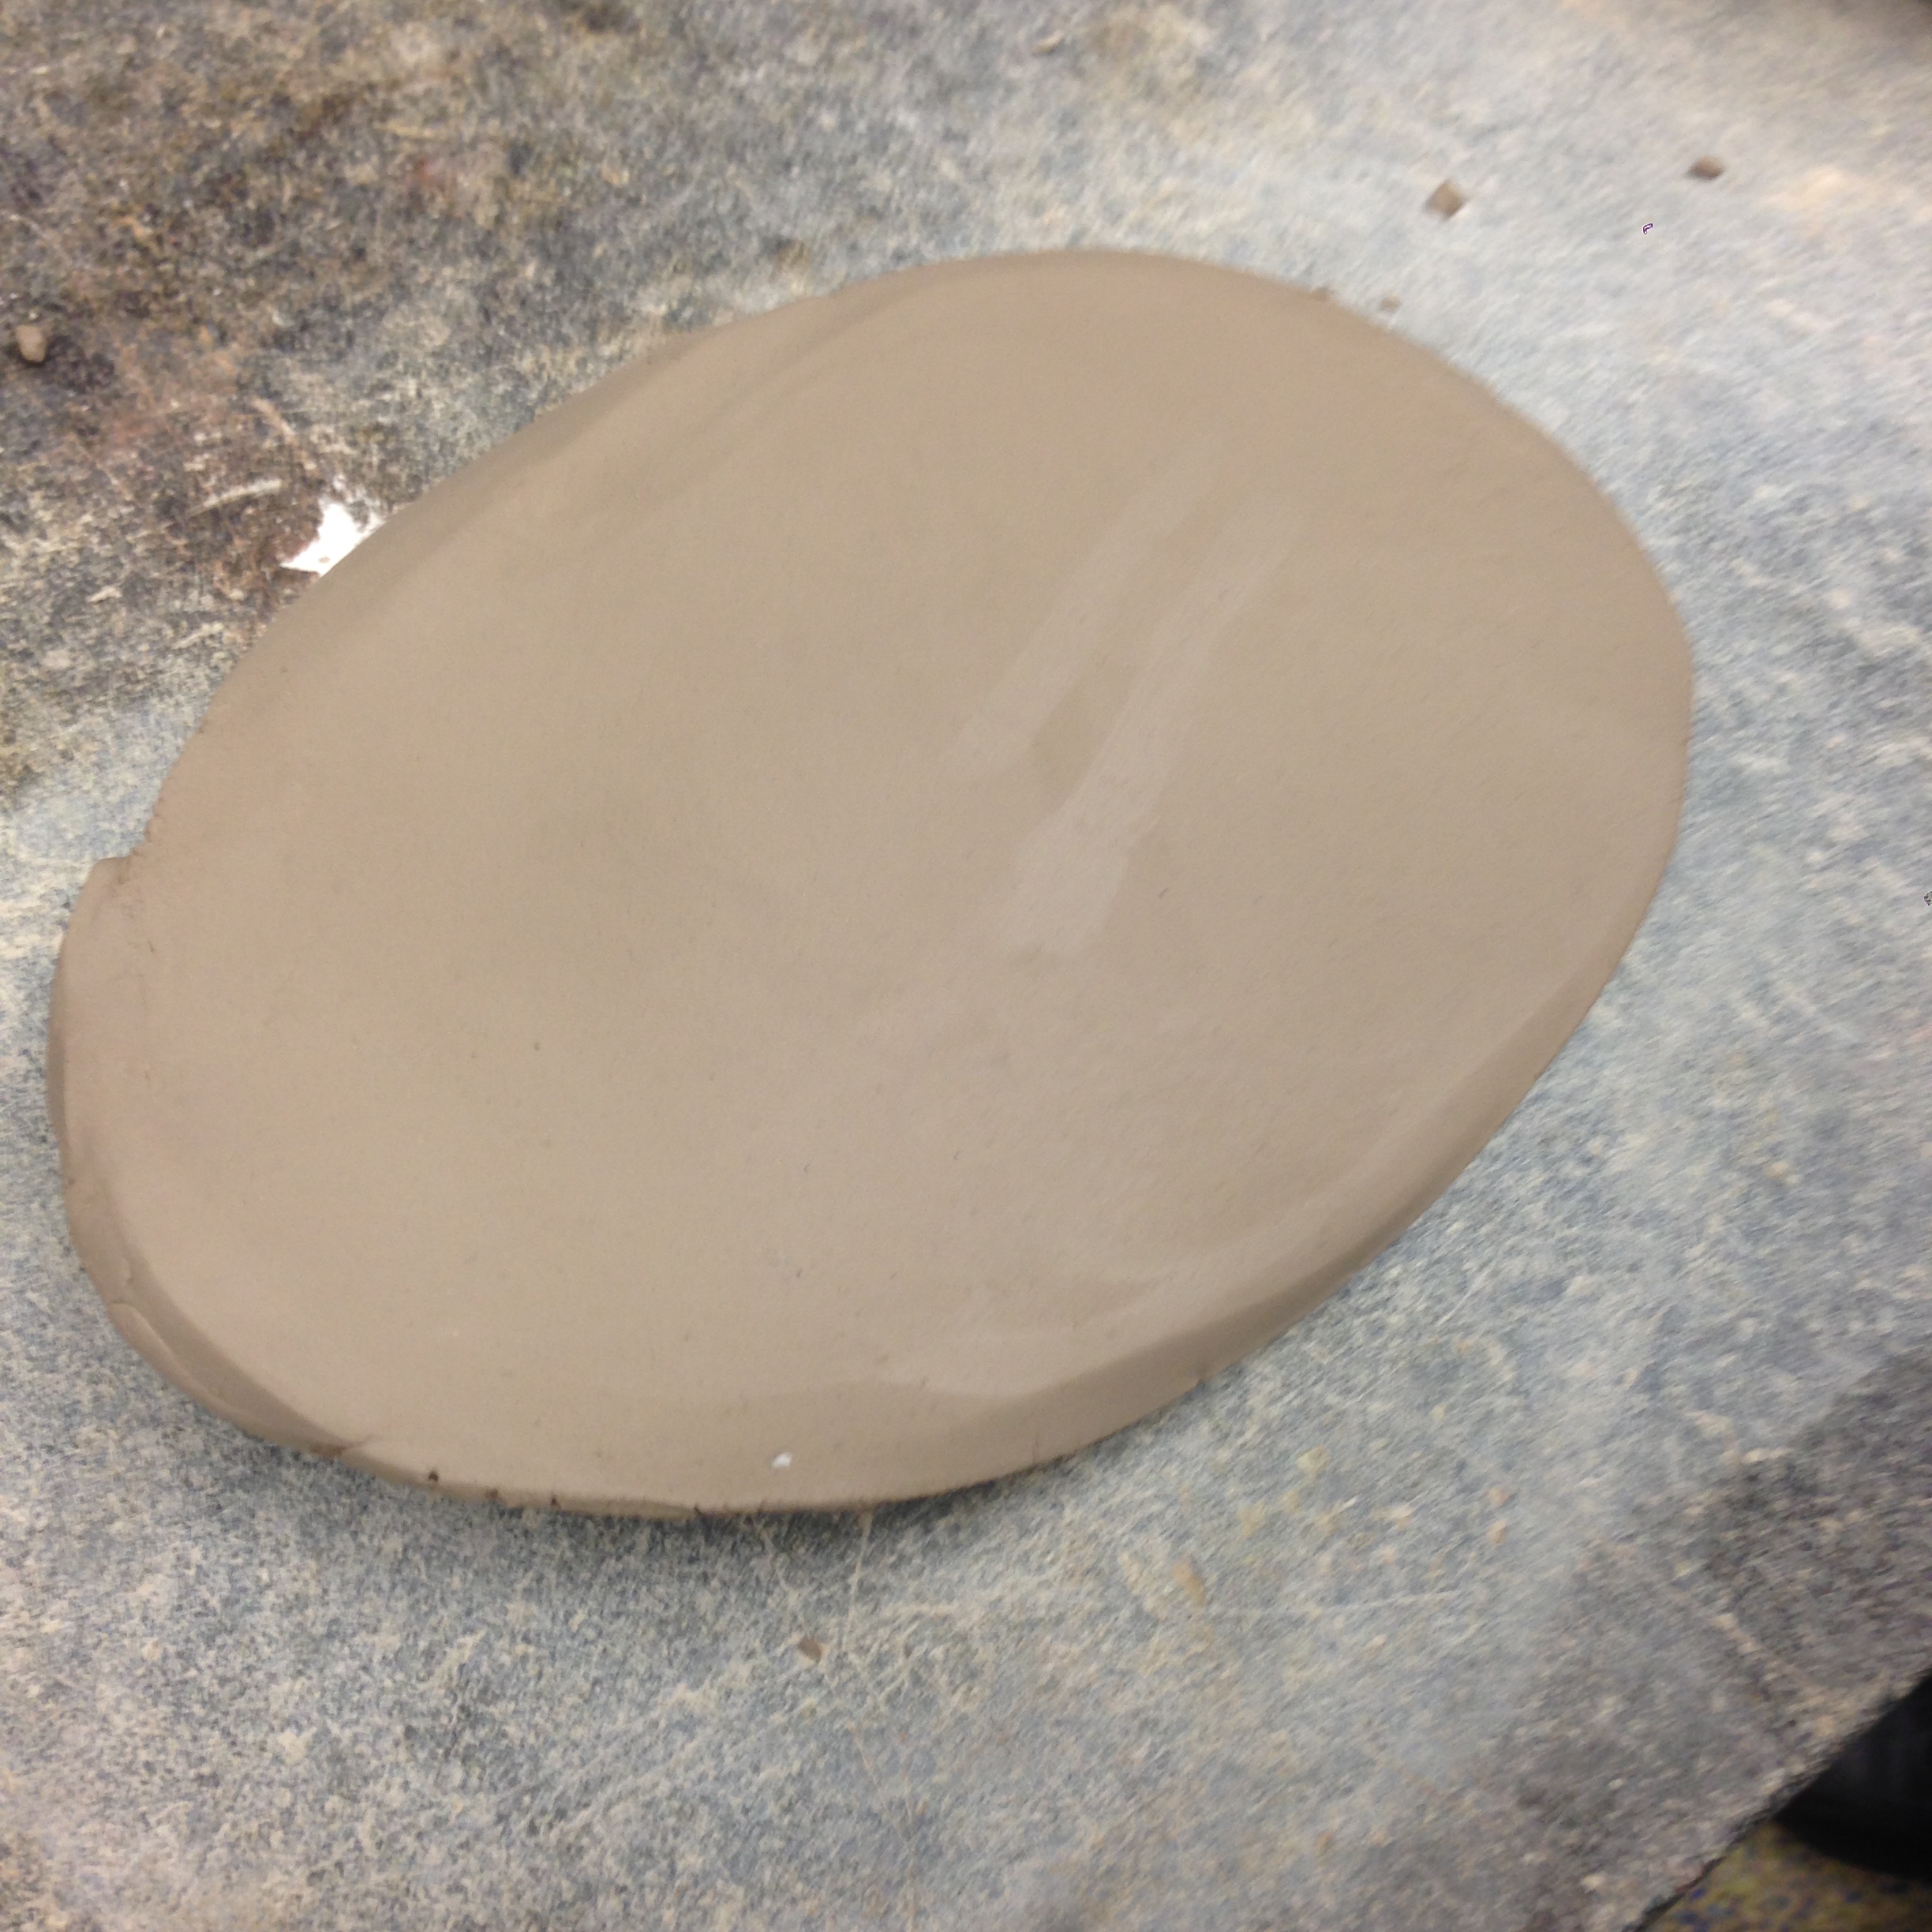
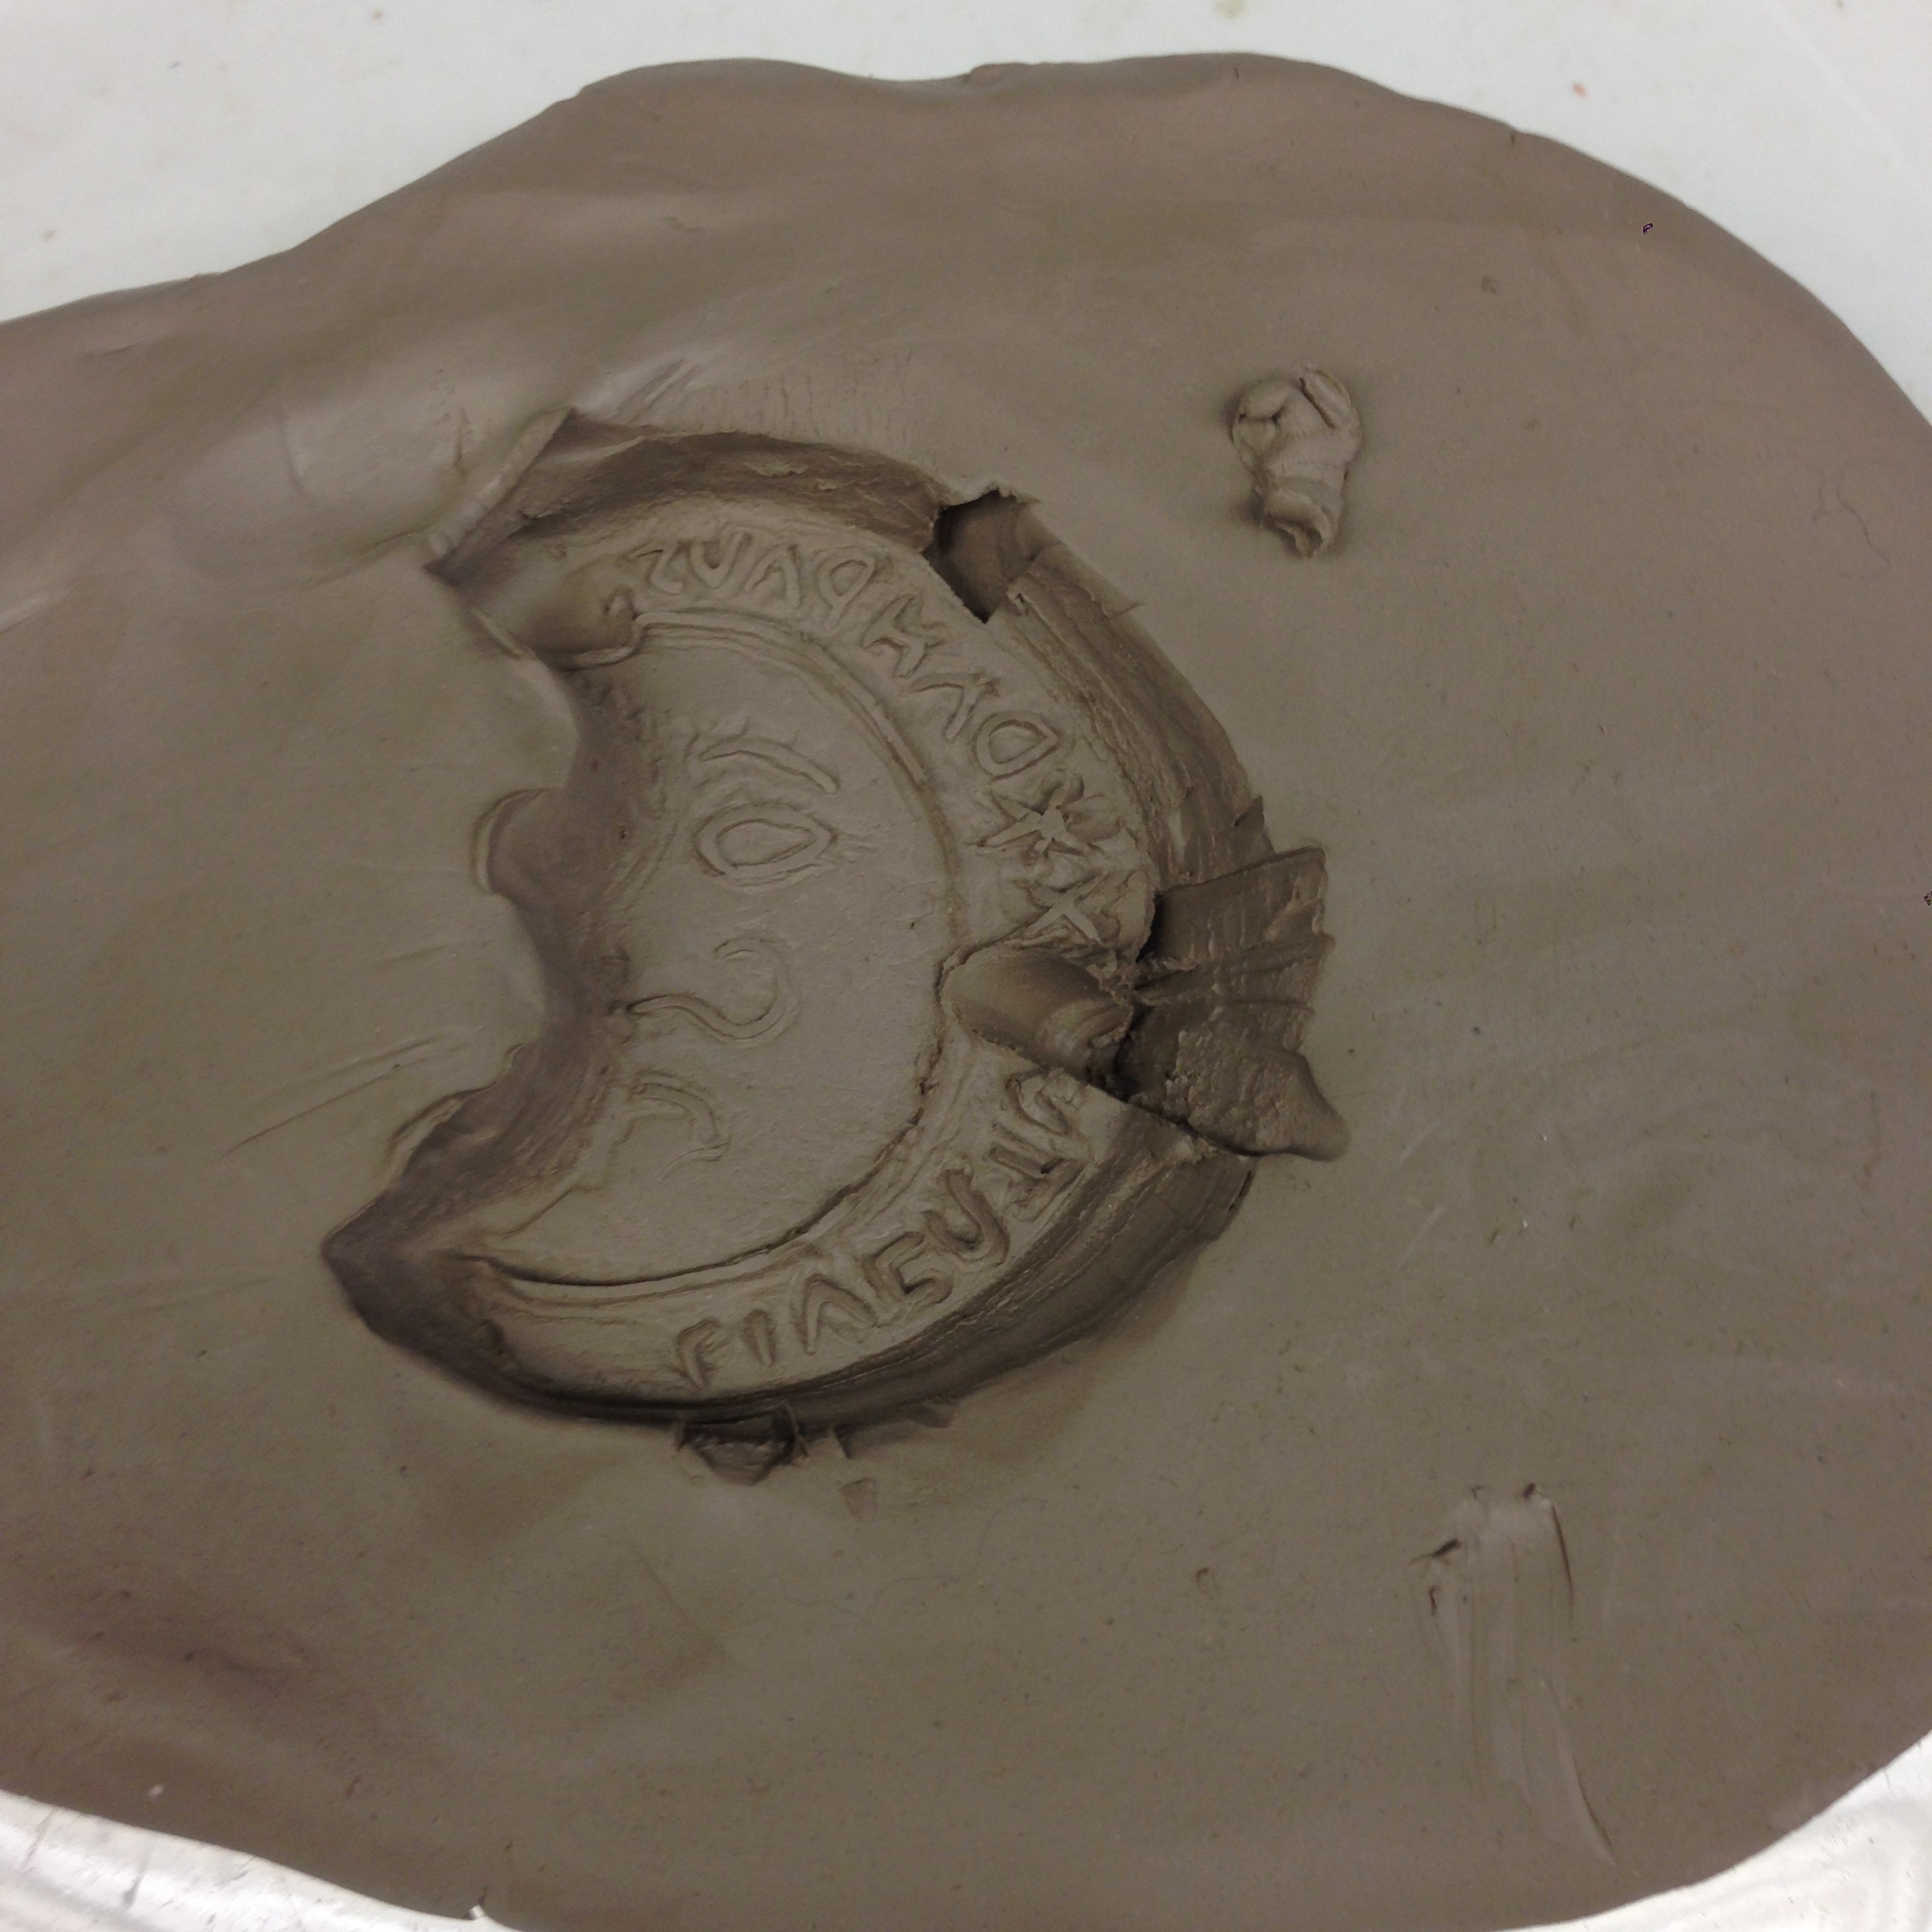
- I rolled and kneaded my clay thoroughly before rolling a flat top with the rolling pin; it took a couple of tries before I was satisfied that the clay was thick enough and uniform enough for me to press my clay.
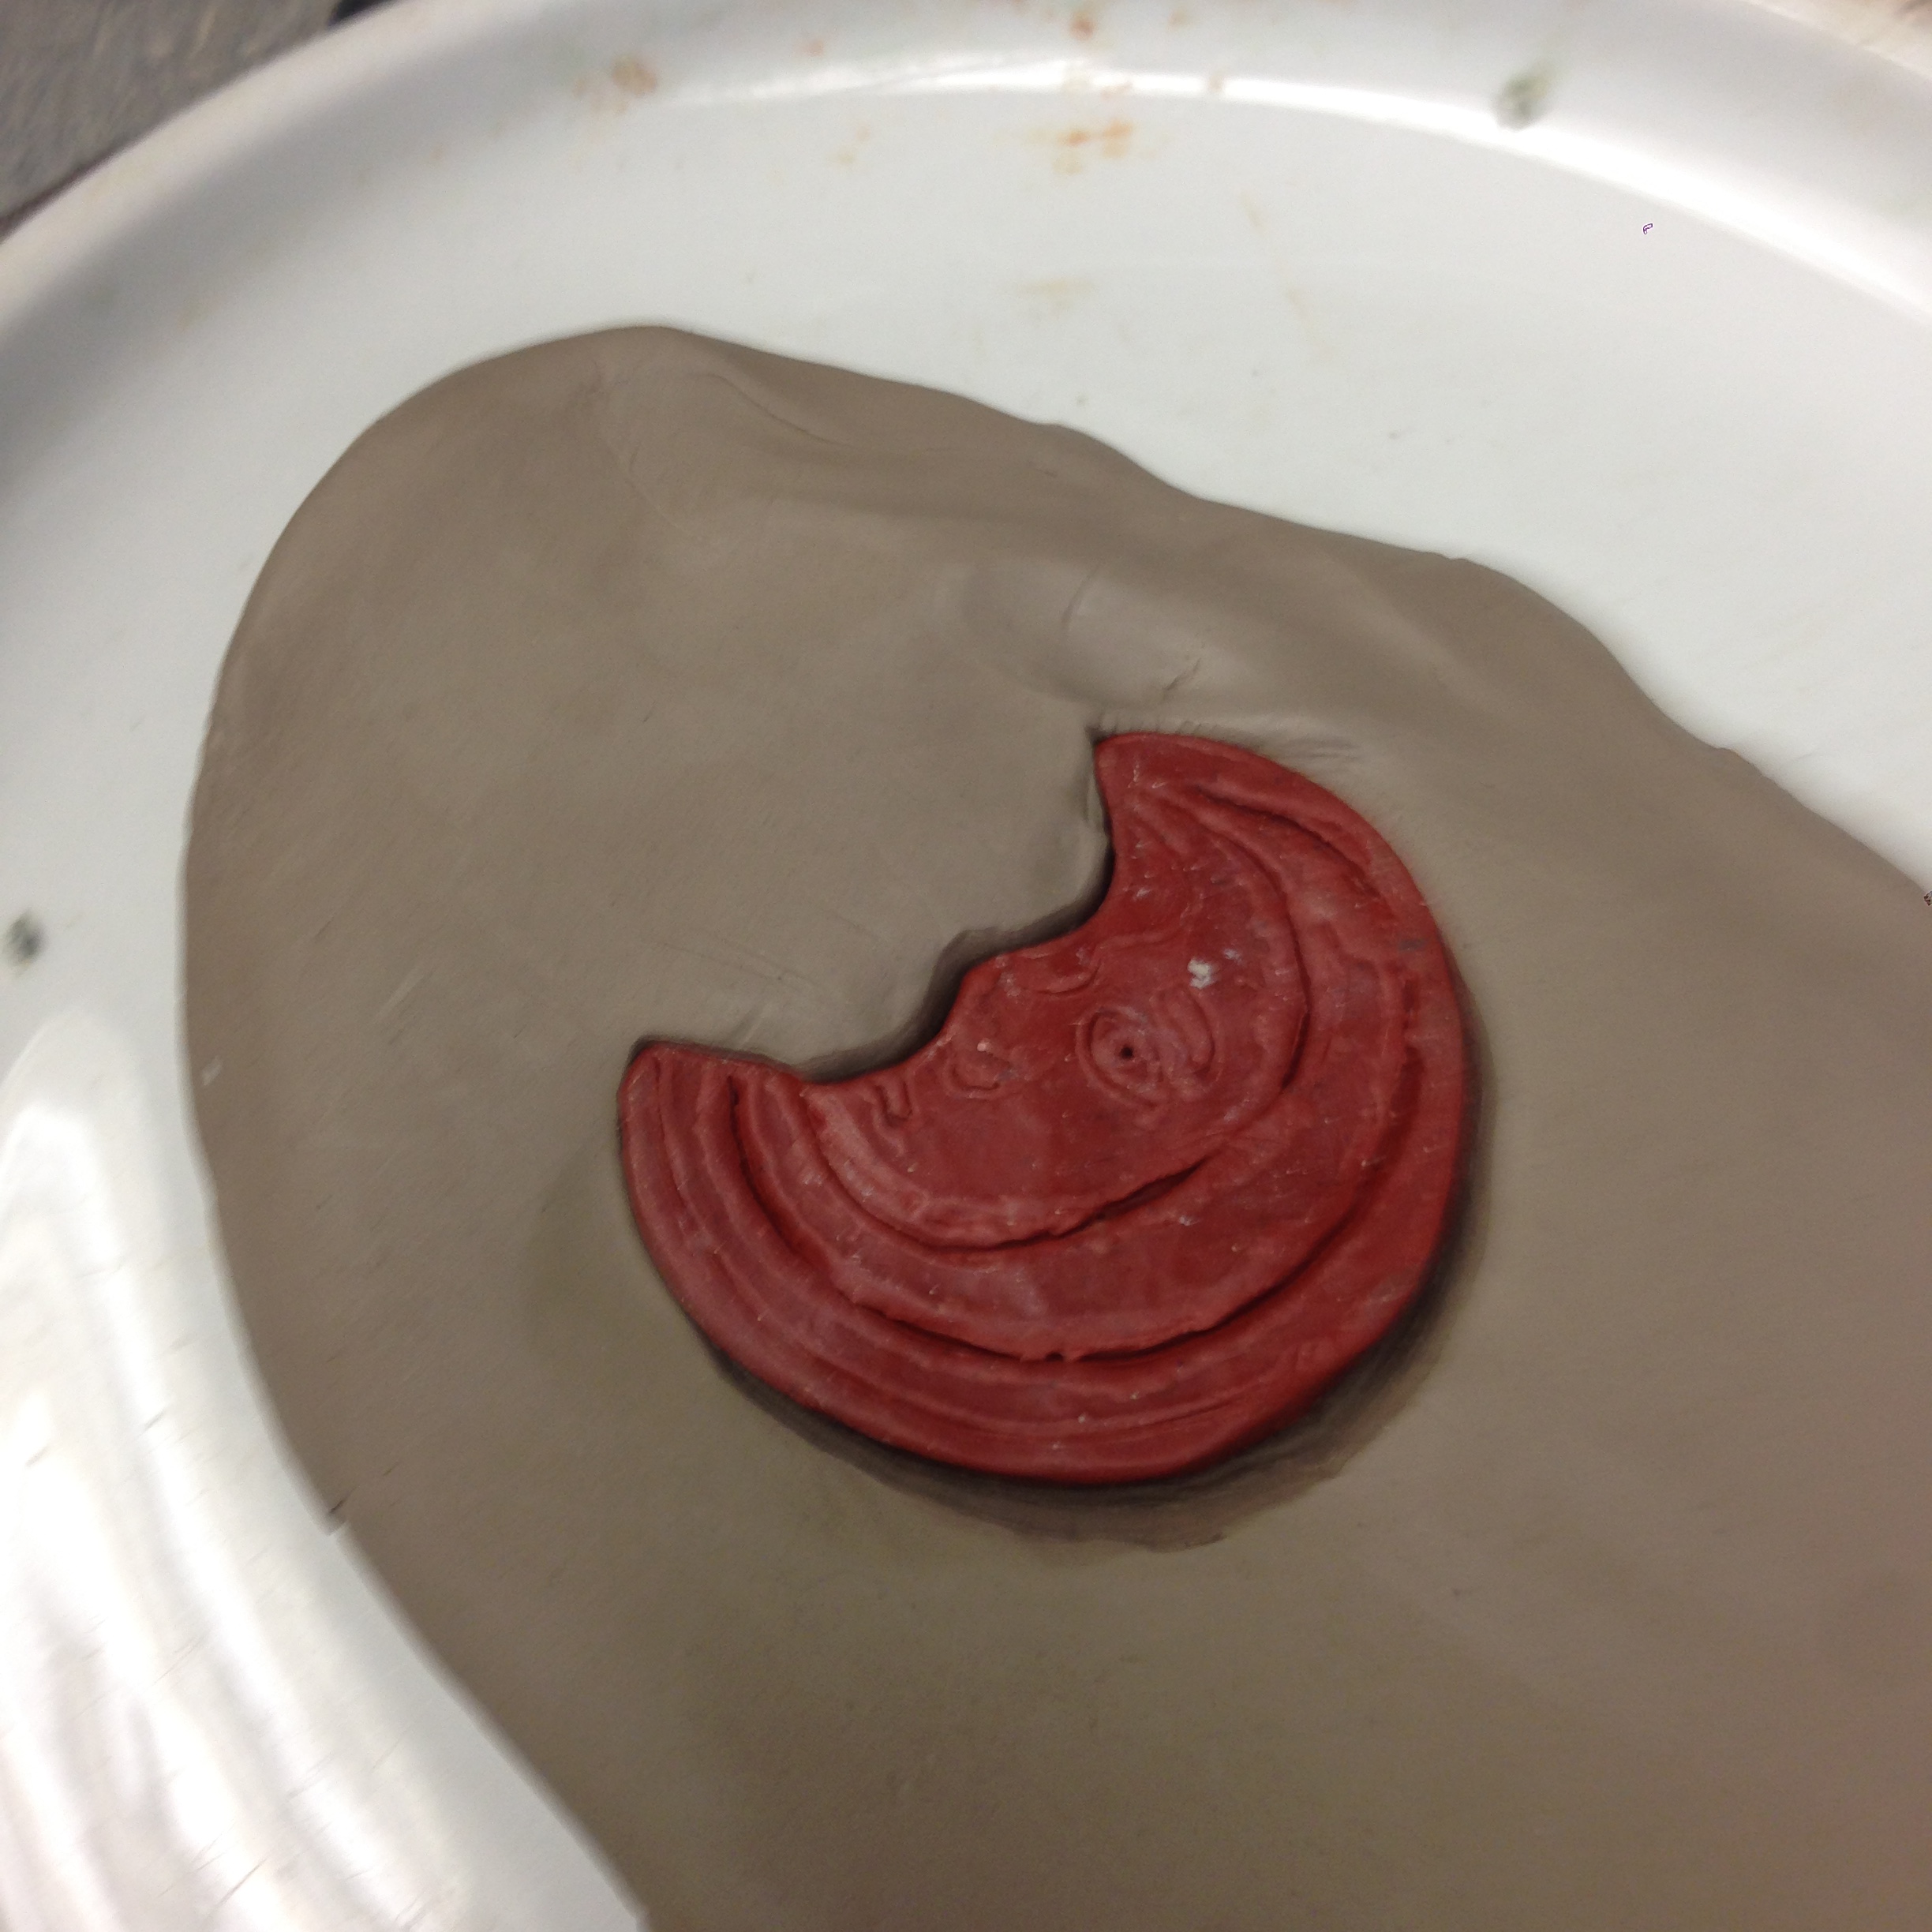
- Pressing the wax shape into the clay was more difficult than I thought - there was more resistance than I had expected from manipulating the clay - and it took quite a lot of physical effort to press it down evenly. Though I tried to do it all in one, uniform motion, I found that the wax slipped and slid inside the clay and I worried that this movement would mean that the pressed shape would be blurred or indistinct.
- My first attempt to remove the wax from the clay was a bit of a disaster - I had to press into the clay quite hard to feel like I was exerting enough pressure on the wax, and suddenly: it popped out in a rush and went flying across the counter! Though most of this first impression looked good, the force of the tool I had used had ruined a substantial portion of the mold, so I had to knead, roll, and press my clay again. Little pieces of clay were stuck in the wax from this first attempt, all of which I tried to remove as thoroughly as possible before trying again.
- On the second attempt, Jenny showed me how I could try bending the clay upwards and outwards so that the wax could be removed more easily; this worked well, though I still had to do some touching up of the edges of the mold before I was satisfied with it enough to move on to making and pouring my plaster.
Plaster casting
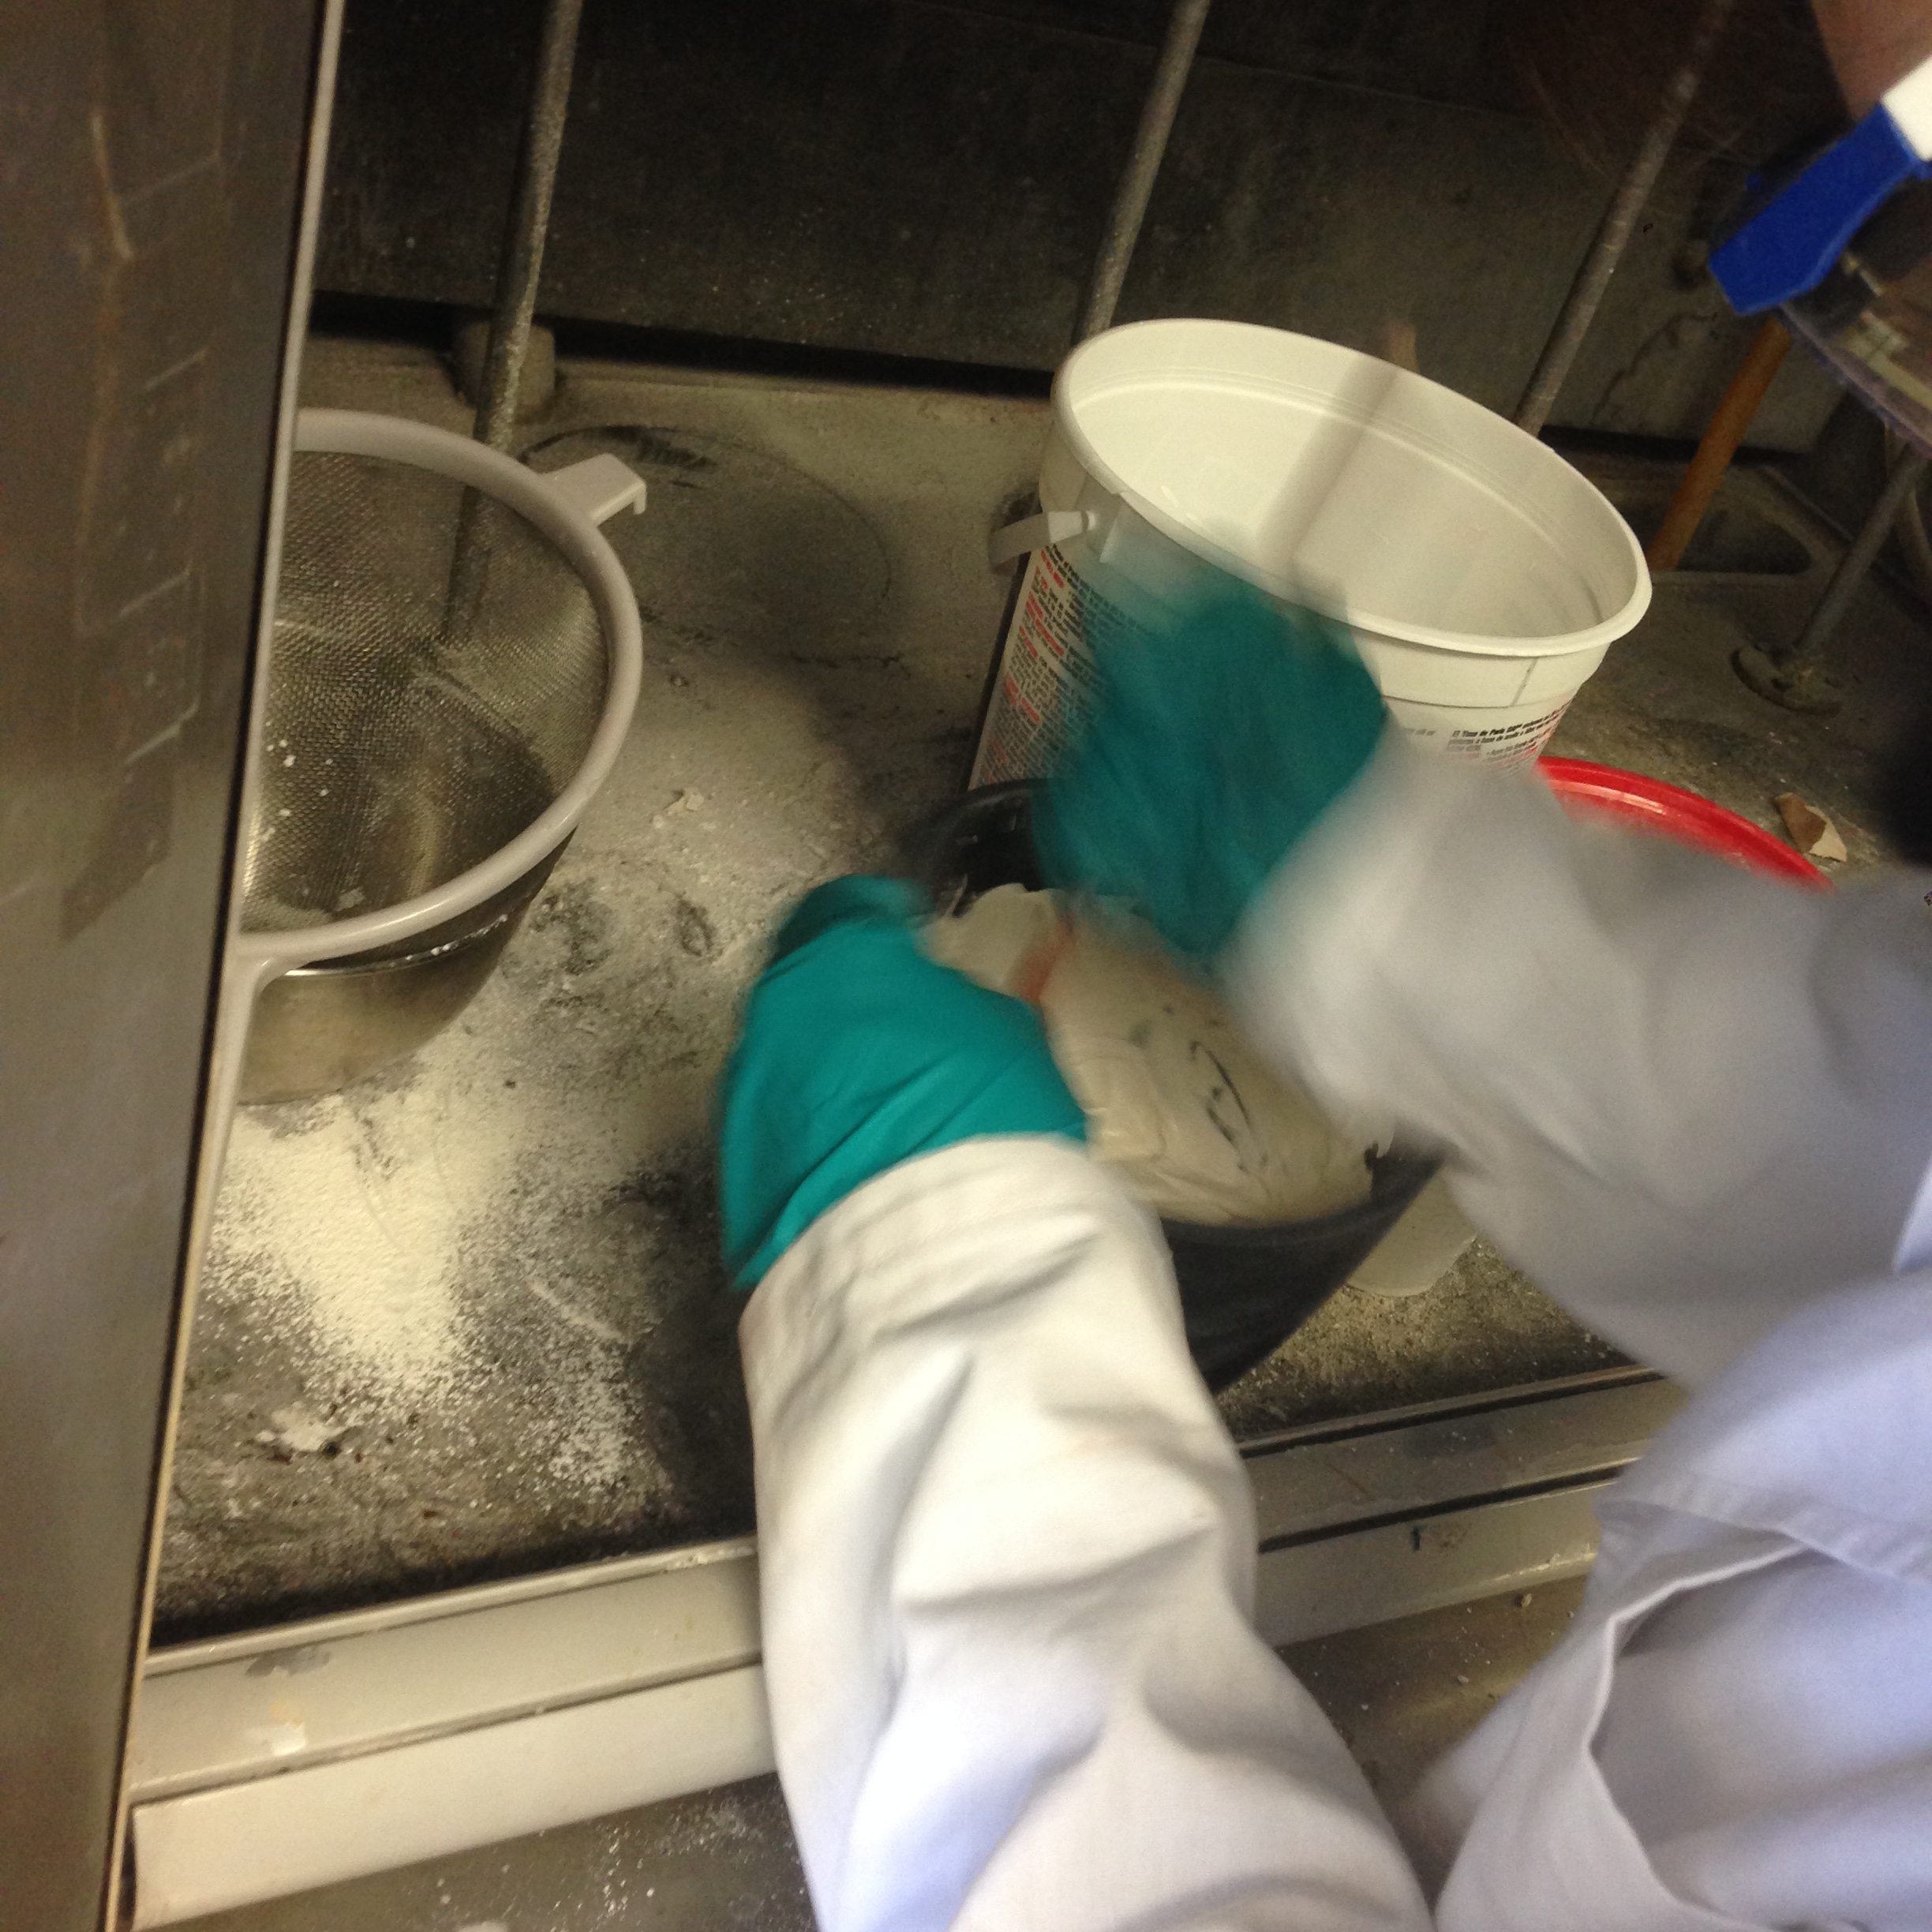
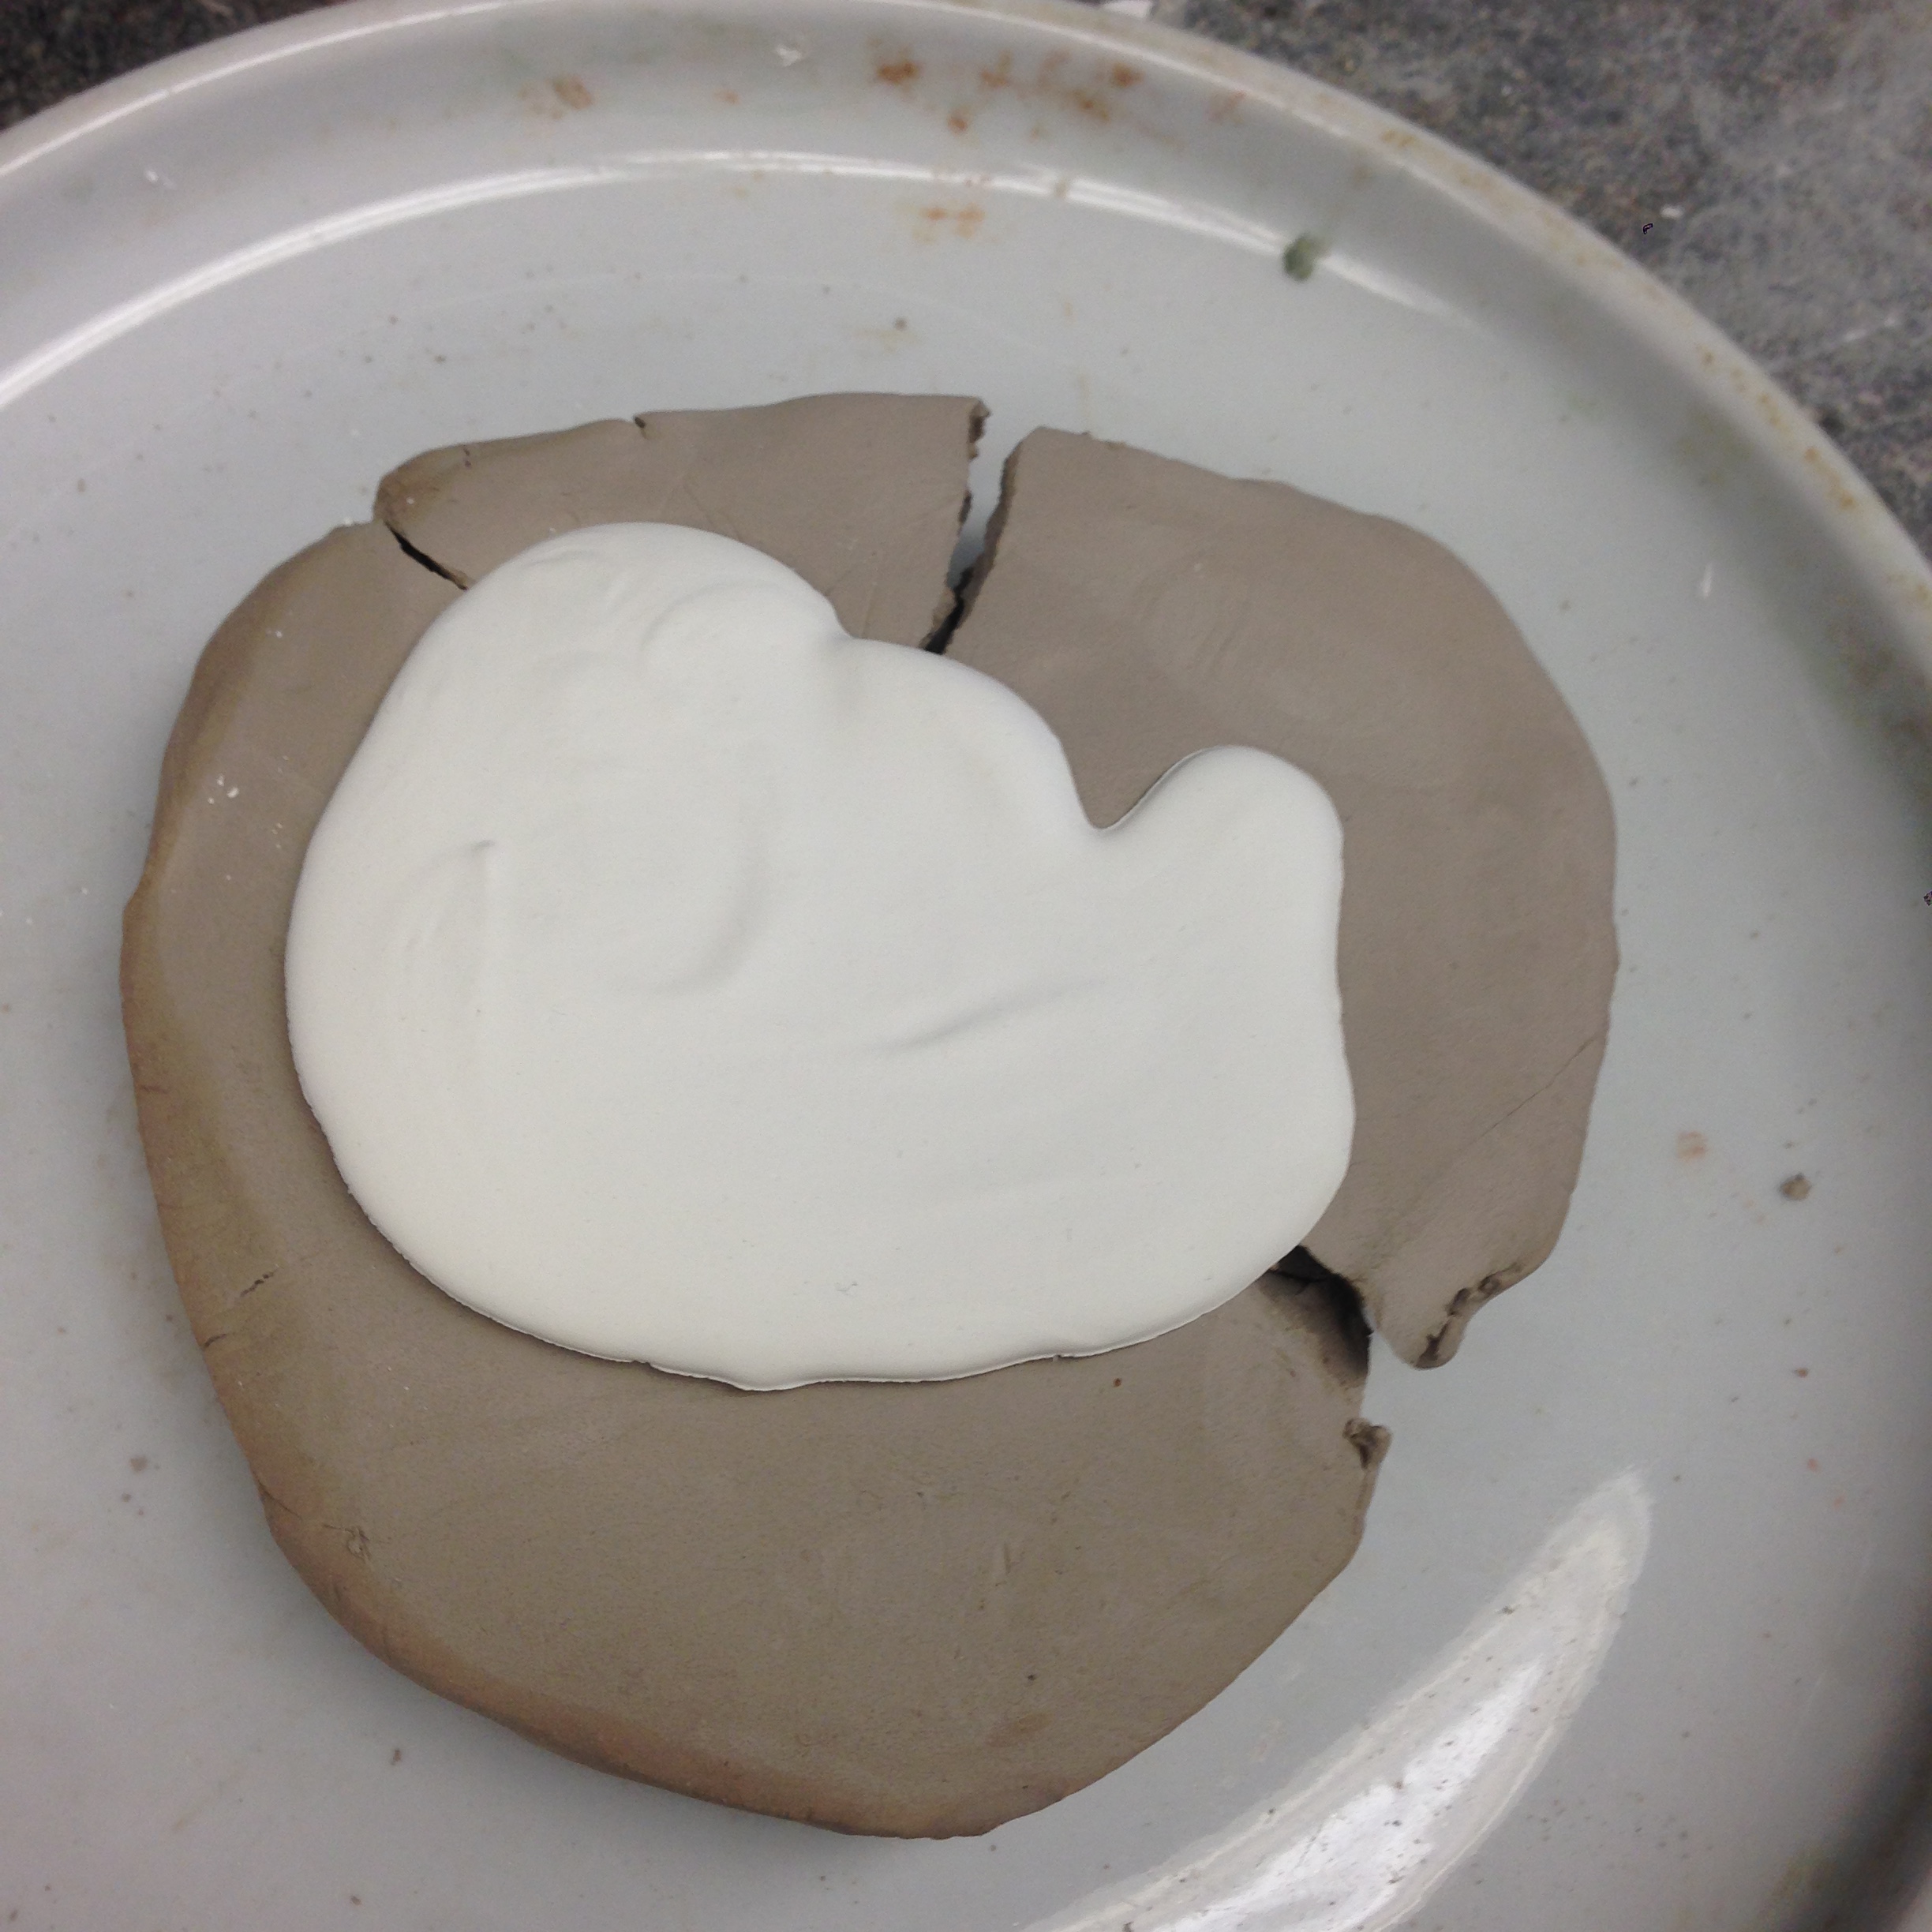
- On the suggestion of labmates and Prof. Smith, I made a batch of plaster under the secondary fume hood using 400 millgrams of plaster and 200 milligrams of water. I stirred it quickly and it looked like it had no lumps, but Jenny (who very helpfully assisted me) suggested I put in a little more water to make sure it was runny enough. Unfortunately the time it took to pour this into the mixture allowed what was already in the mixing bowl to harden, and the whole turned into a sticky mess. We decided to try again, and cleaned out the bowl
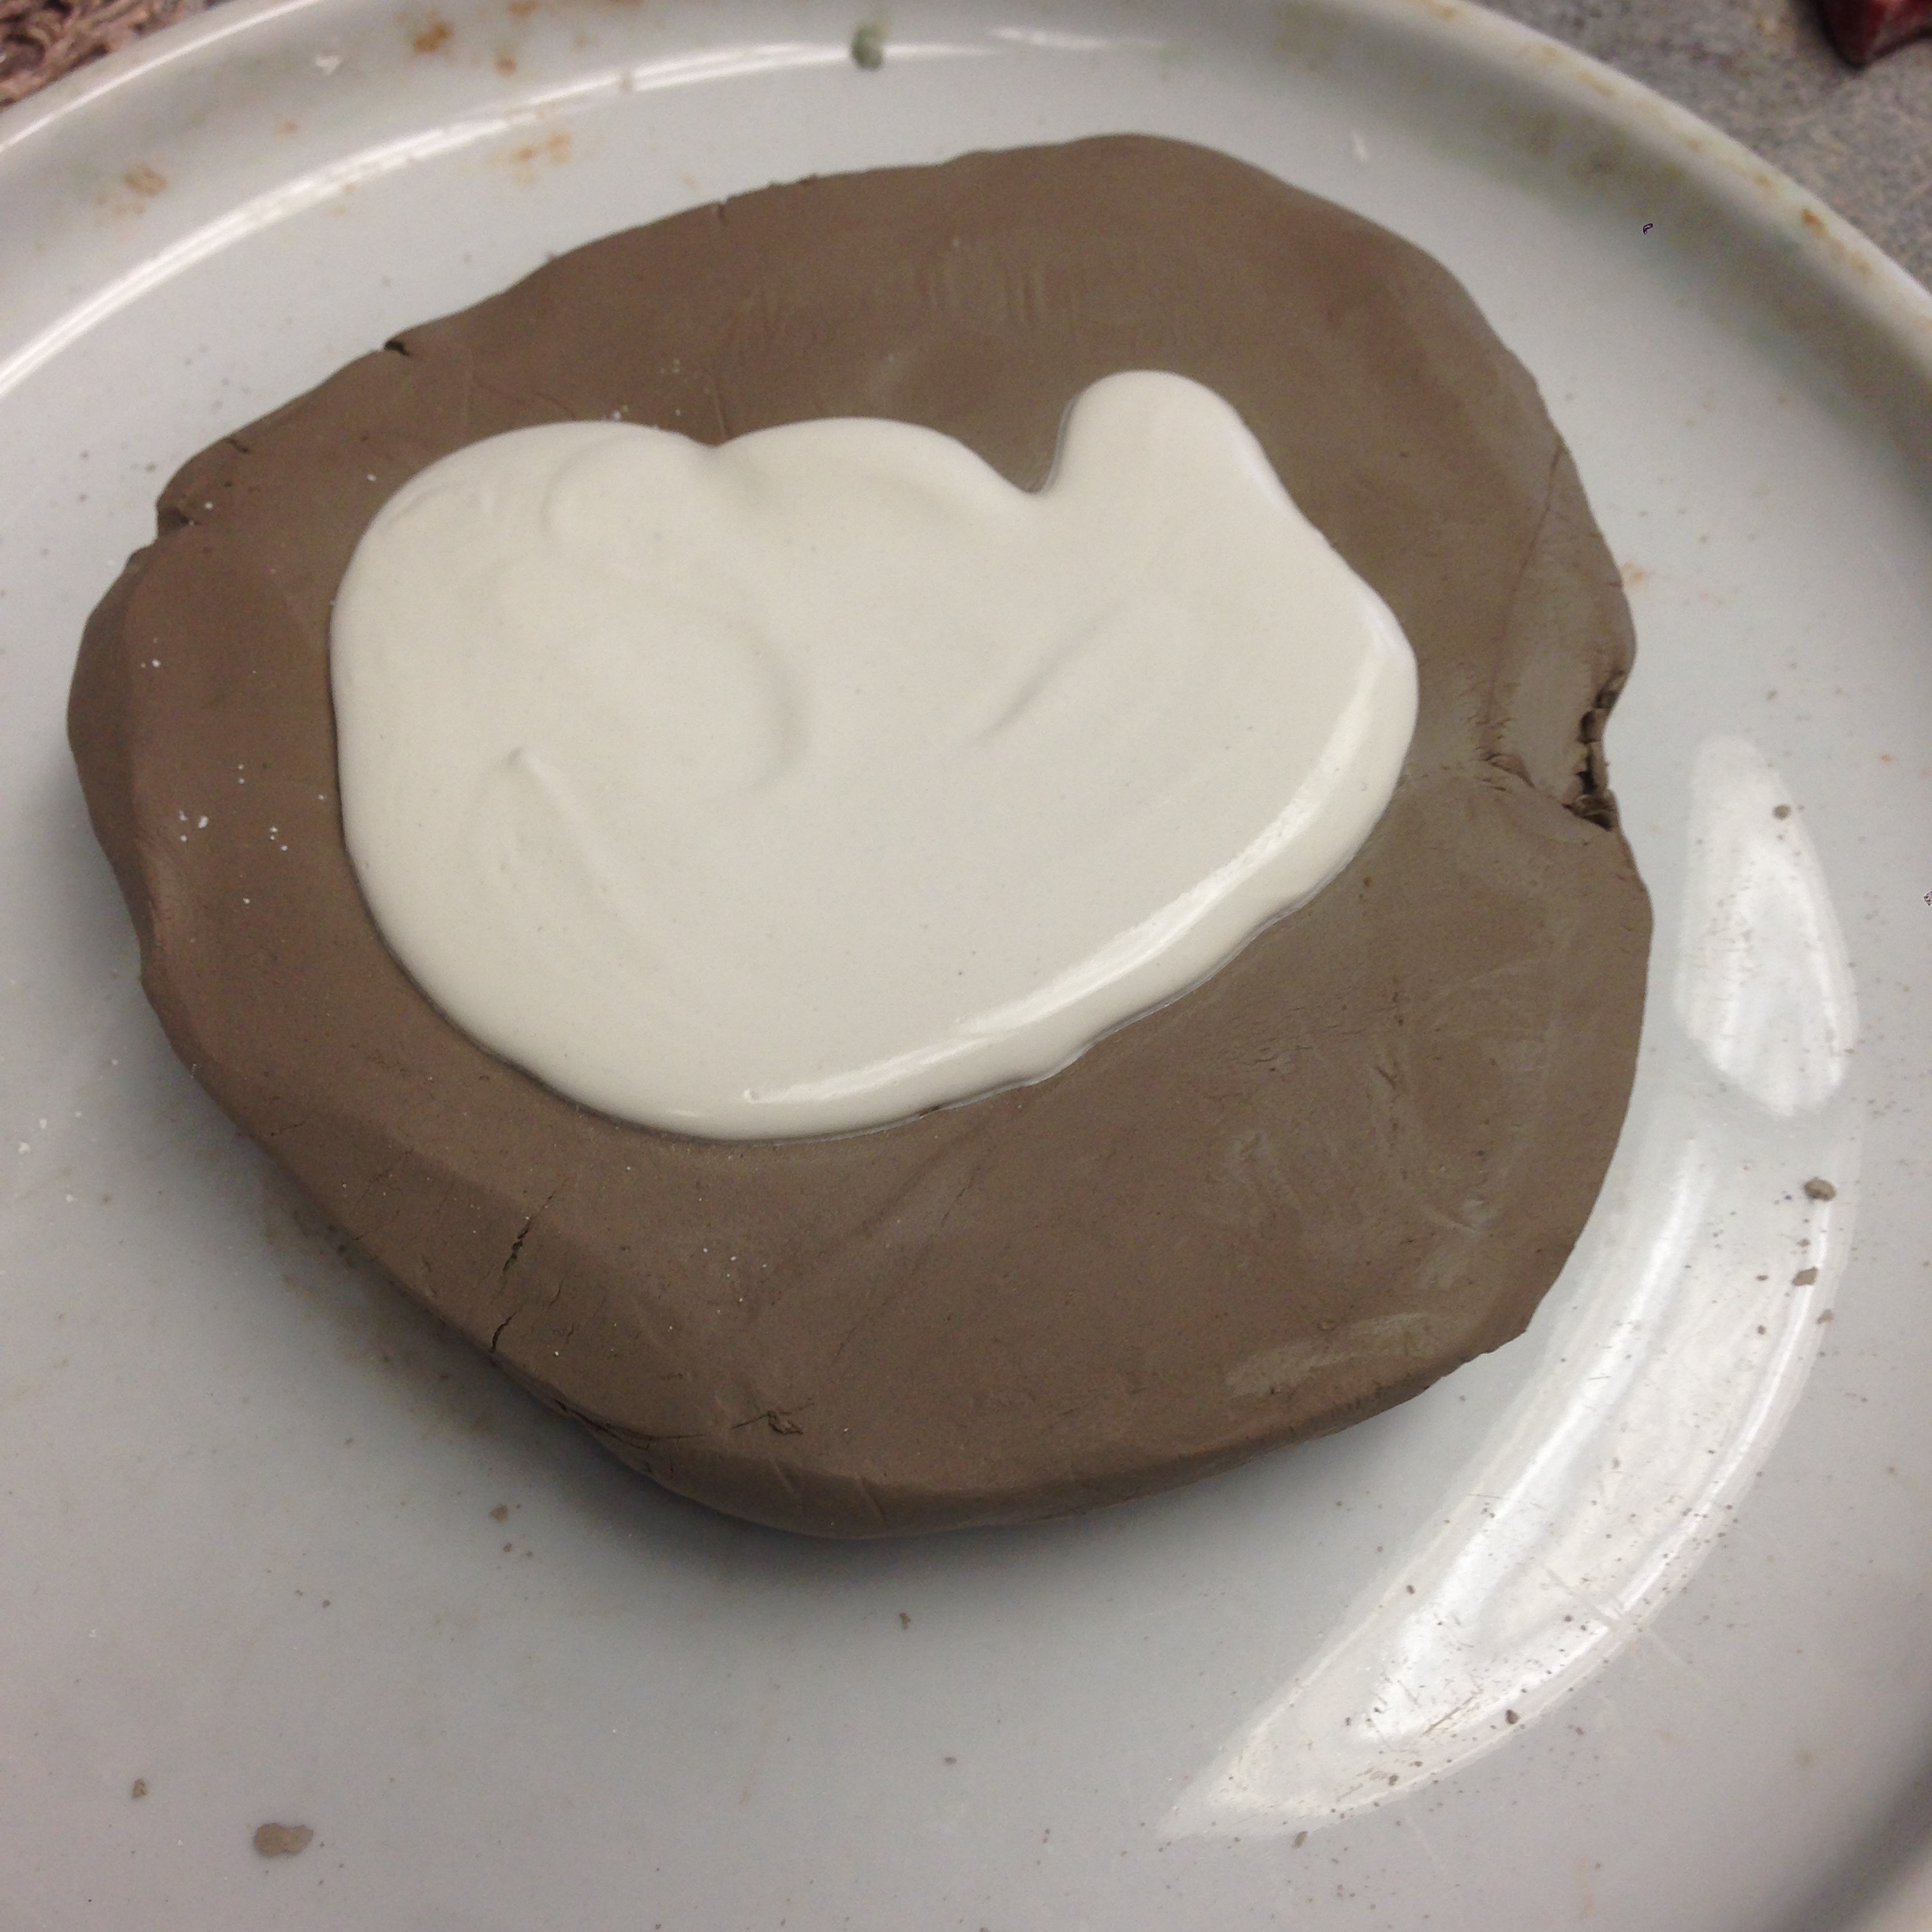
- The second time, we mixed 1/2 a cup of plaster with 1/3rd of a cup of water. This was runnier to start with, though again, by the time I thought it was smooth enough to put in the mold it was rapidly starting to thicken. It didn't pour so much as plop into the mold.
- On Prof. Smith's suggestion, I tapped the plate on which my clay sat up and down to make sure the plaster settled into all parts of the mold. We did not use a separator, though it had been recommended that I use linseed oil.
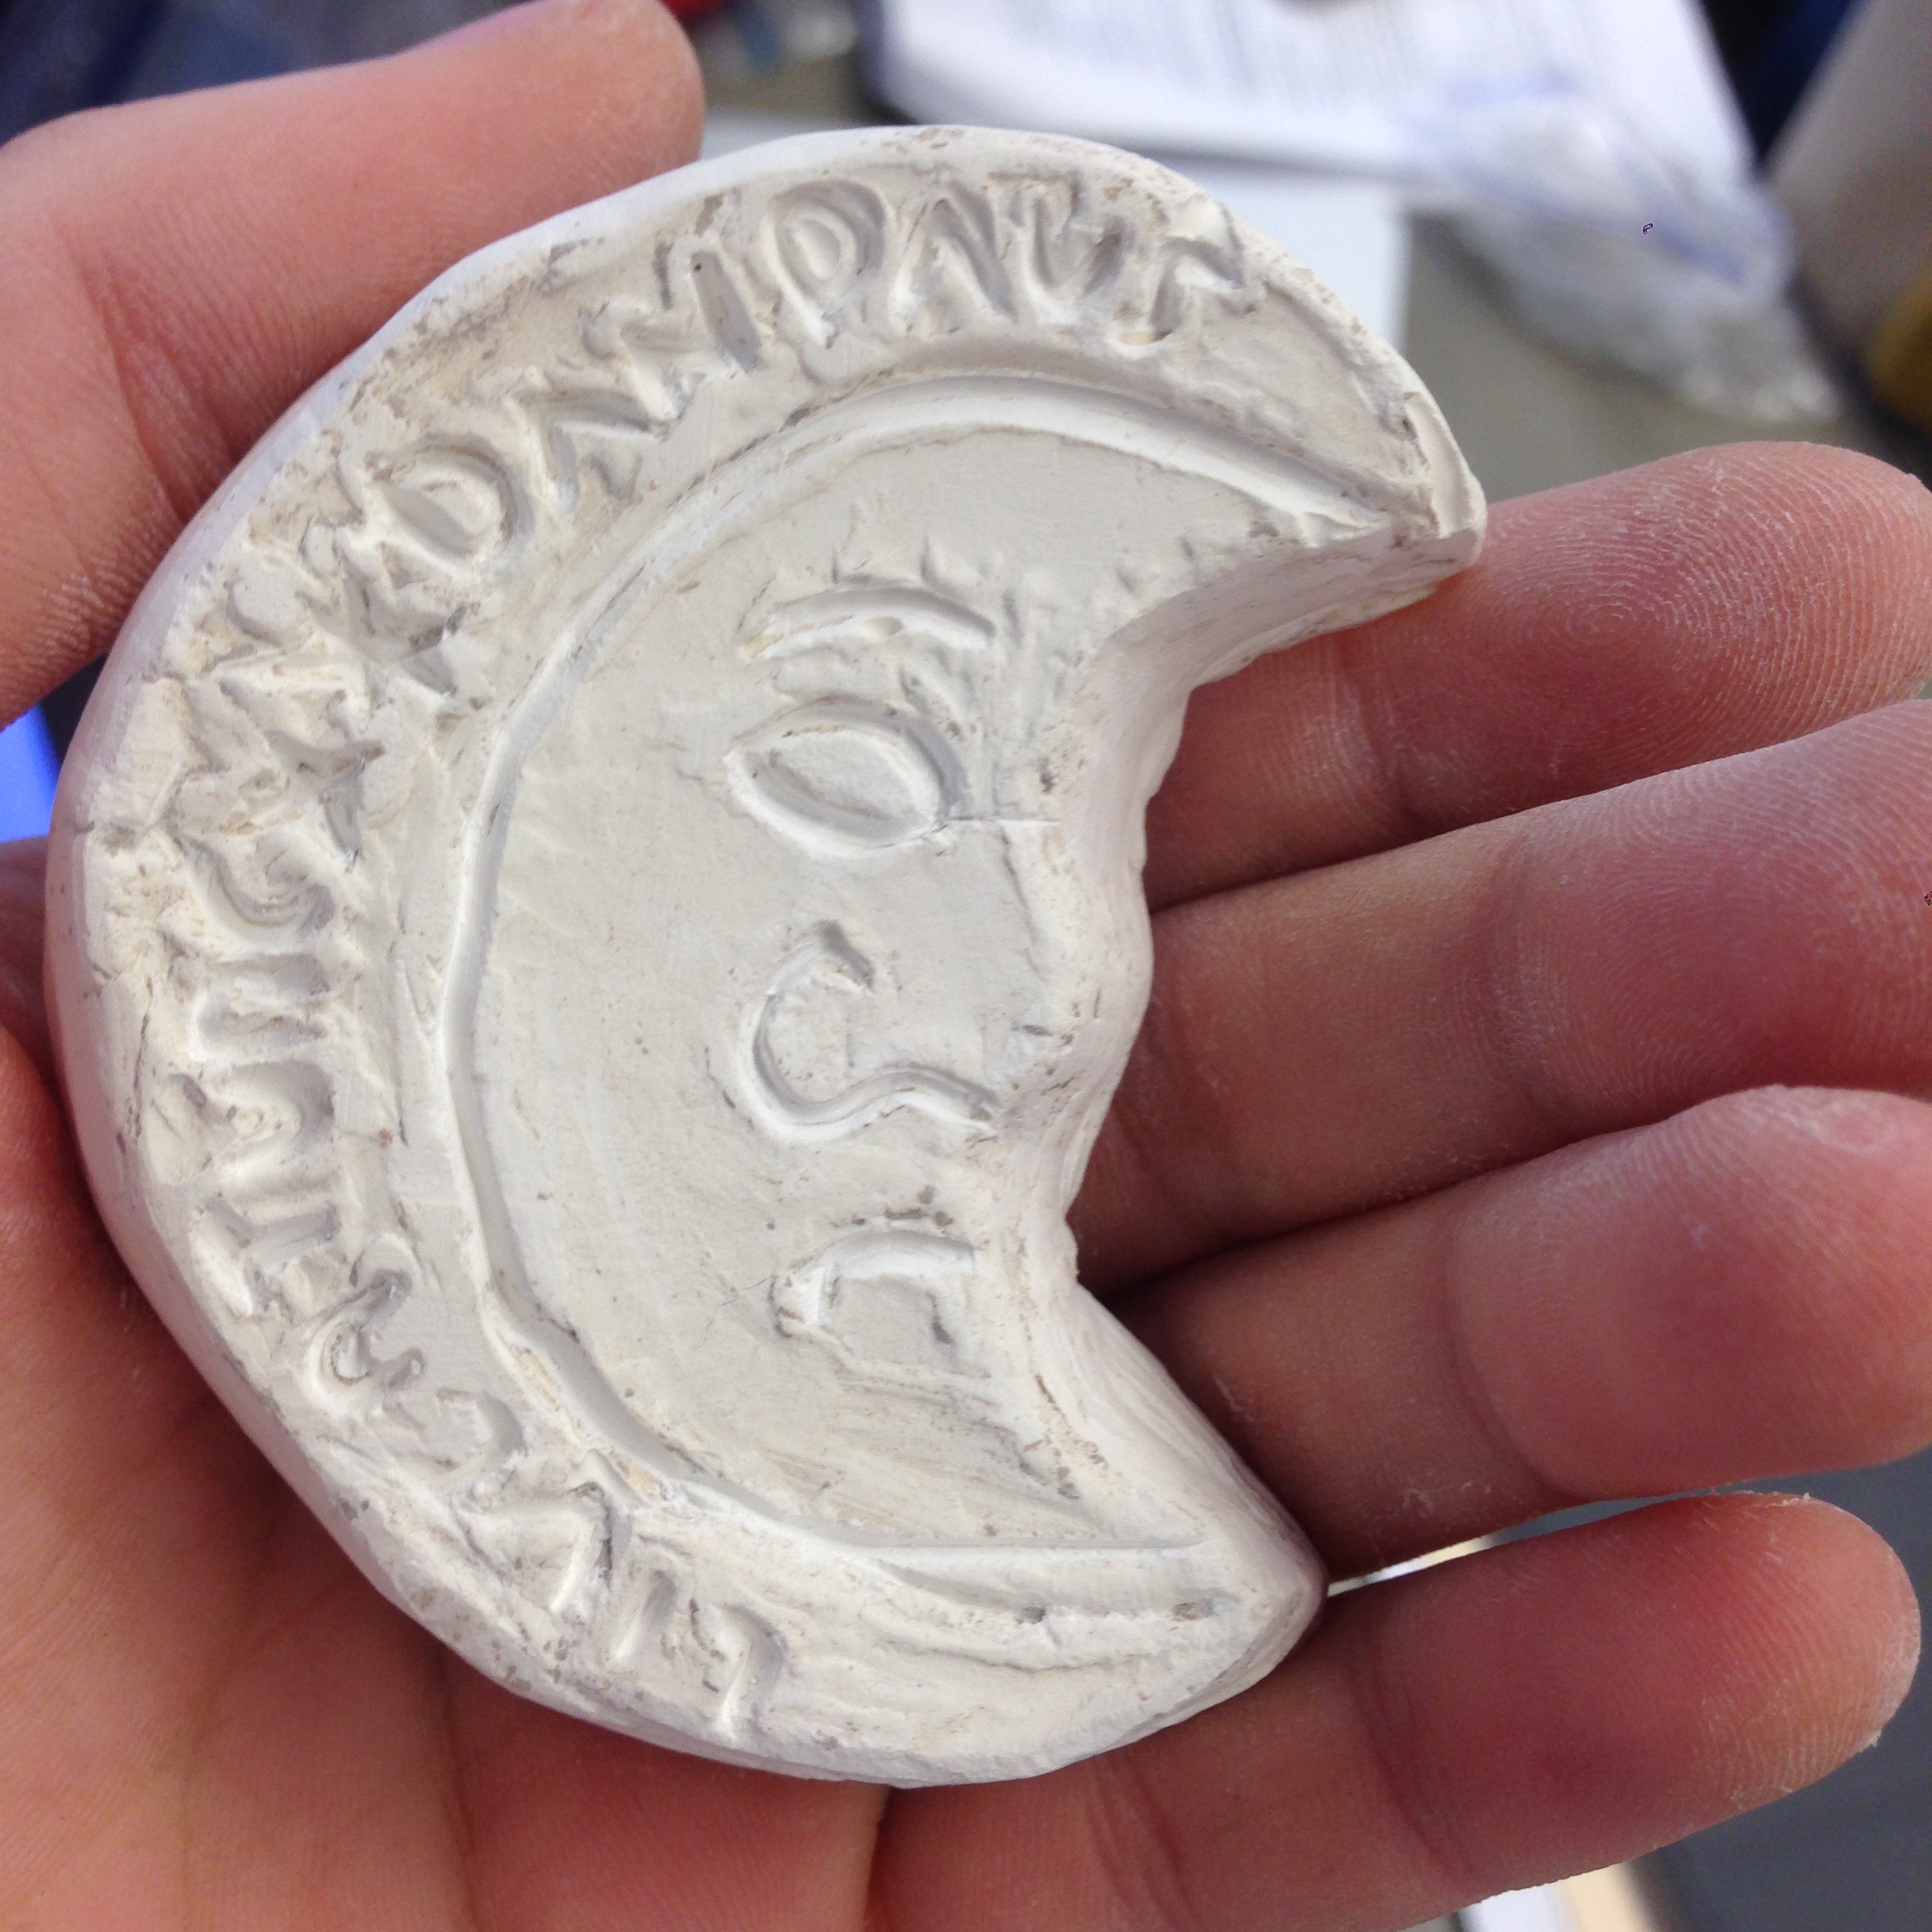
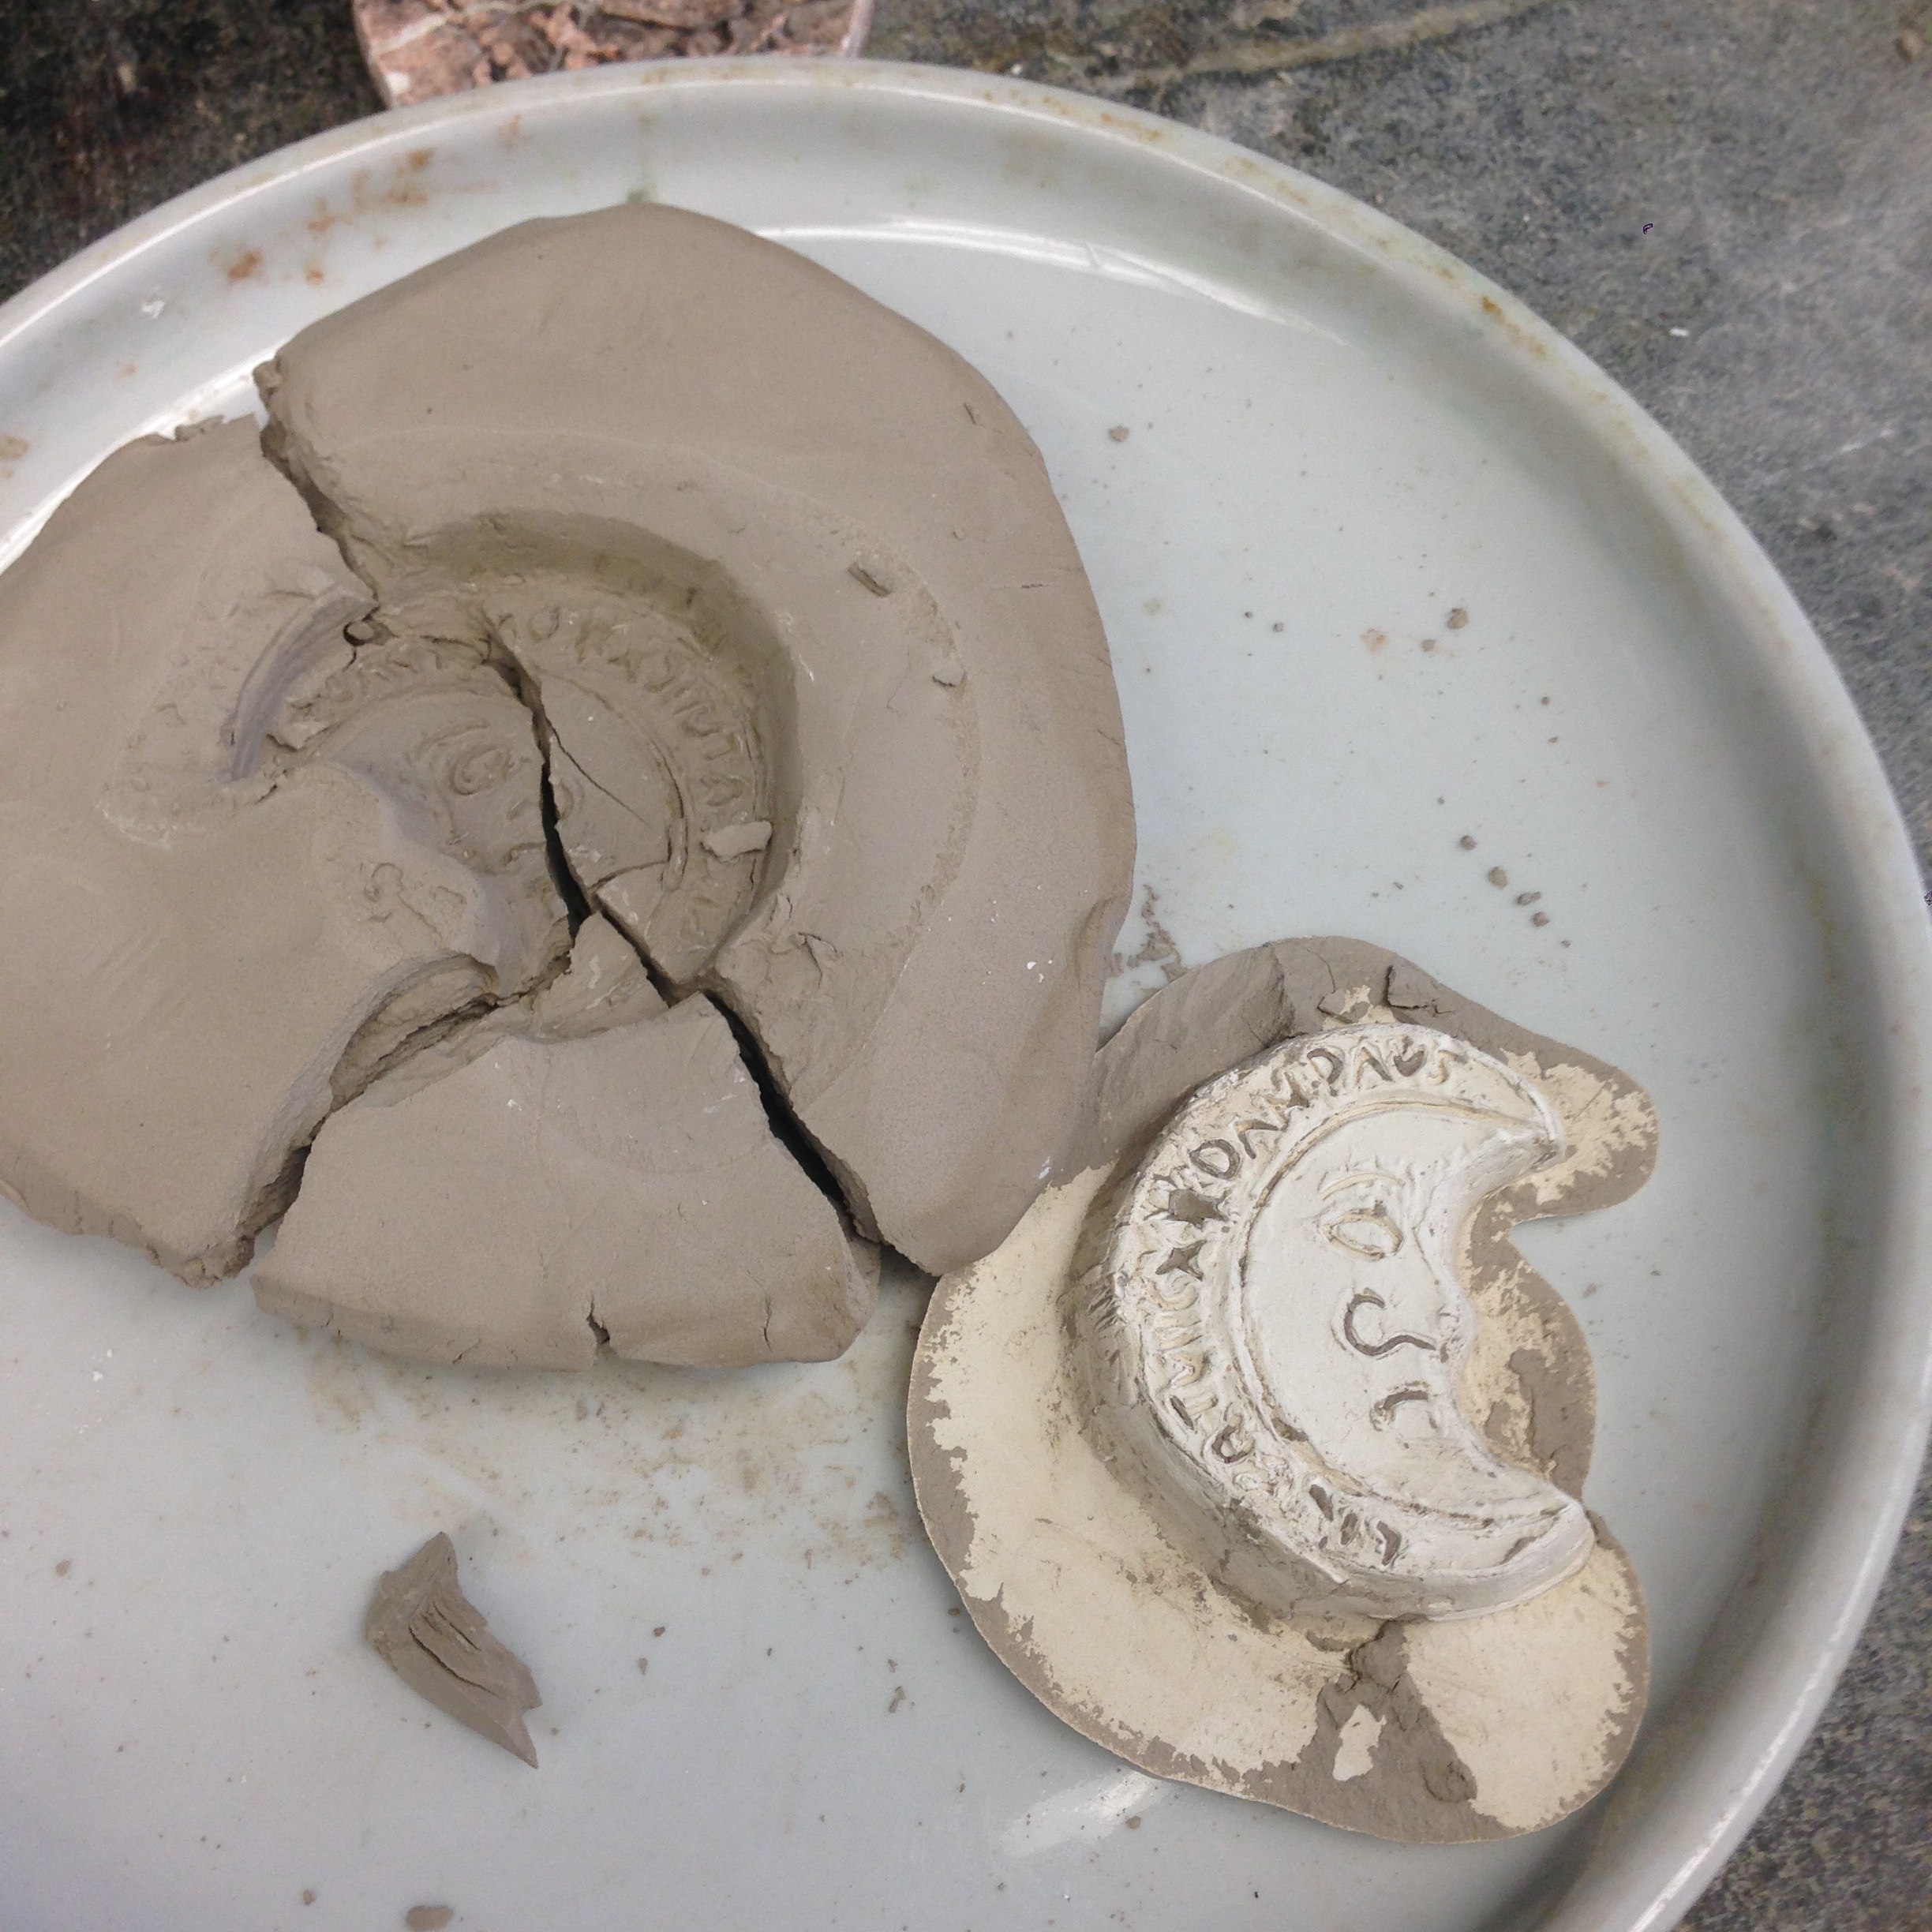
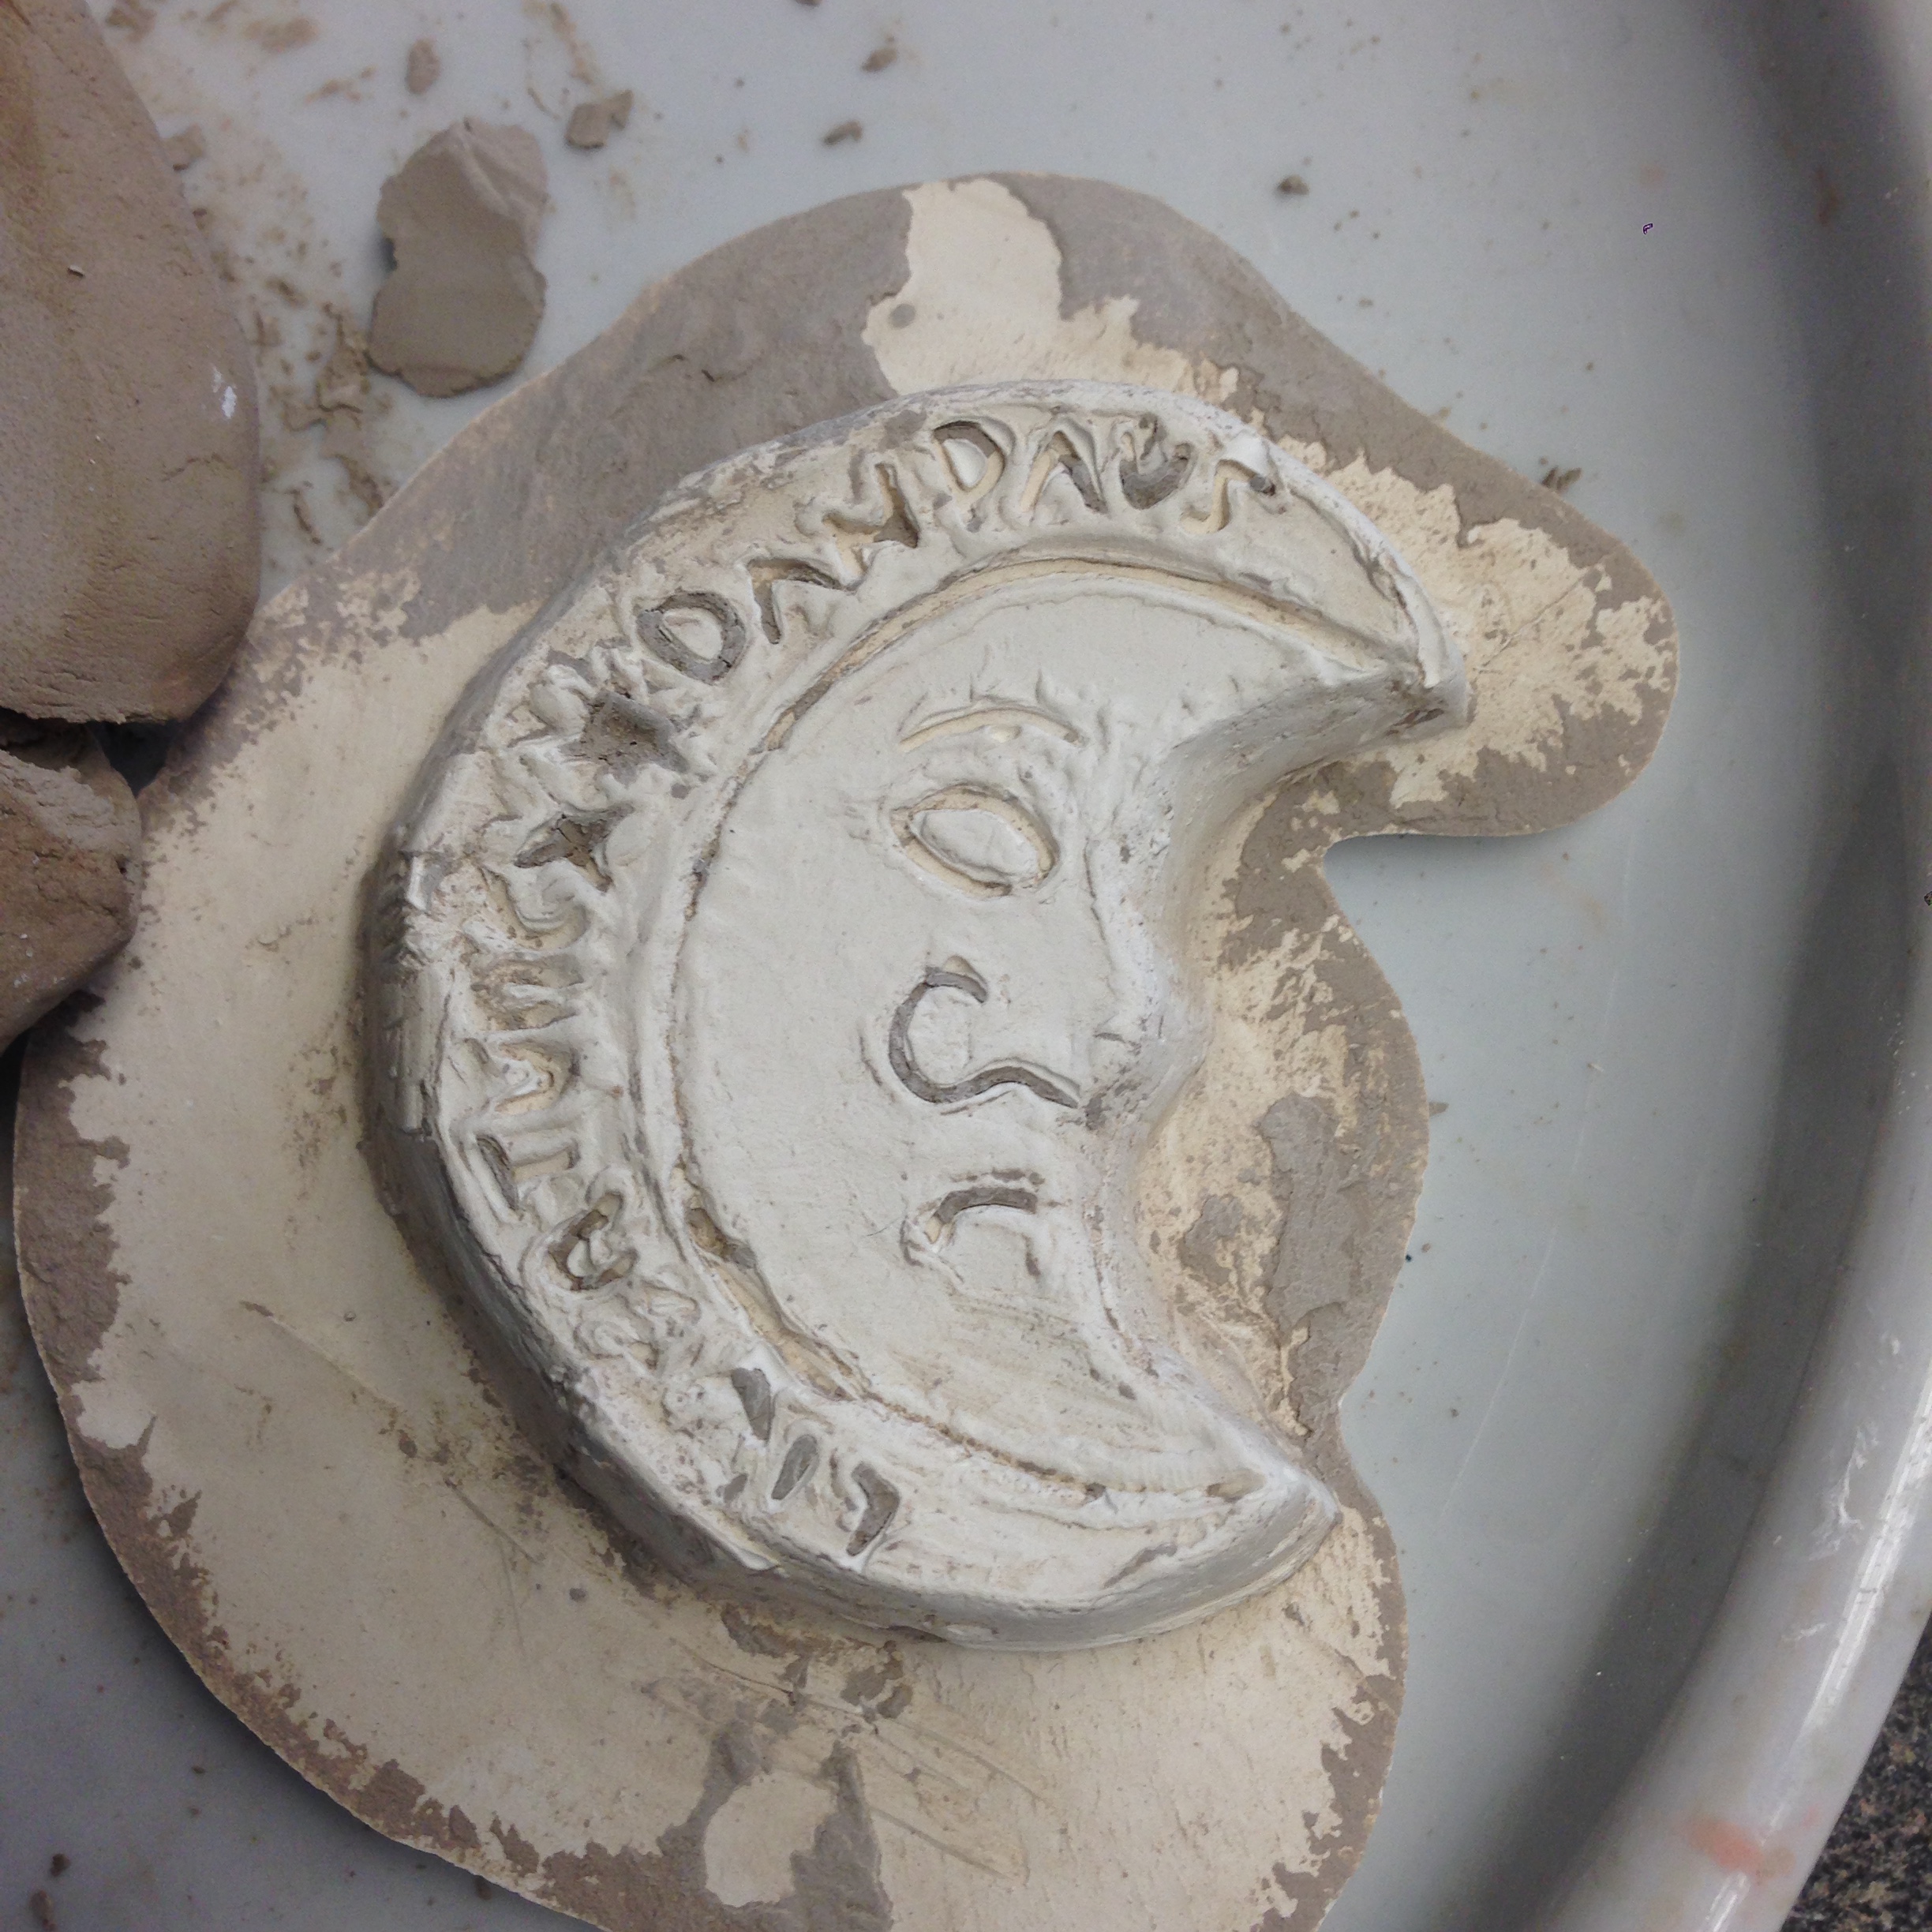
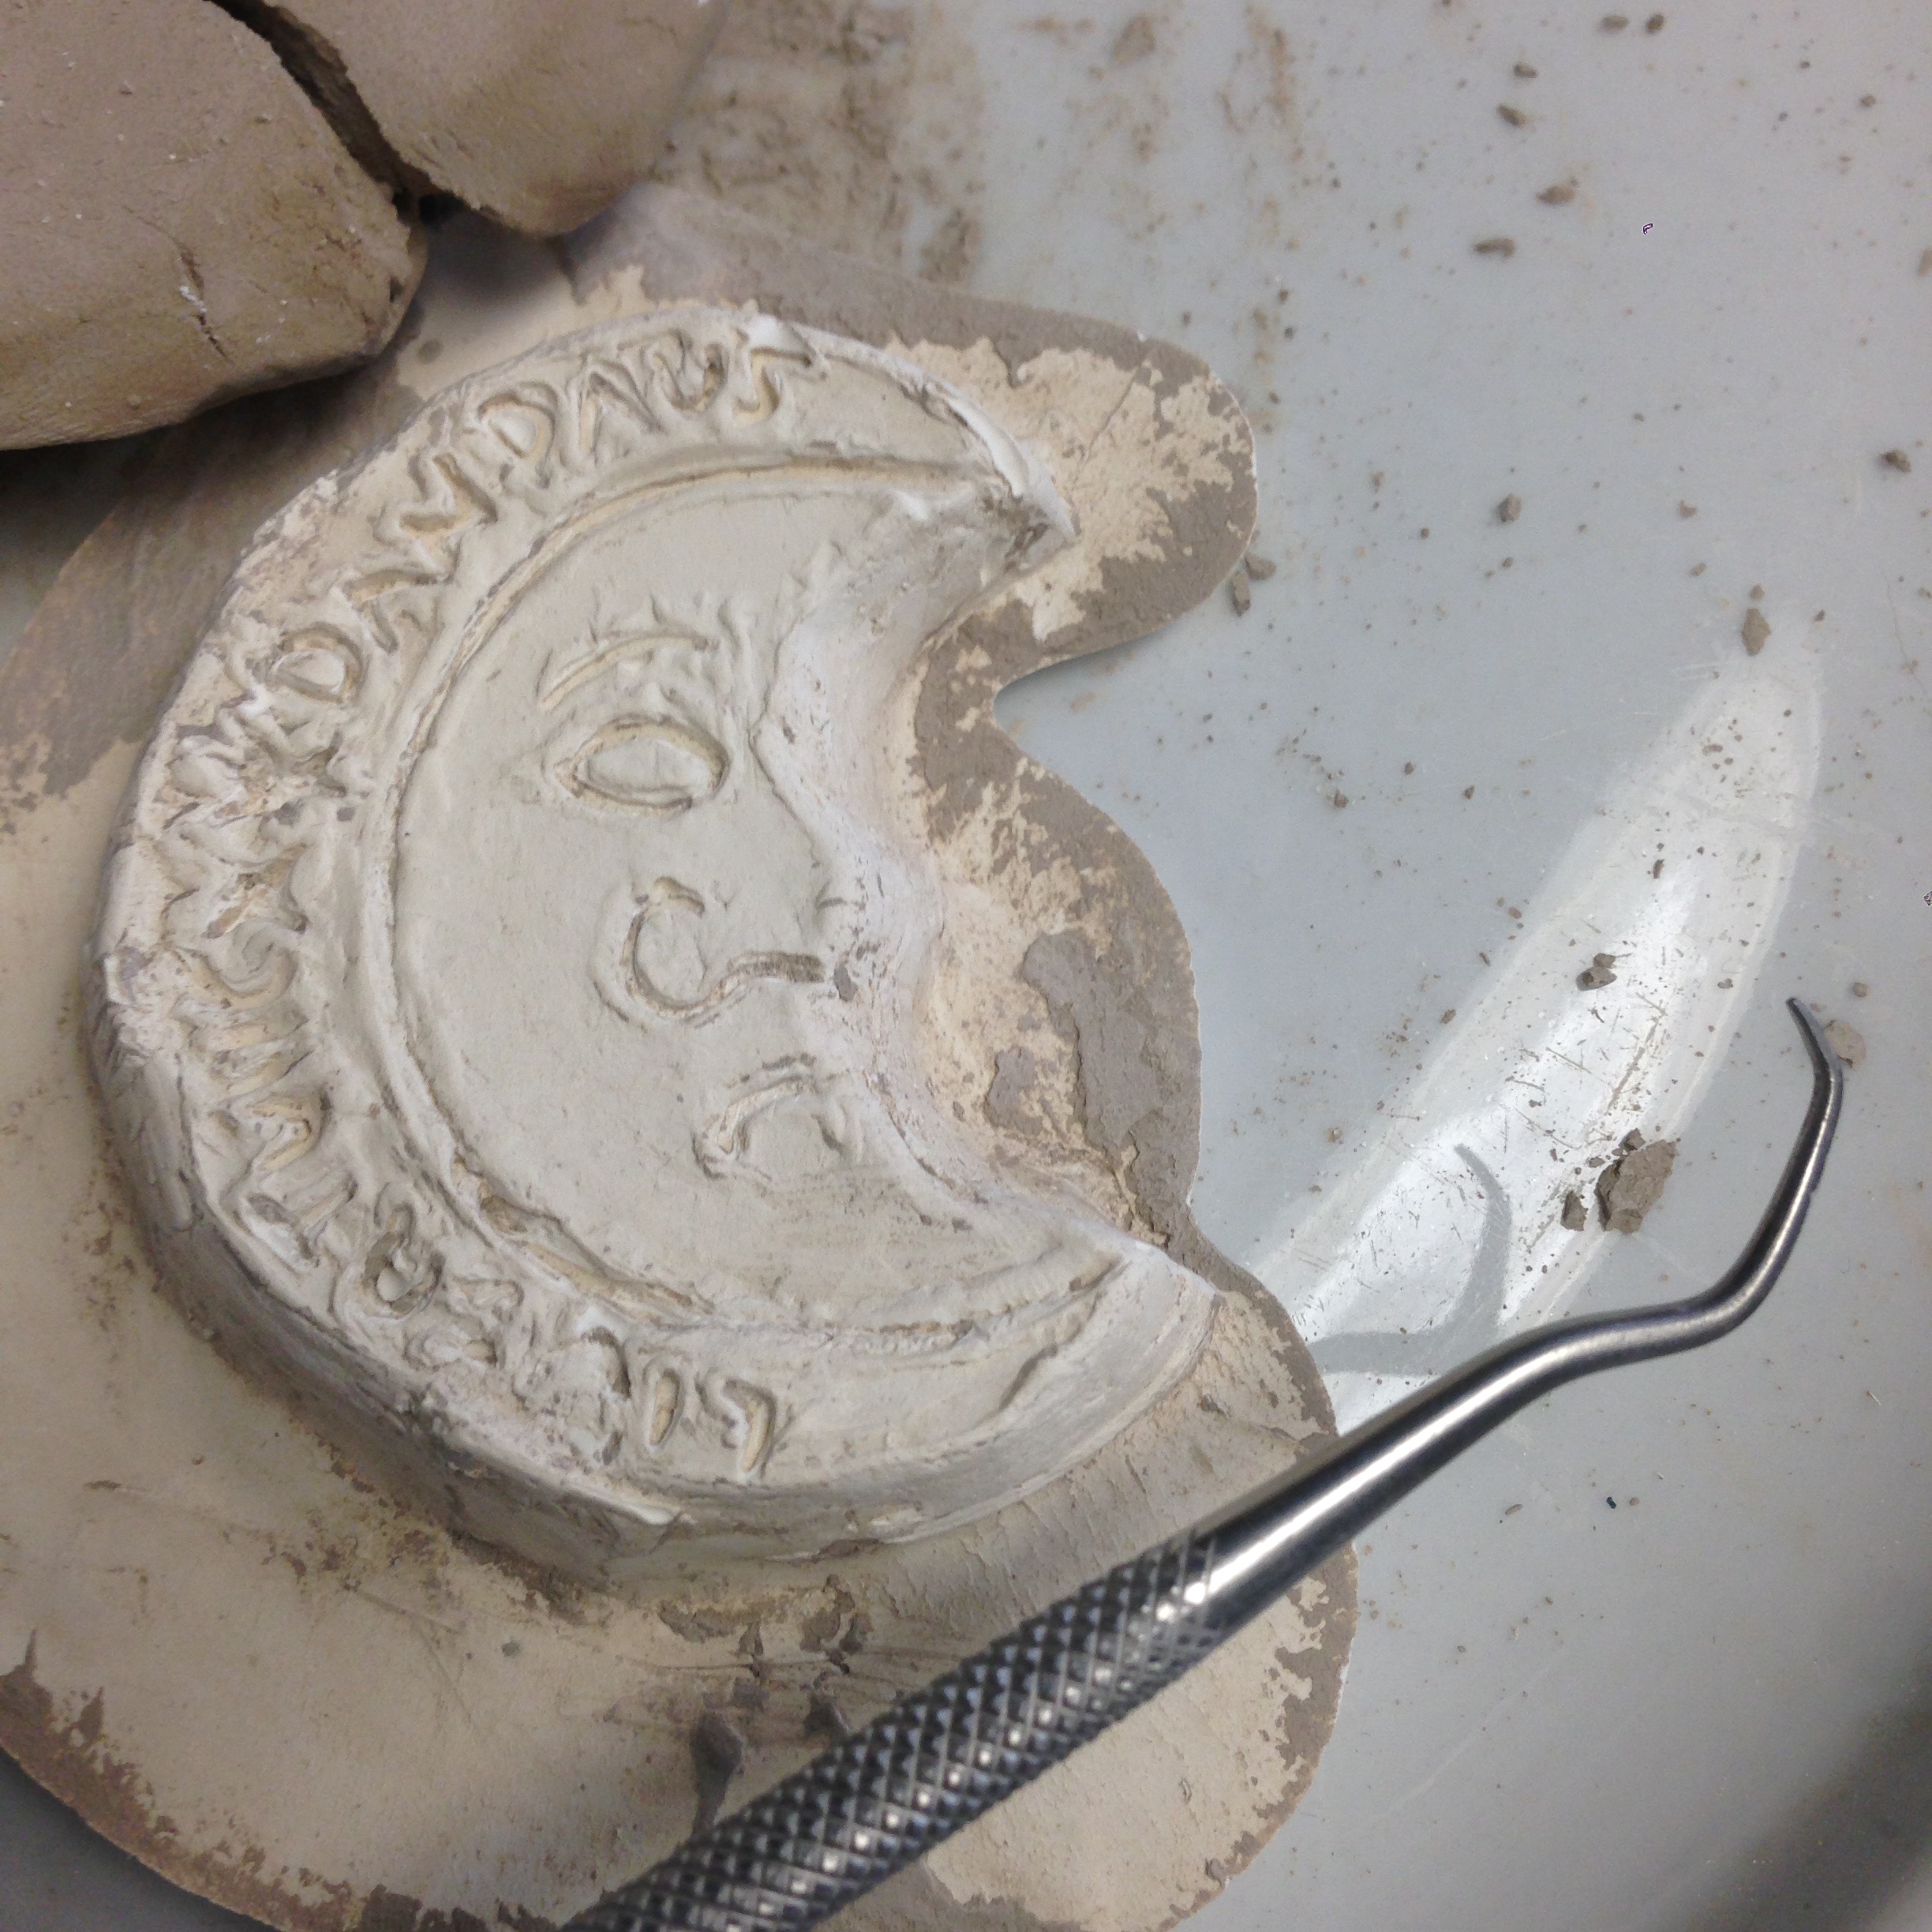
- On Friday 2/20, I returned to the lab to take a look at how the mold had turned out. It was easy to remove the clay from the plaster/vice versa. The clay had a few deep cracks where it had partly dried and split, but the plaster had not leaked. Overall, I was very pleased with how the plaster mold turned out - it was easy to discern most if not all of the moon's features, and I was able to carve away bits of clay which had stuck in the lettering with relative ease. It seems the mold did not suffer for not having a separator.
Sand casting
- Before we (myself and Steph Pope) started working with our sand, I worked with a hammer, chisel, file, and smaller carving tools to cut down and smooth the edges of my plaster mold. I also tried to deepen all of the lettering cuts so they would make better impressions.
- Steph and I chose the following recipe for our sand:
<title id=”p093r_a4”>Sable</title>
<ab id=”p093r_b4”>La cendre blanche de tout boys qui se tient encores au boys<lb/>
qui brusle et nest point tombee au bo foyer moule fort net</ab>
<title id=”p093r_a4”>Sand</title>
<ab id=”p093r_b4”>The white ash of all kinds of wood, which still sticks to the wood while
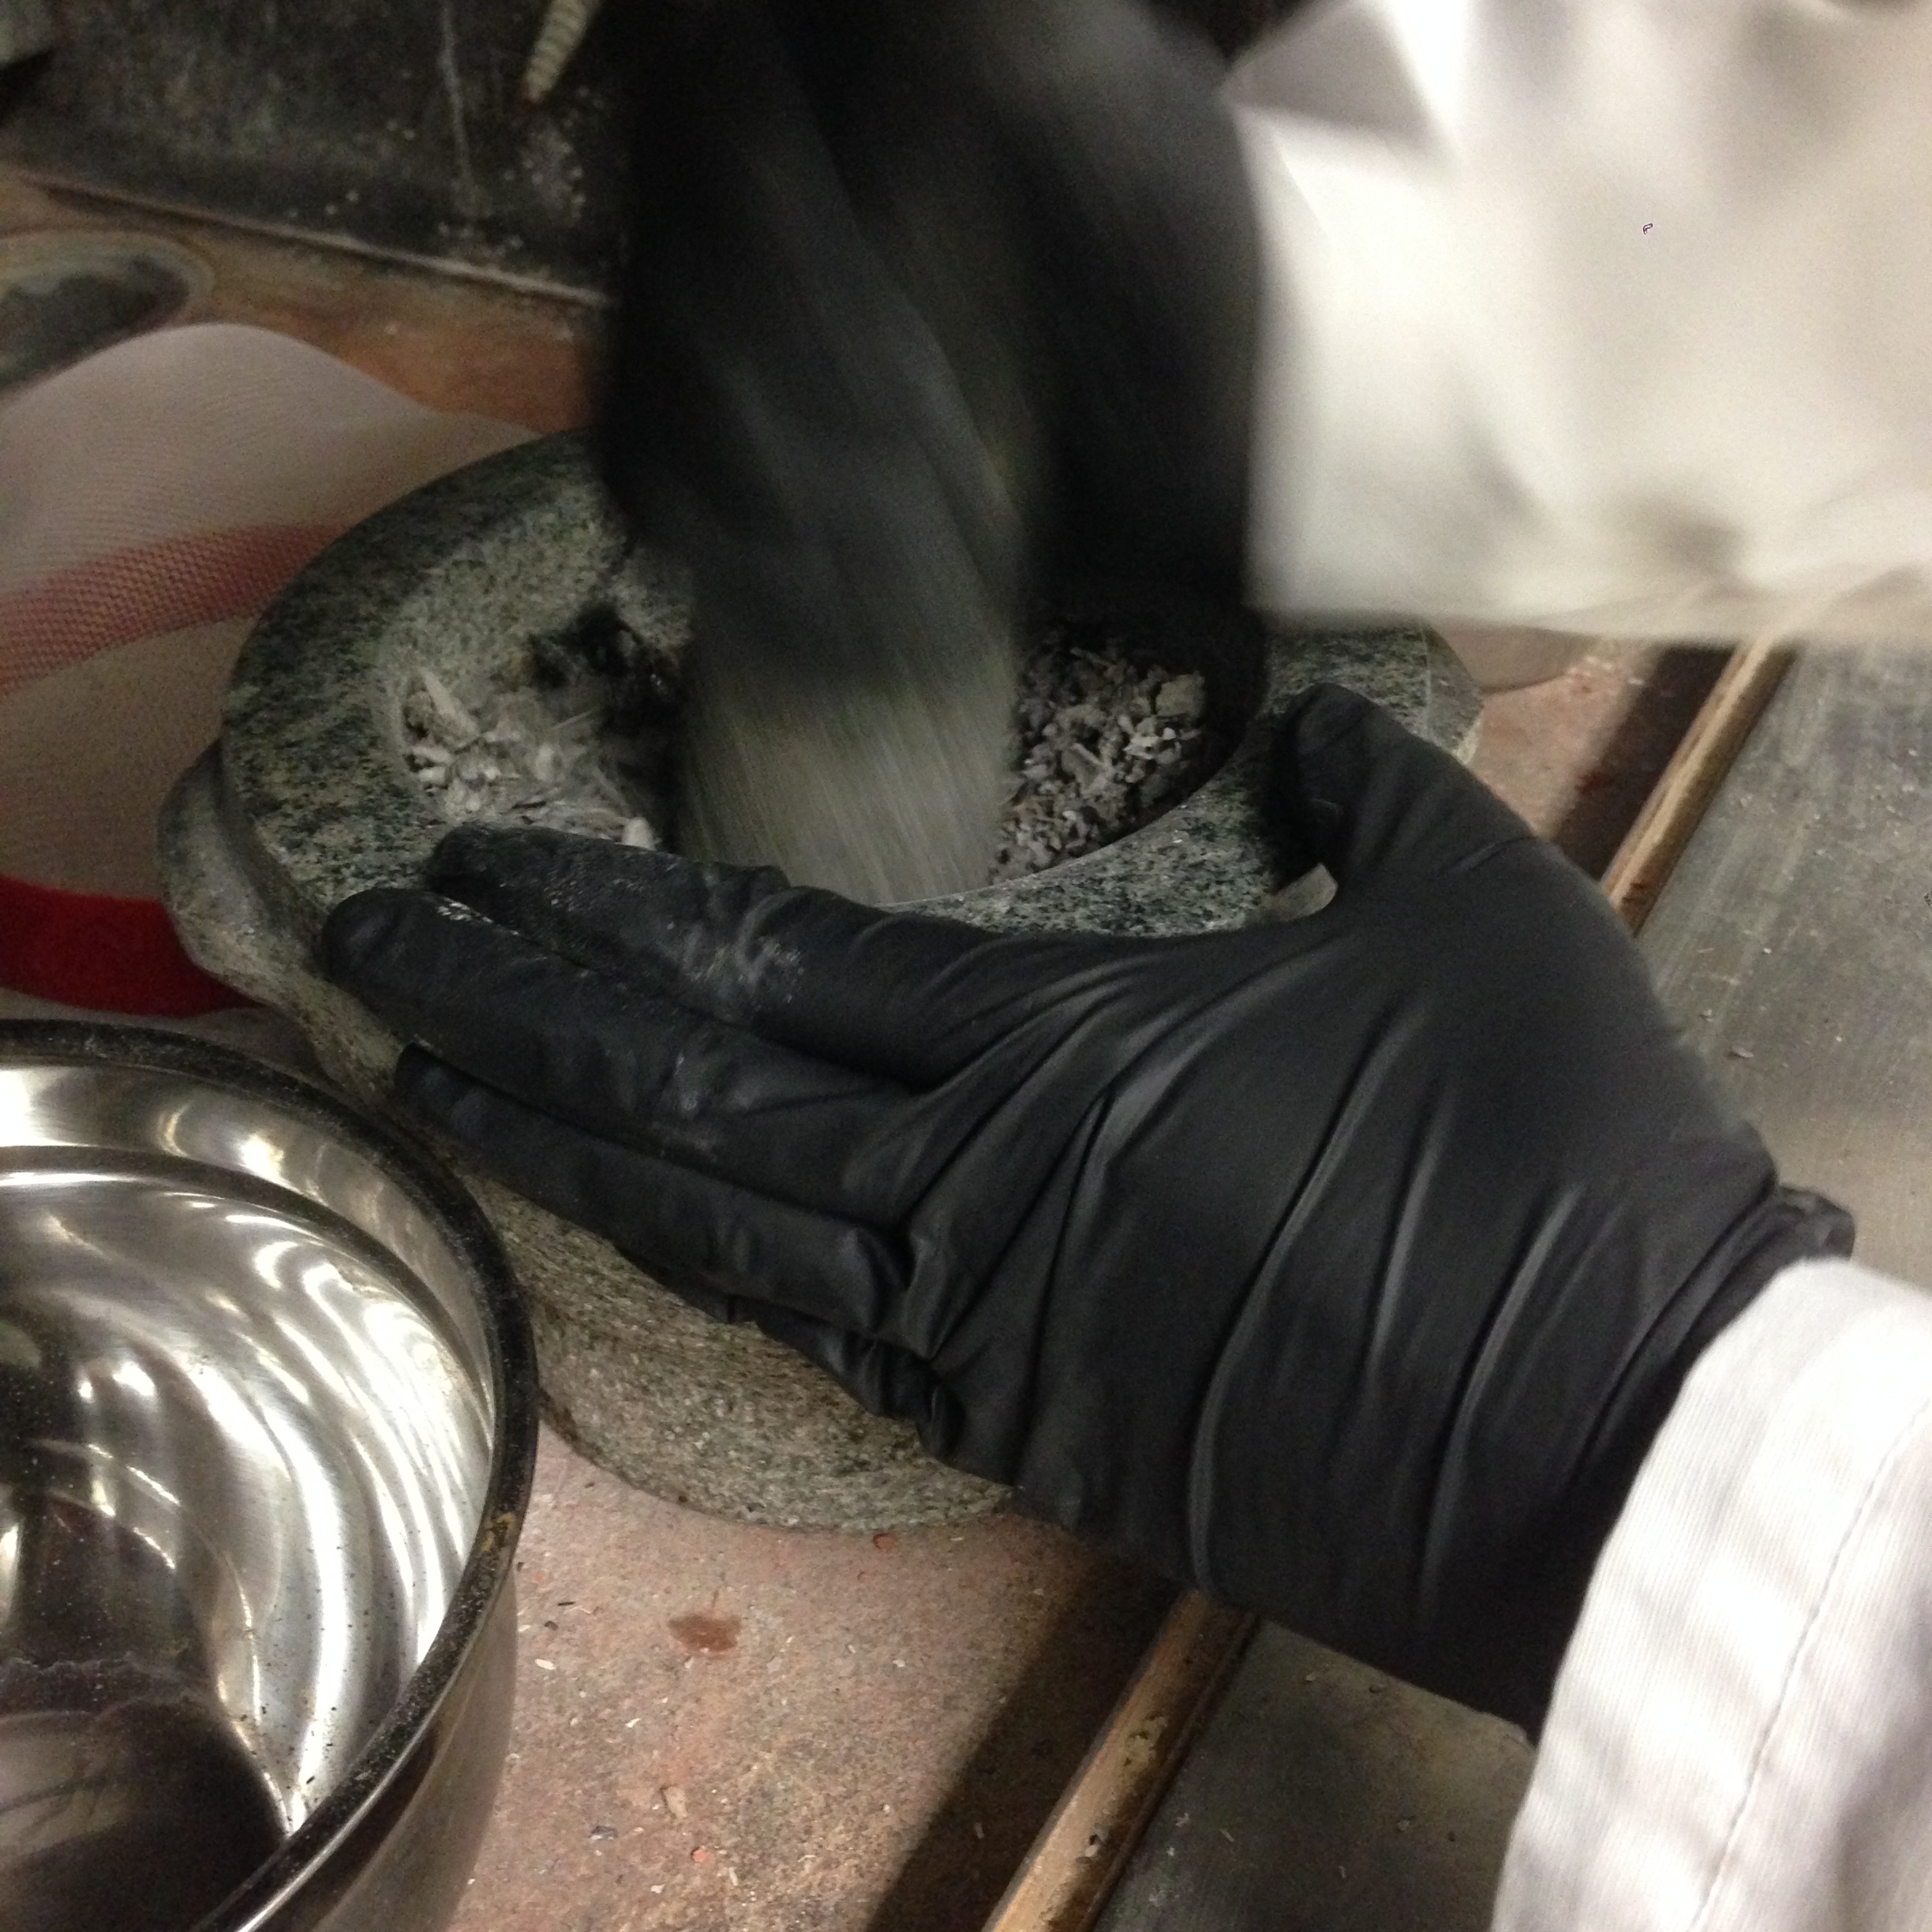
burning, and which has not fallen into the hearth, molds very clean</ab> - The ash we used was provided by Prof. Smith, who had gathered ash that fell from pine logs that were burned in a wood stove. We sieved the ash as it came to us, then ground up the remaining larger pieces of charcoal until all that was sifted out was small black flecks.
- We searched through BnF 640 for mentions of binders and magistras. Among the binders mentioned were 'good pure wine,' wine boiled with elm tree roots, salt water, or egg whites. We decided to use wine alone (from a bottle of Charles Shaw red which was in the lab).
- In the meantime, I dusted the plaster mold with charcoal dust, which would function as our separator.
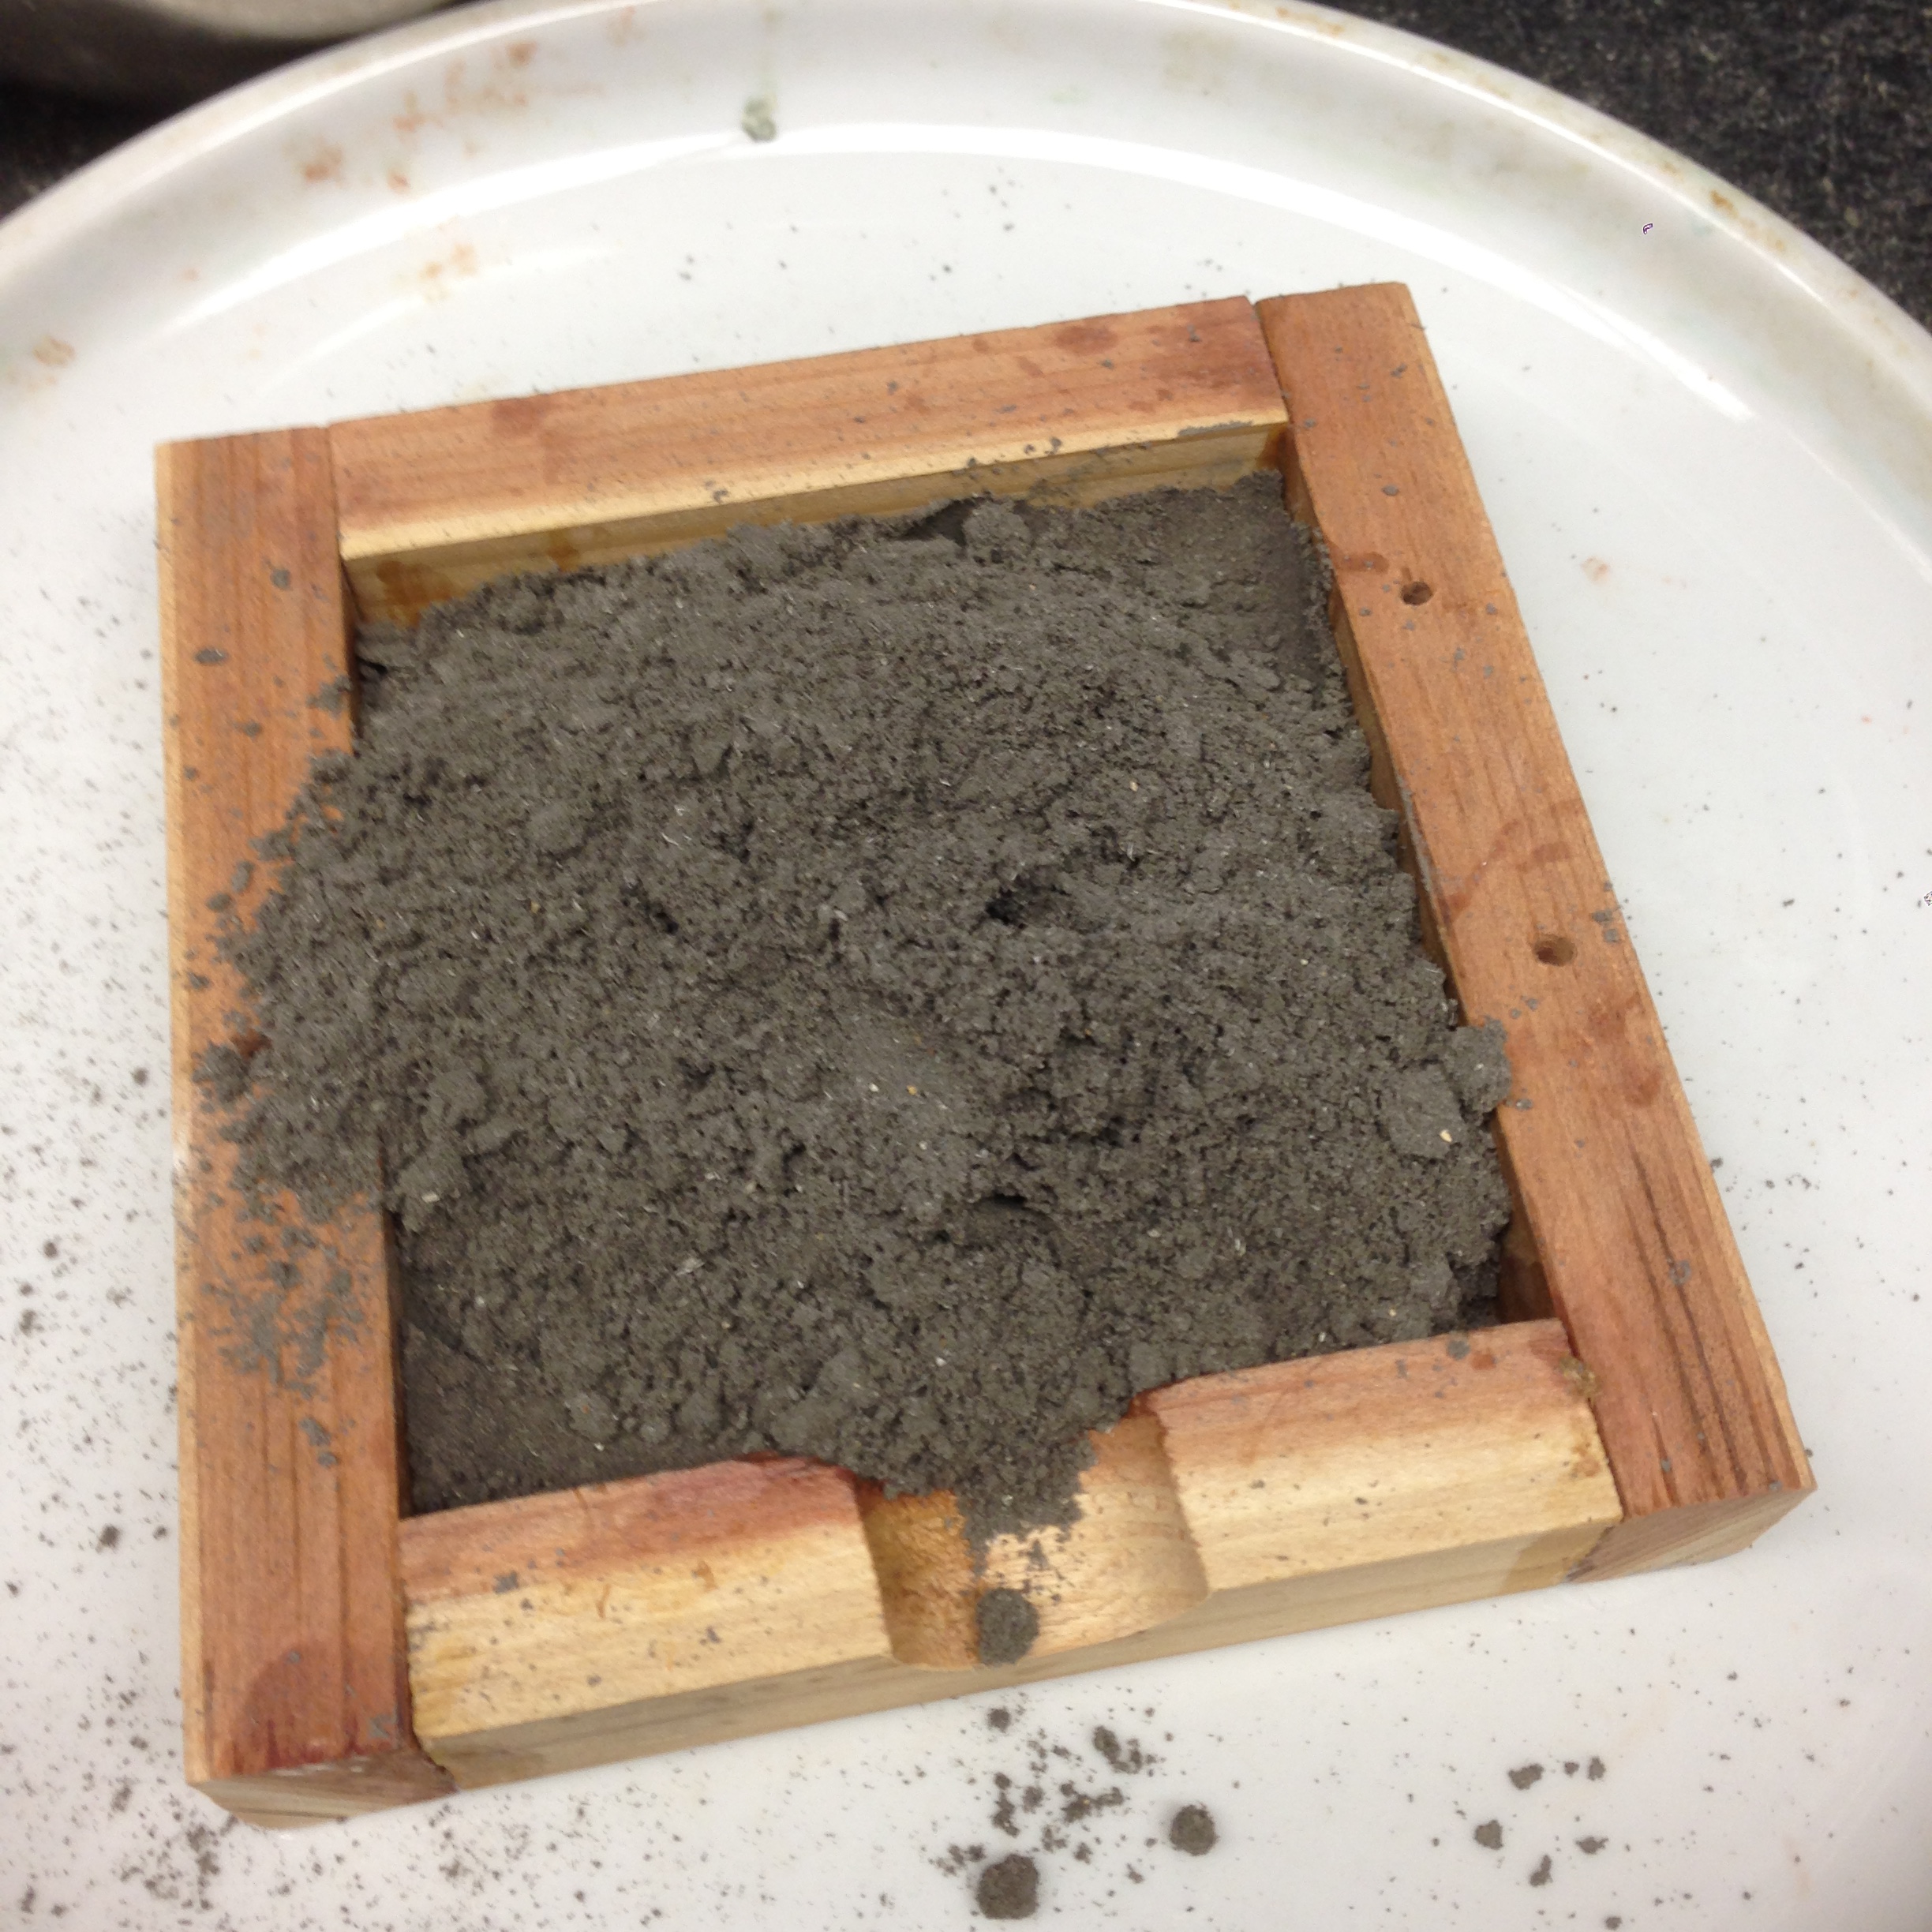
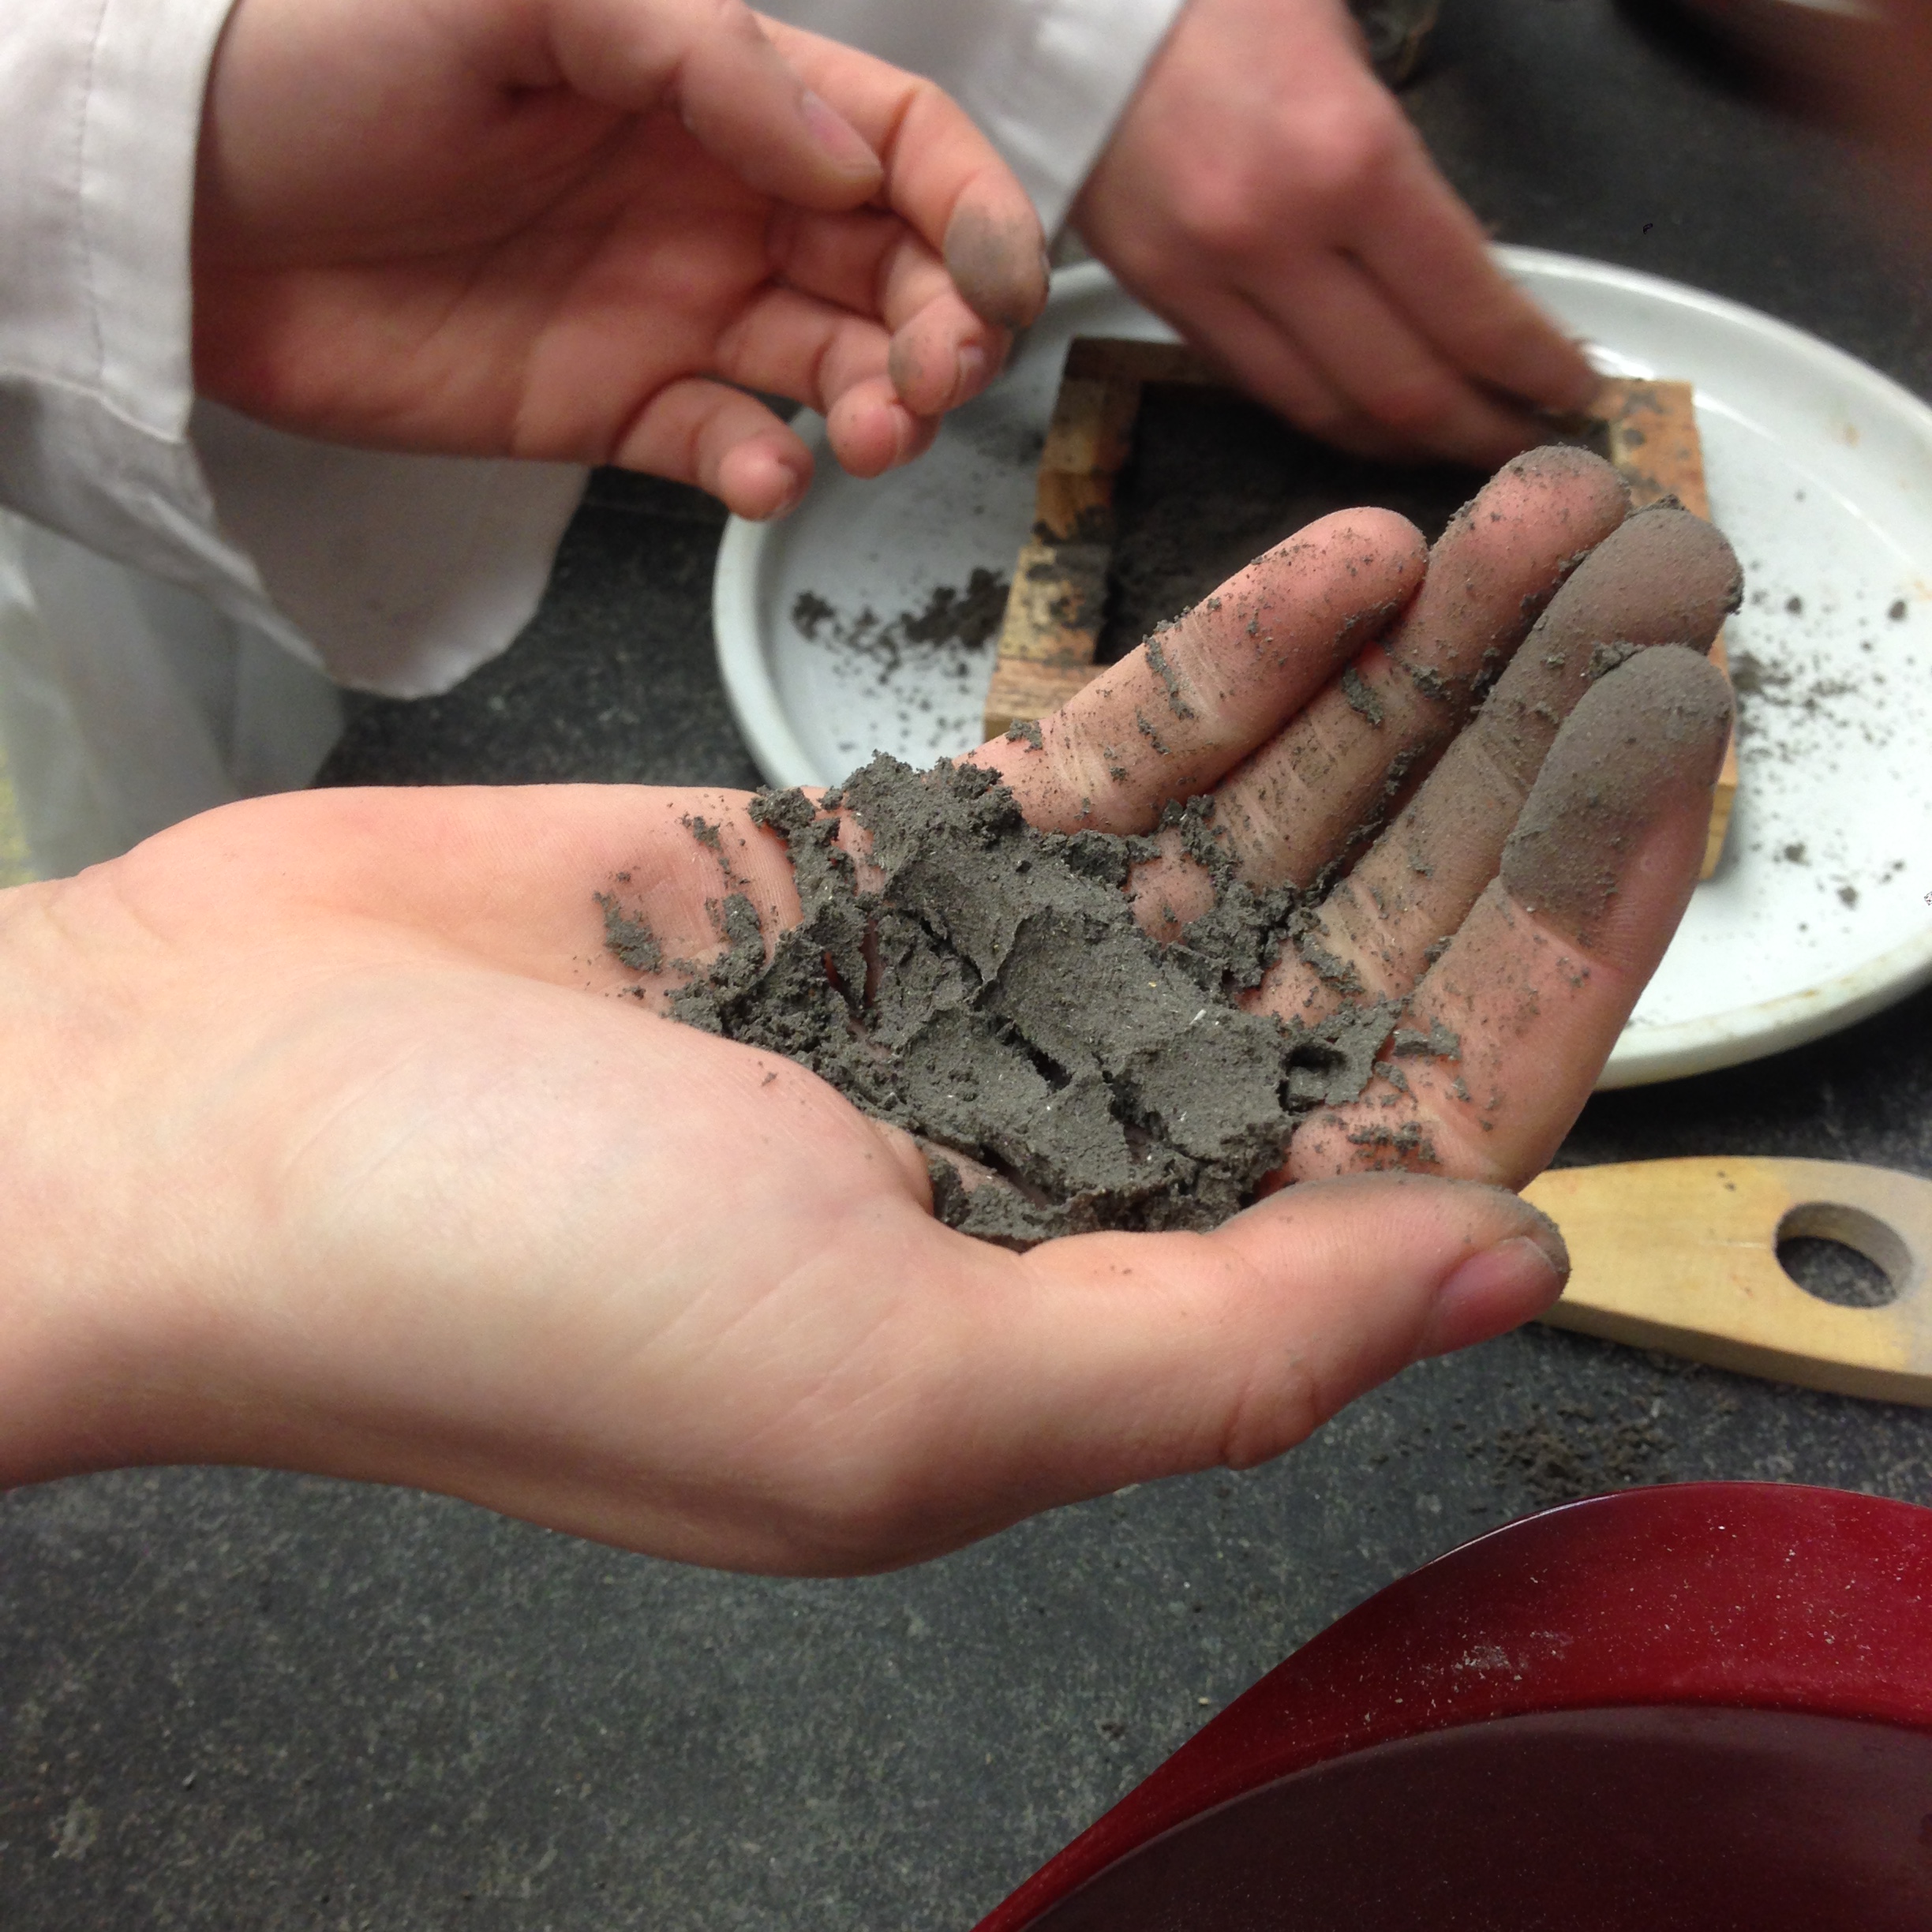
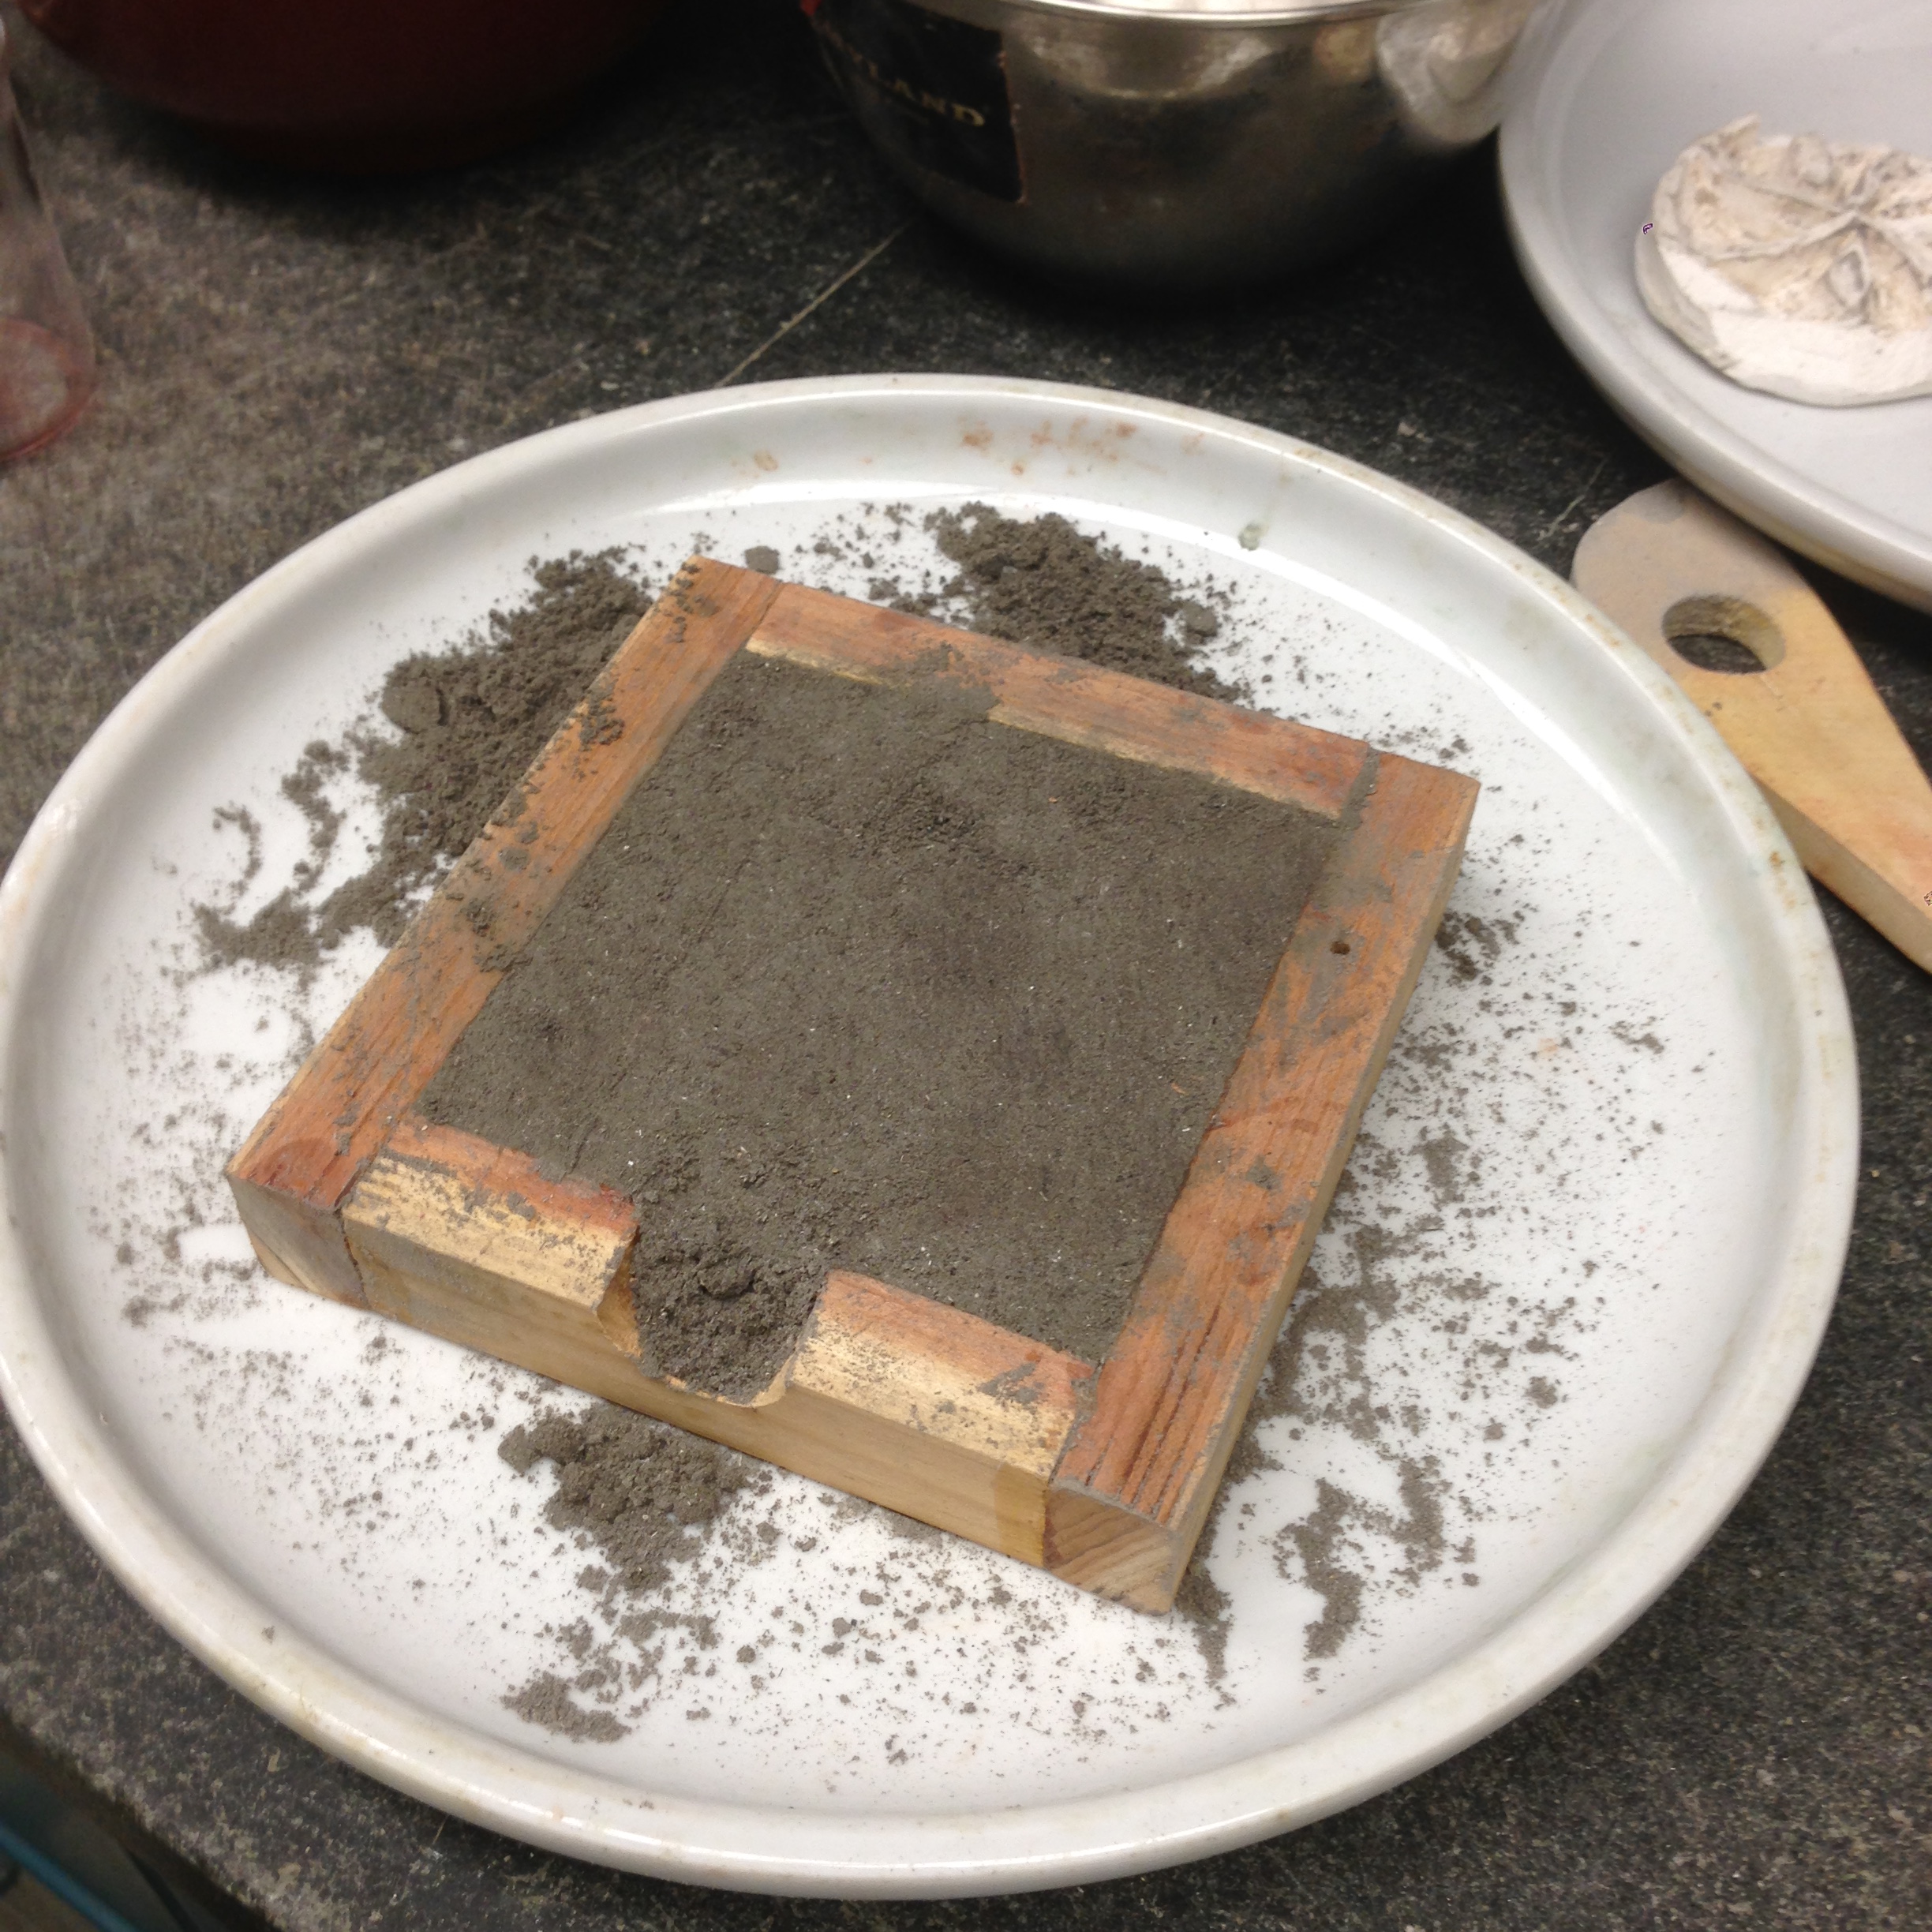
- Using clues in the manuscript on fol. 118, we pressed the ashes&wine mix into our form box and slowly around the mold. The box seemed ill-made or a little mis-formed, as it would not lie completely flat on the plate we were using; we decided we would have to be very careful about moving, packing, and flipping the box. We also took clues from the manuscript as to what consistency the wet sand should have - we stopped adding wine when the ashes would stay clumped together after we pressed them in the palm of our hand.
- Once the box was full and tightly packed (this took 2 cups of ashes and 40 ml of wine in total), we leveled off the top of the box with a straight edge. We then flipped the box, which was easier than expected.
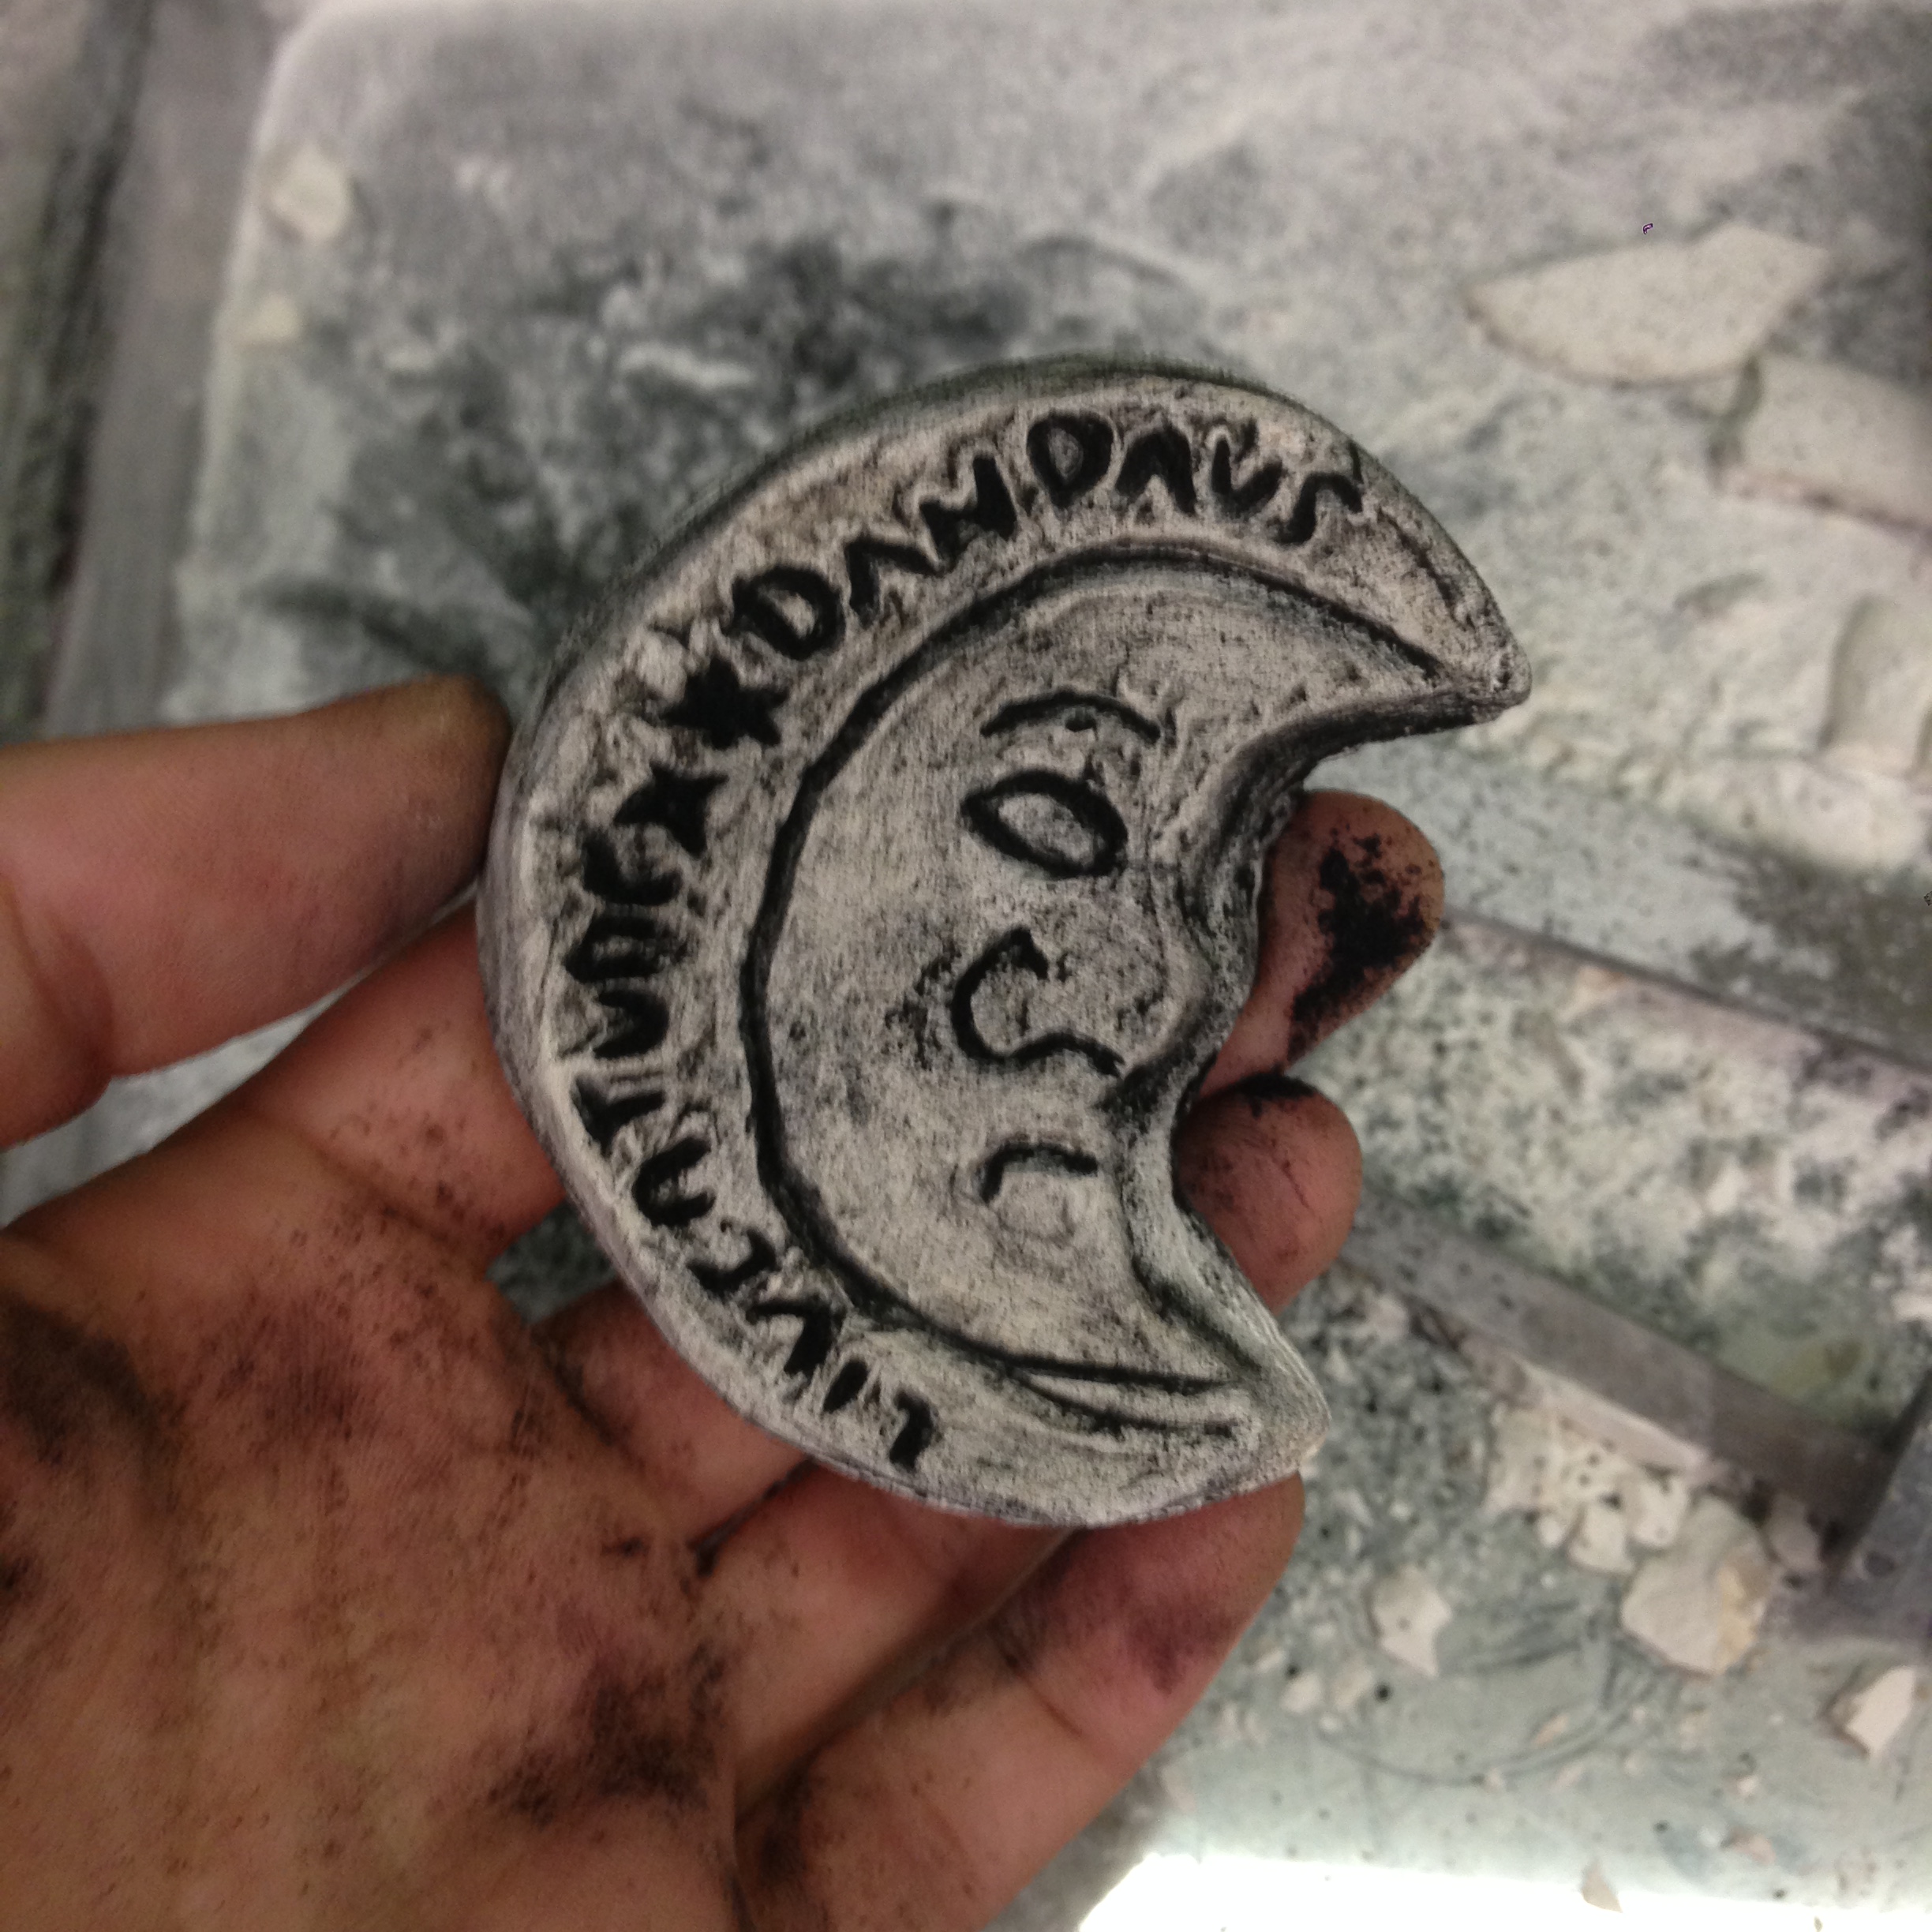
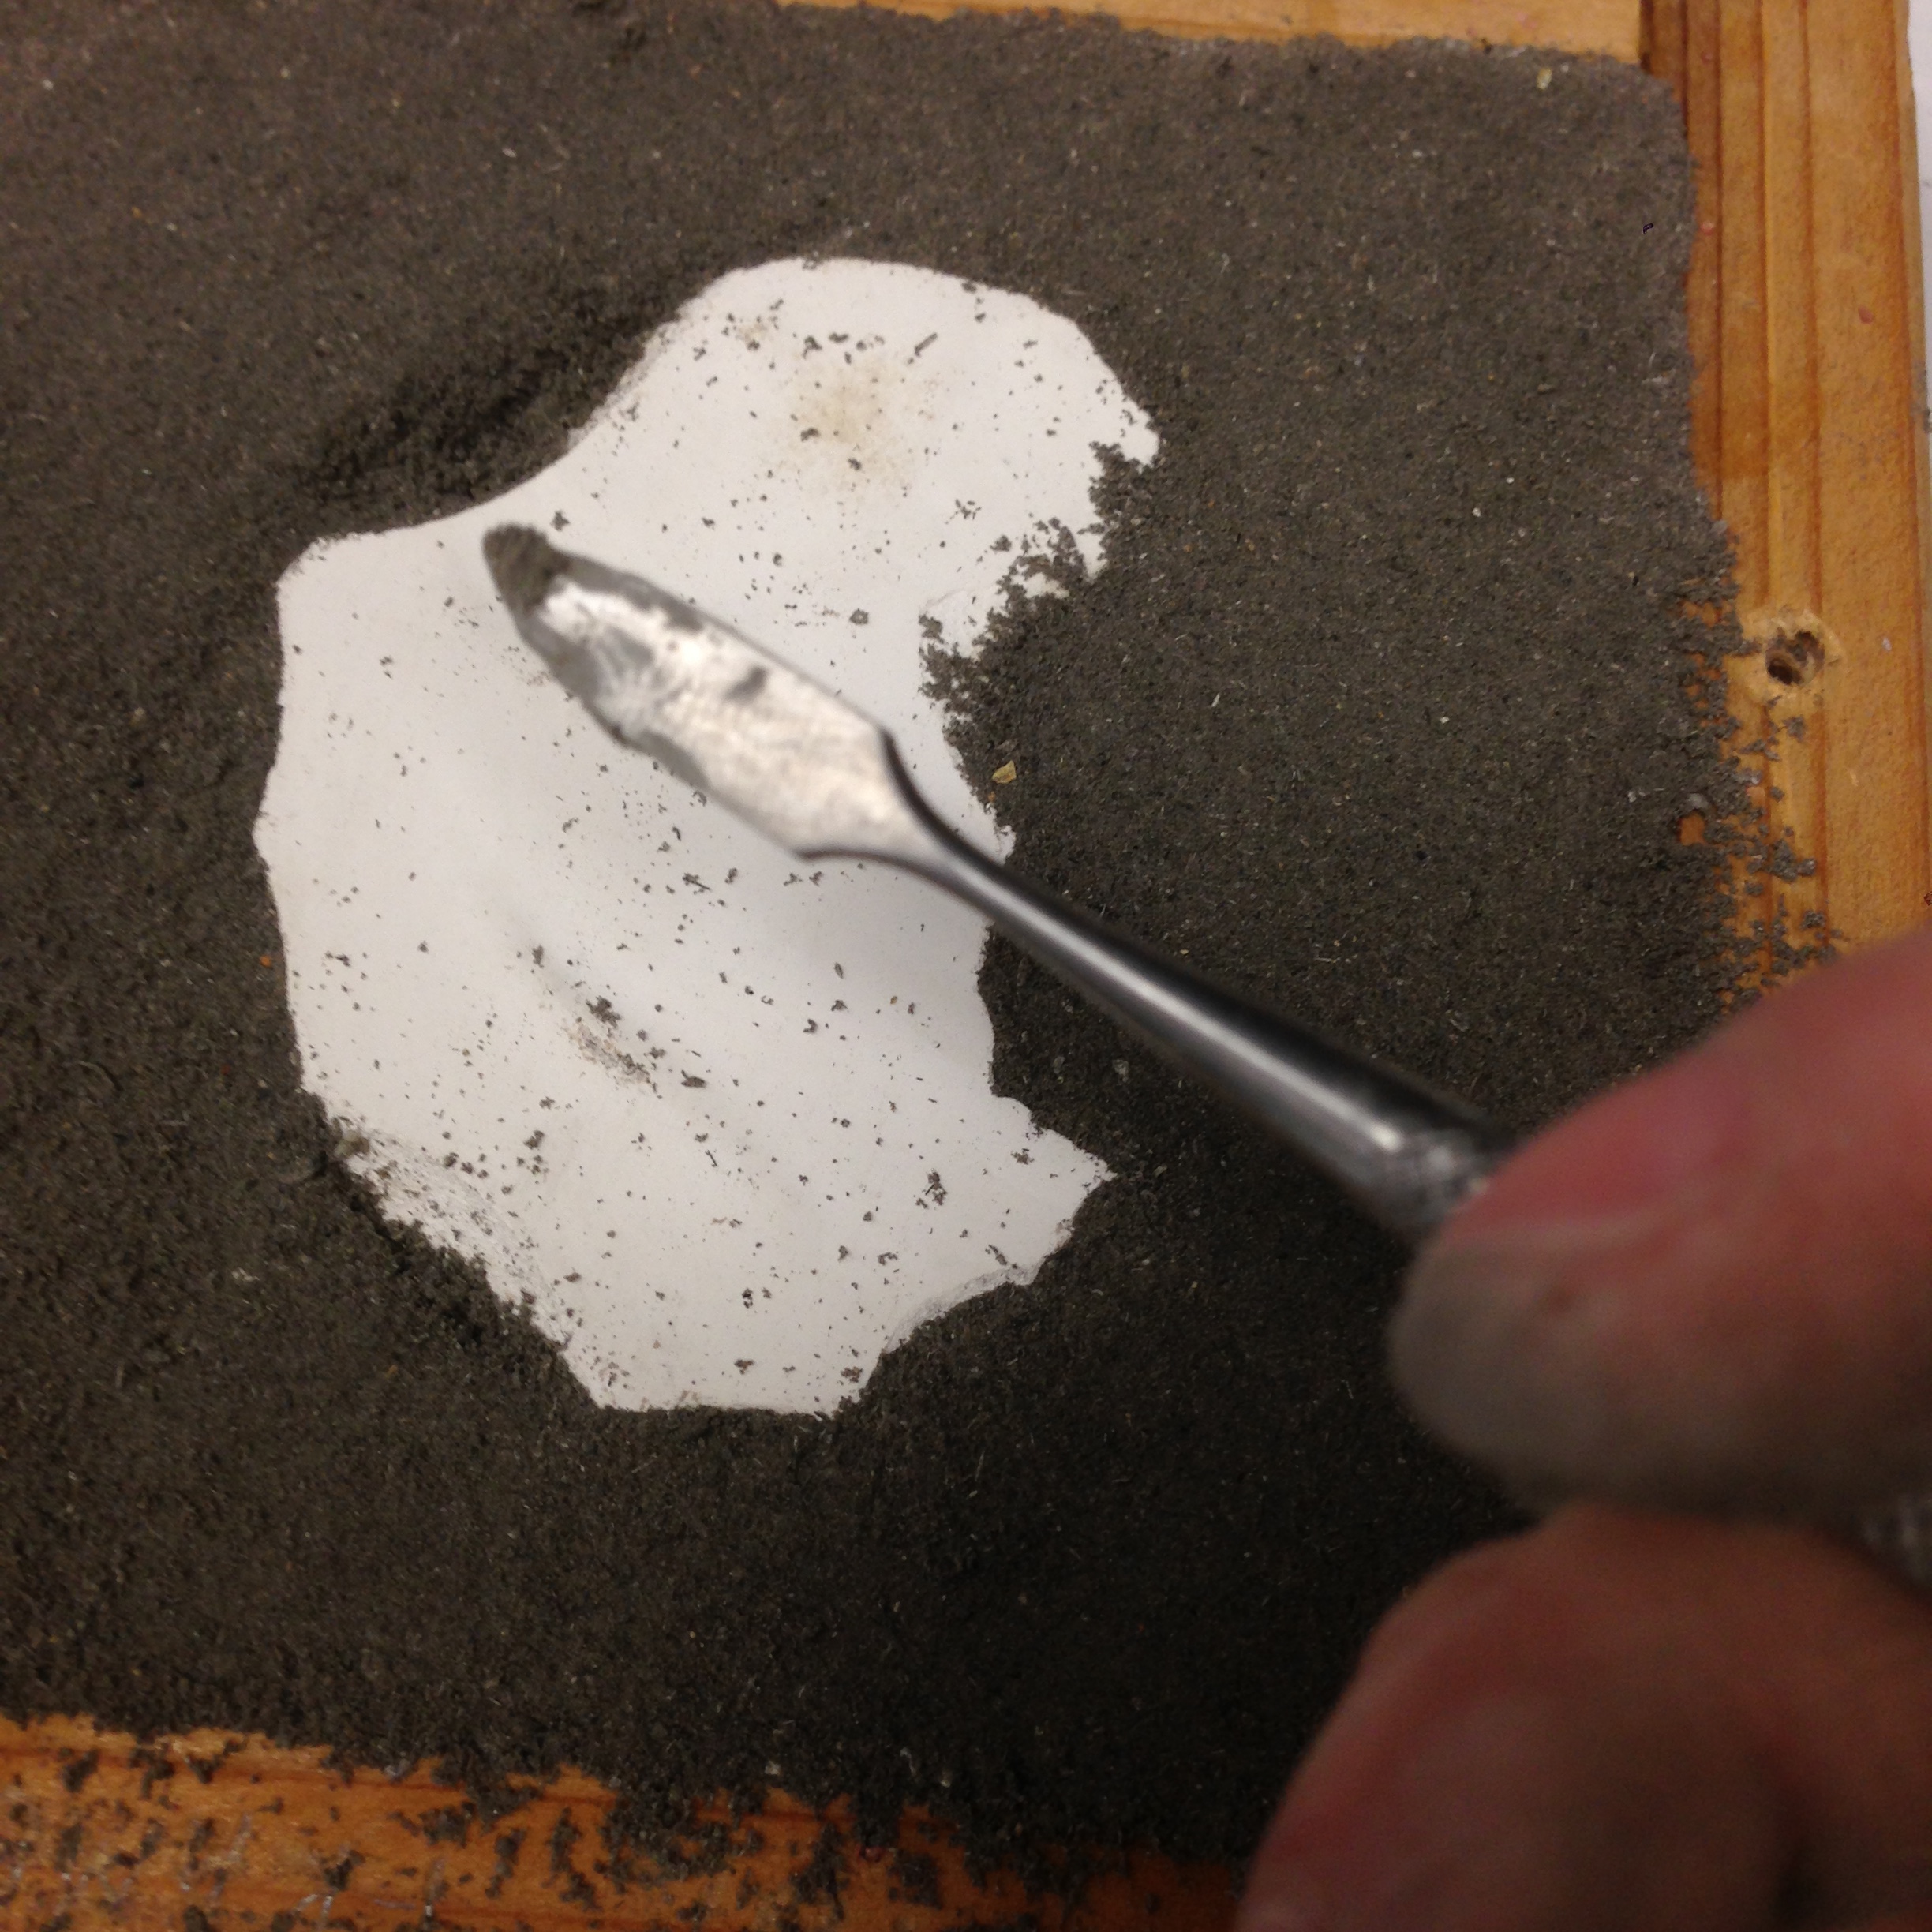
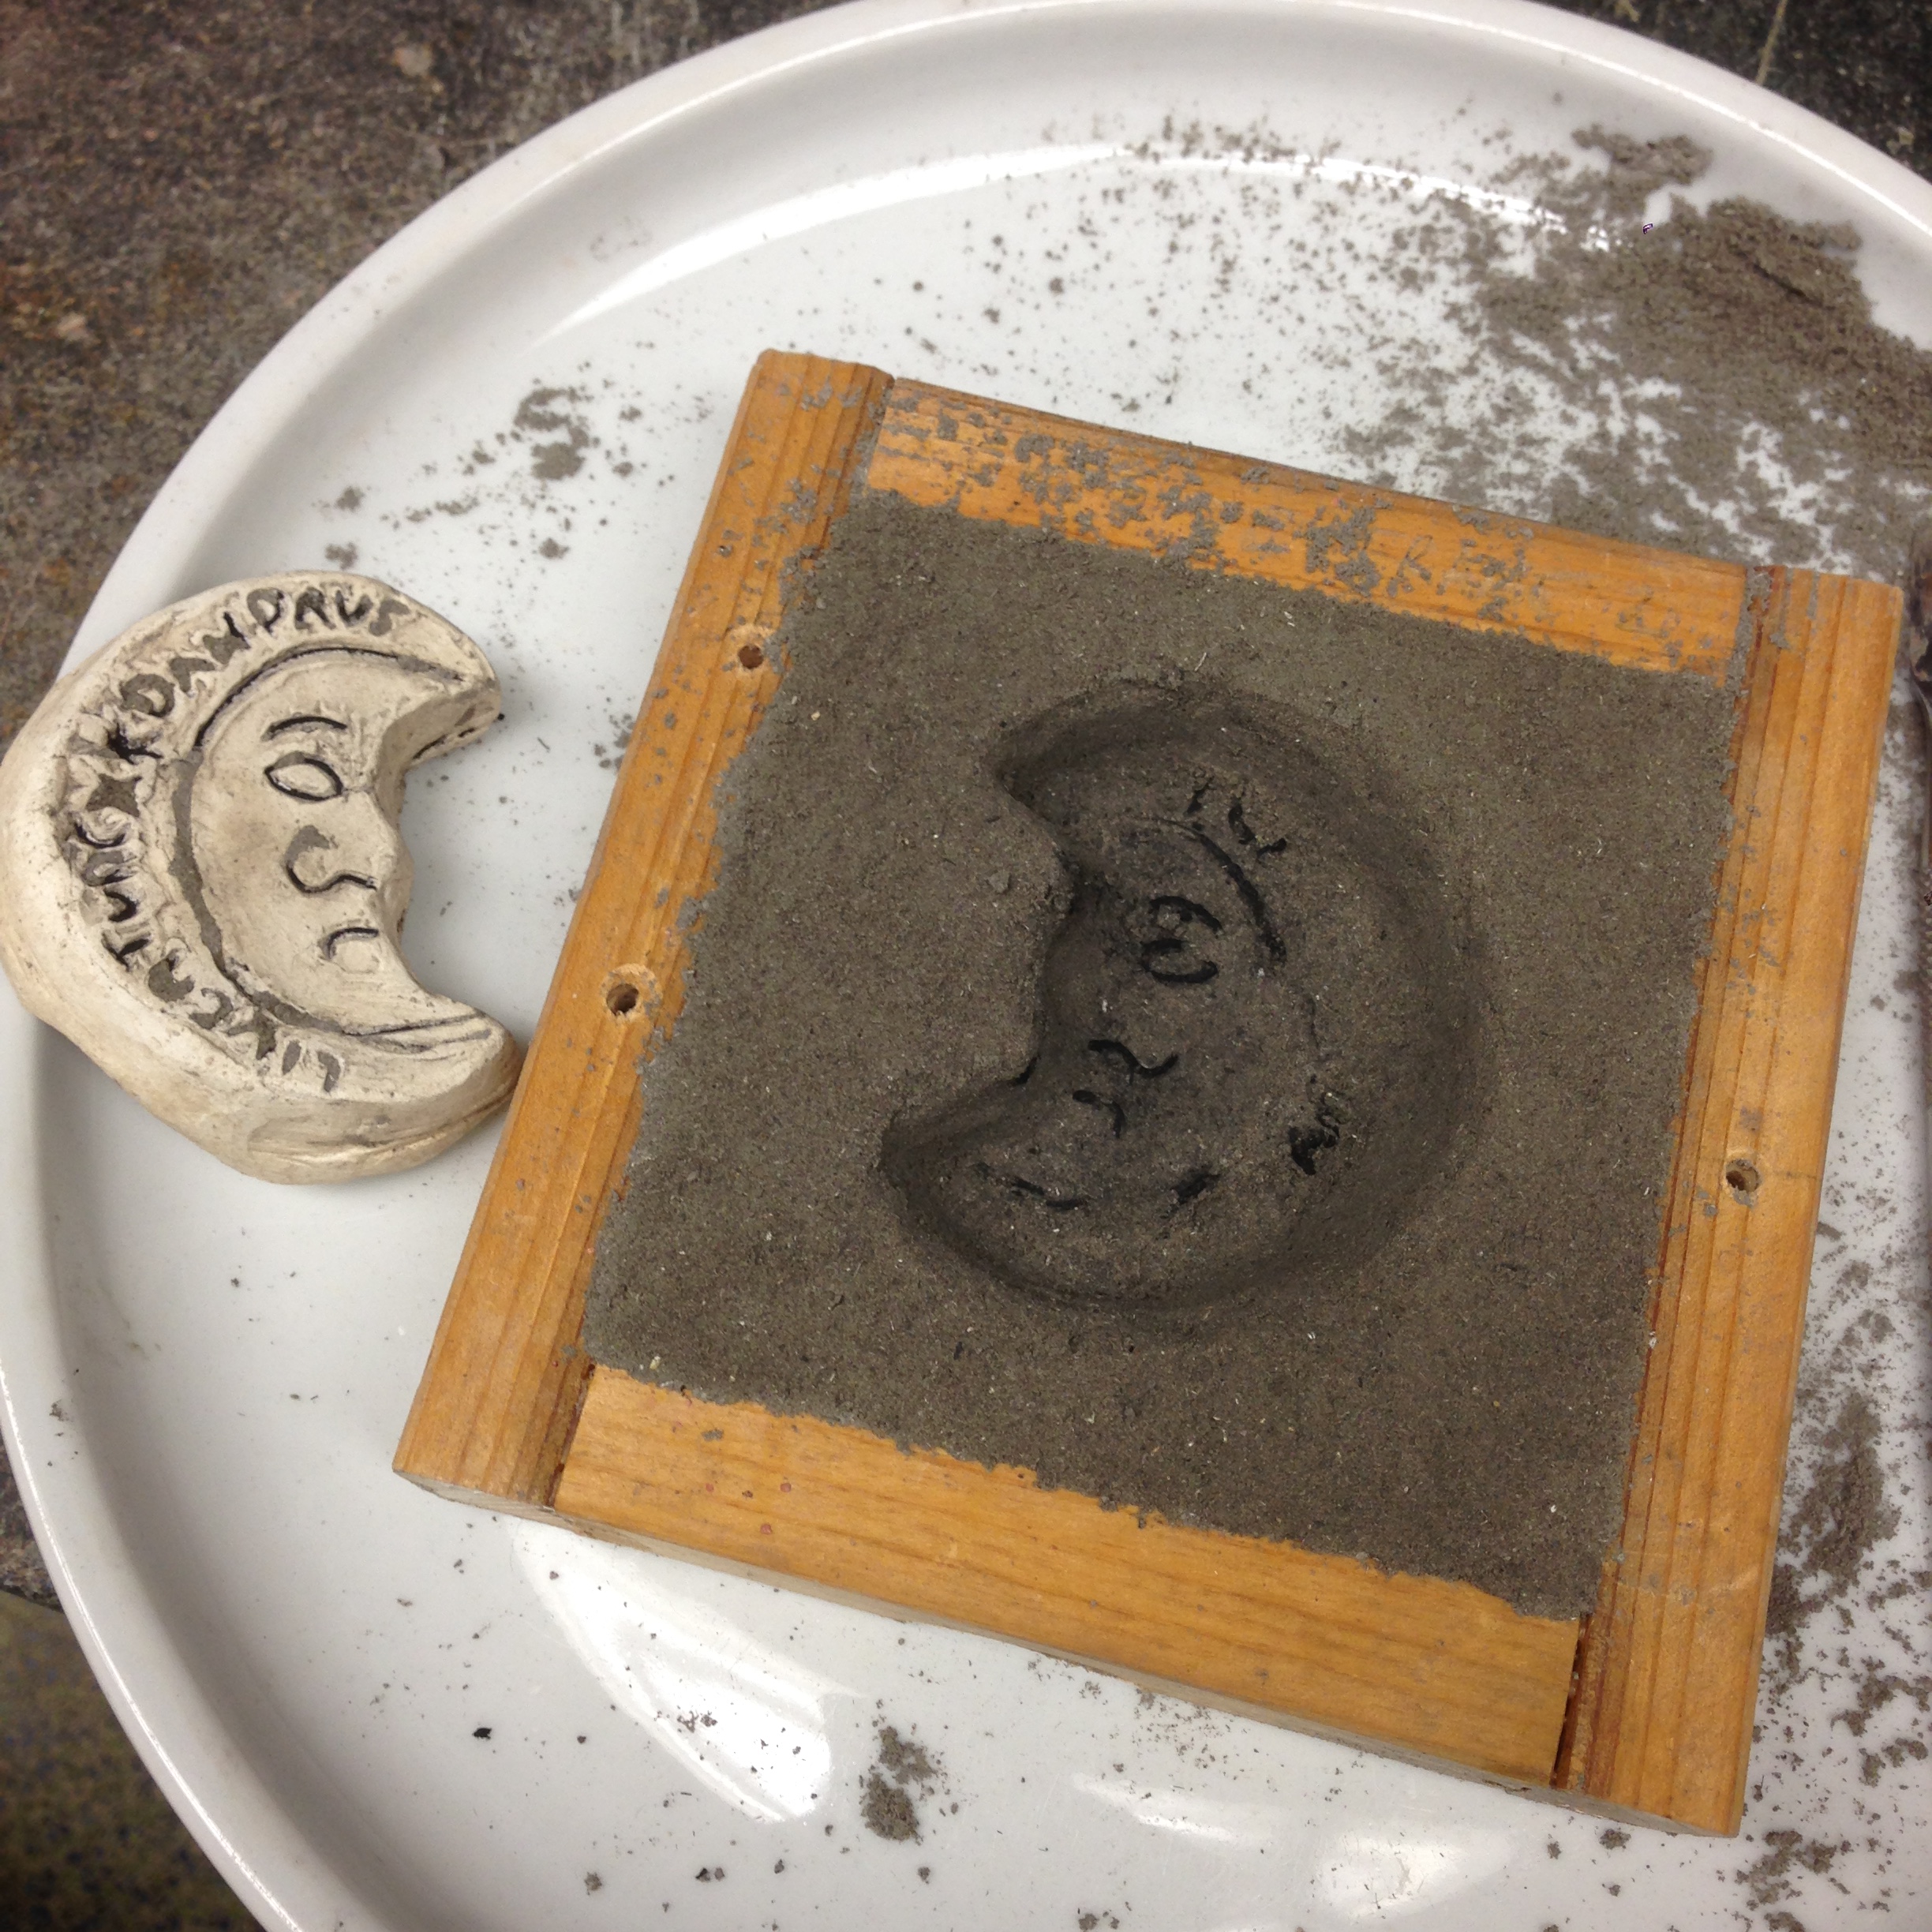
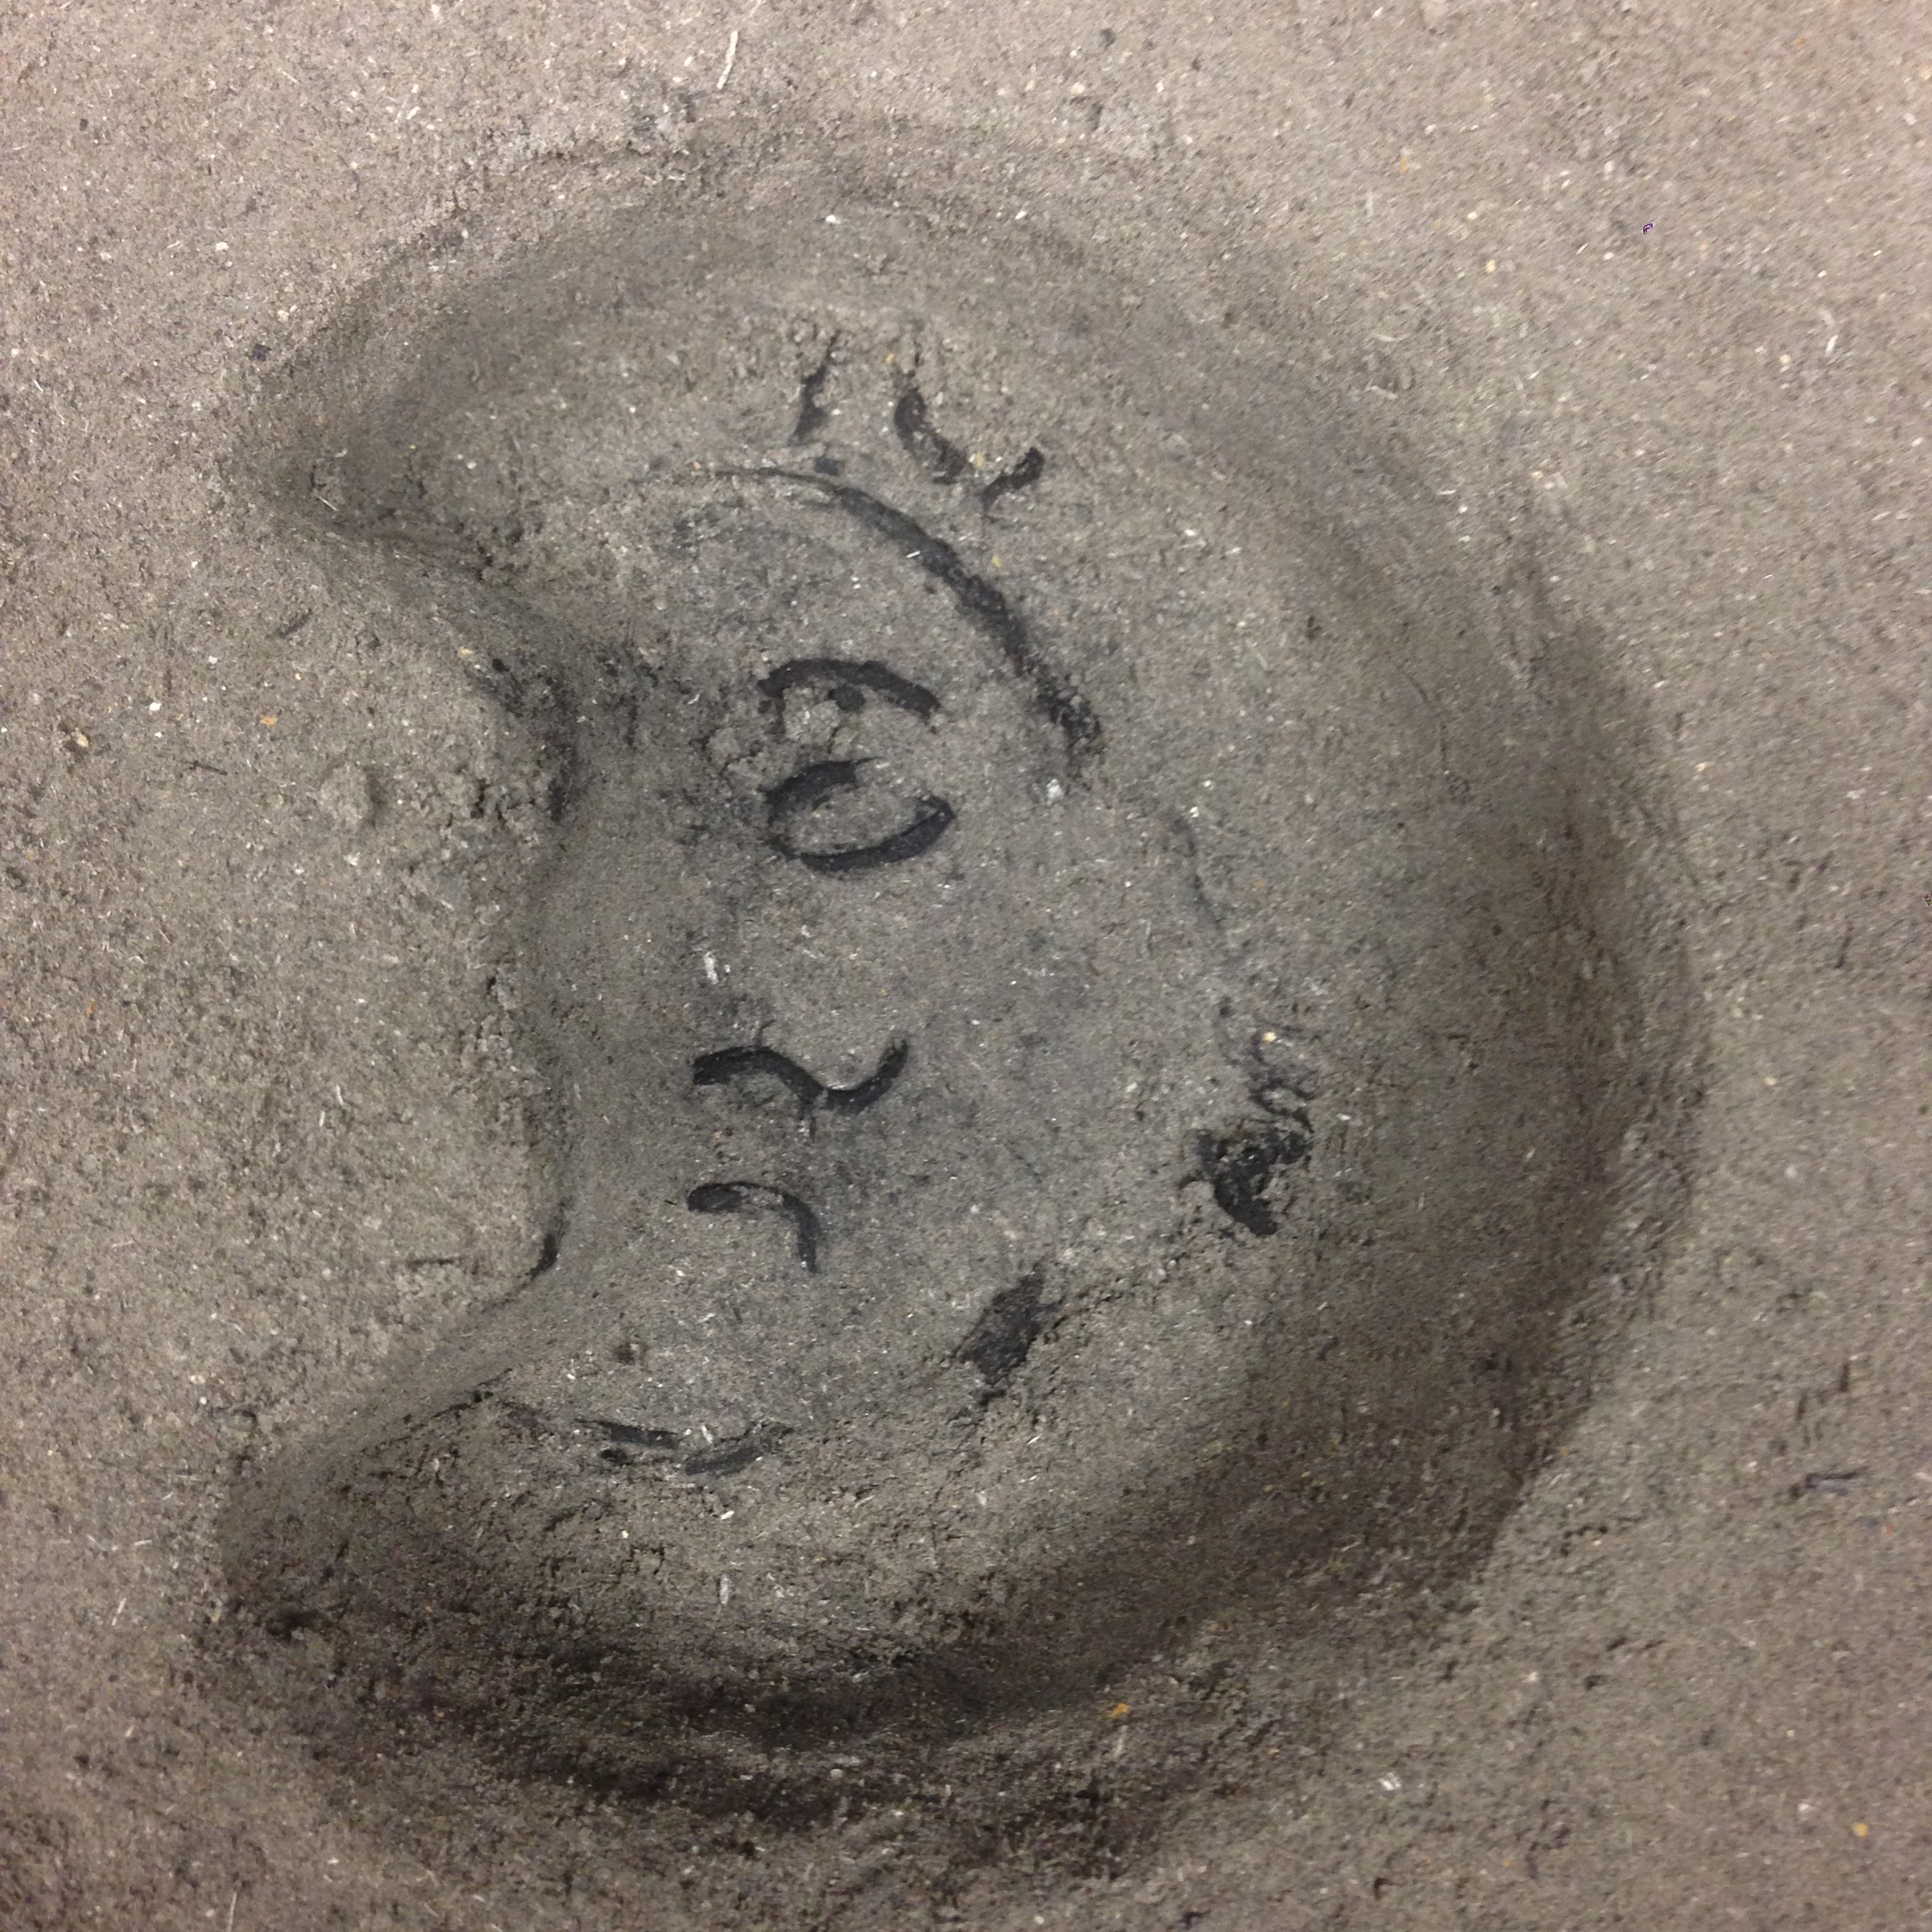
- I had to work quite carefully at the edges of the mold to get it out, as its outer ridges were uneven and not entirely flat. It came out mostly clean, though the ashes had flaked and shifted inside the mold press somewhat. Overall, the cast was disappointing - though I was able to neaten up the edges of the overall shape, only a few of the finer lines and none of the letters had taken into the ashes.
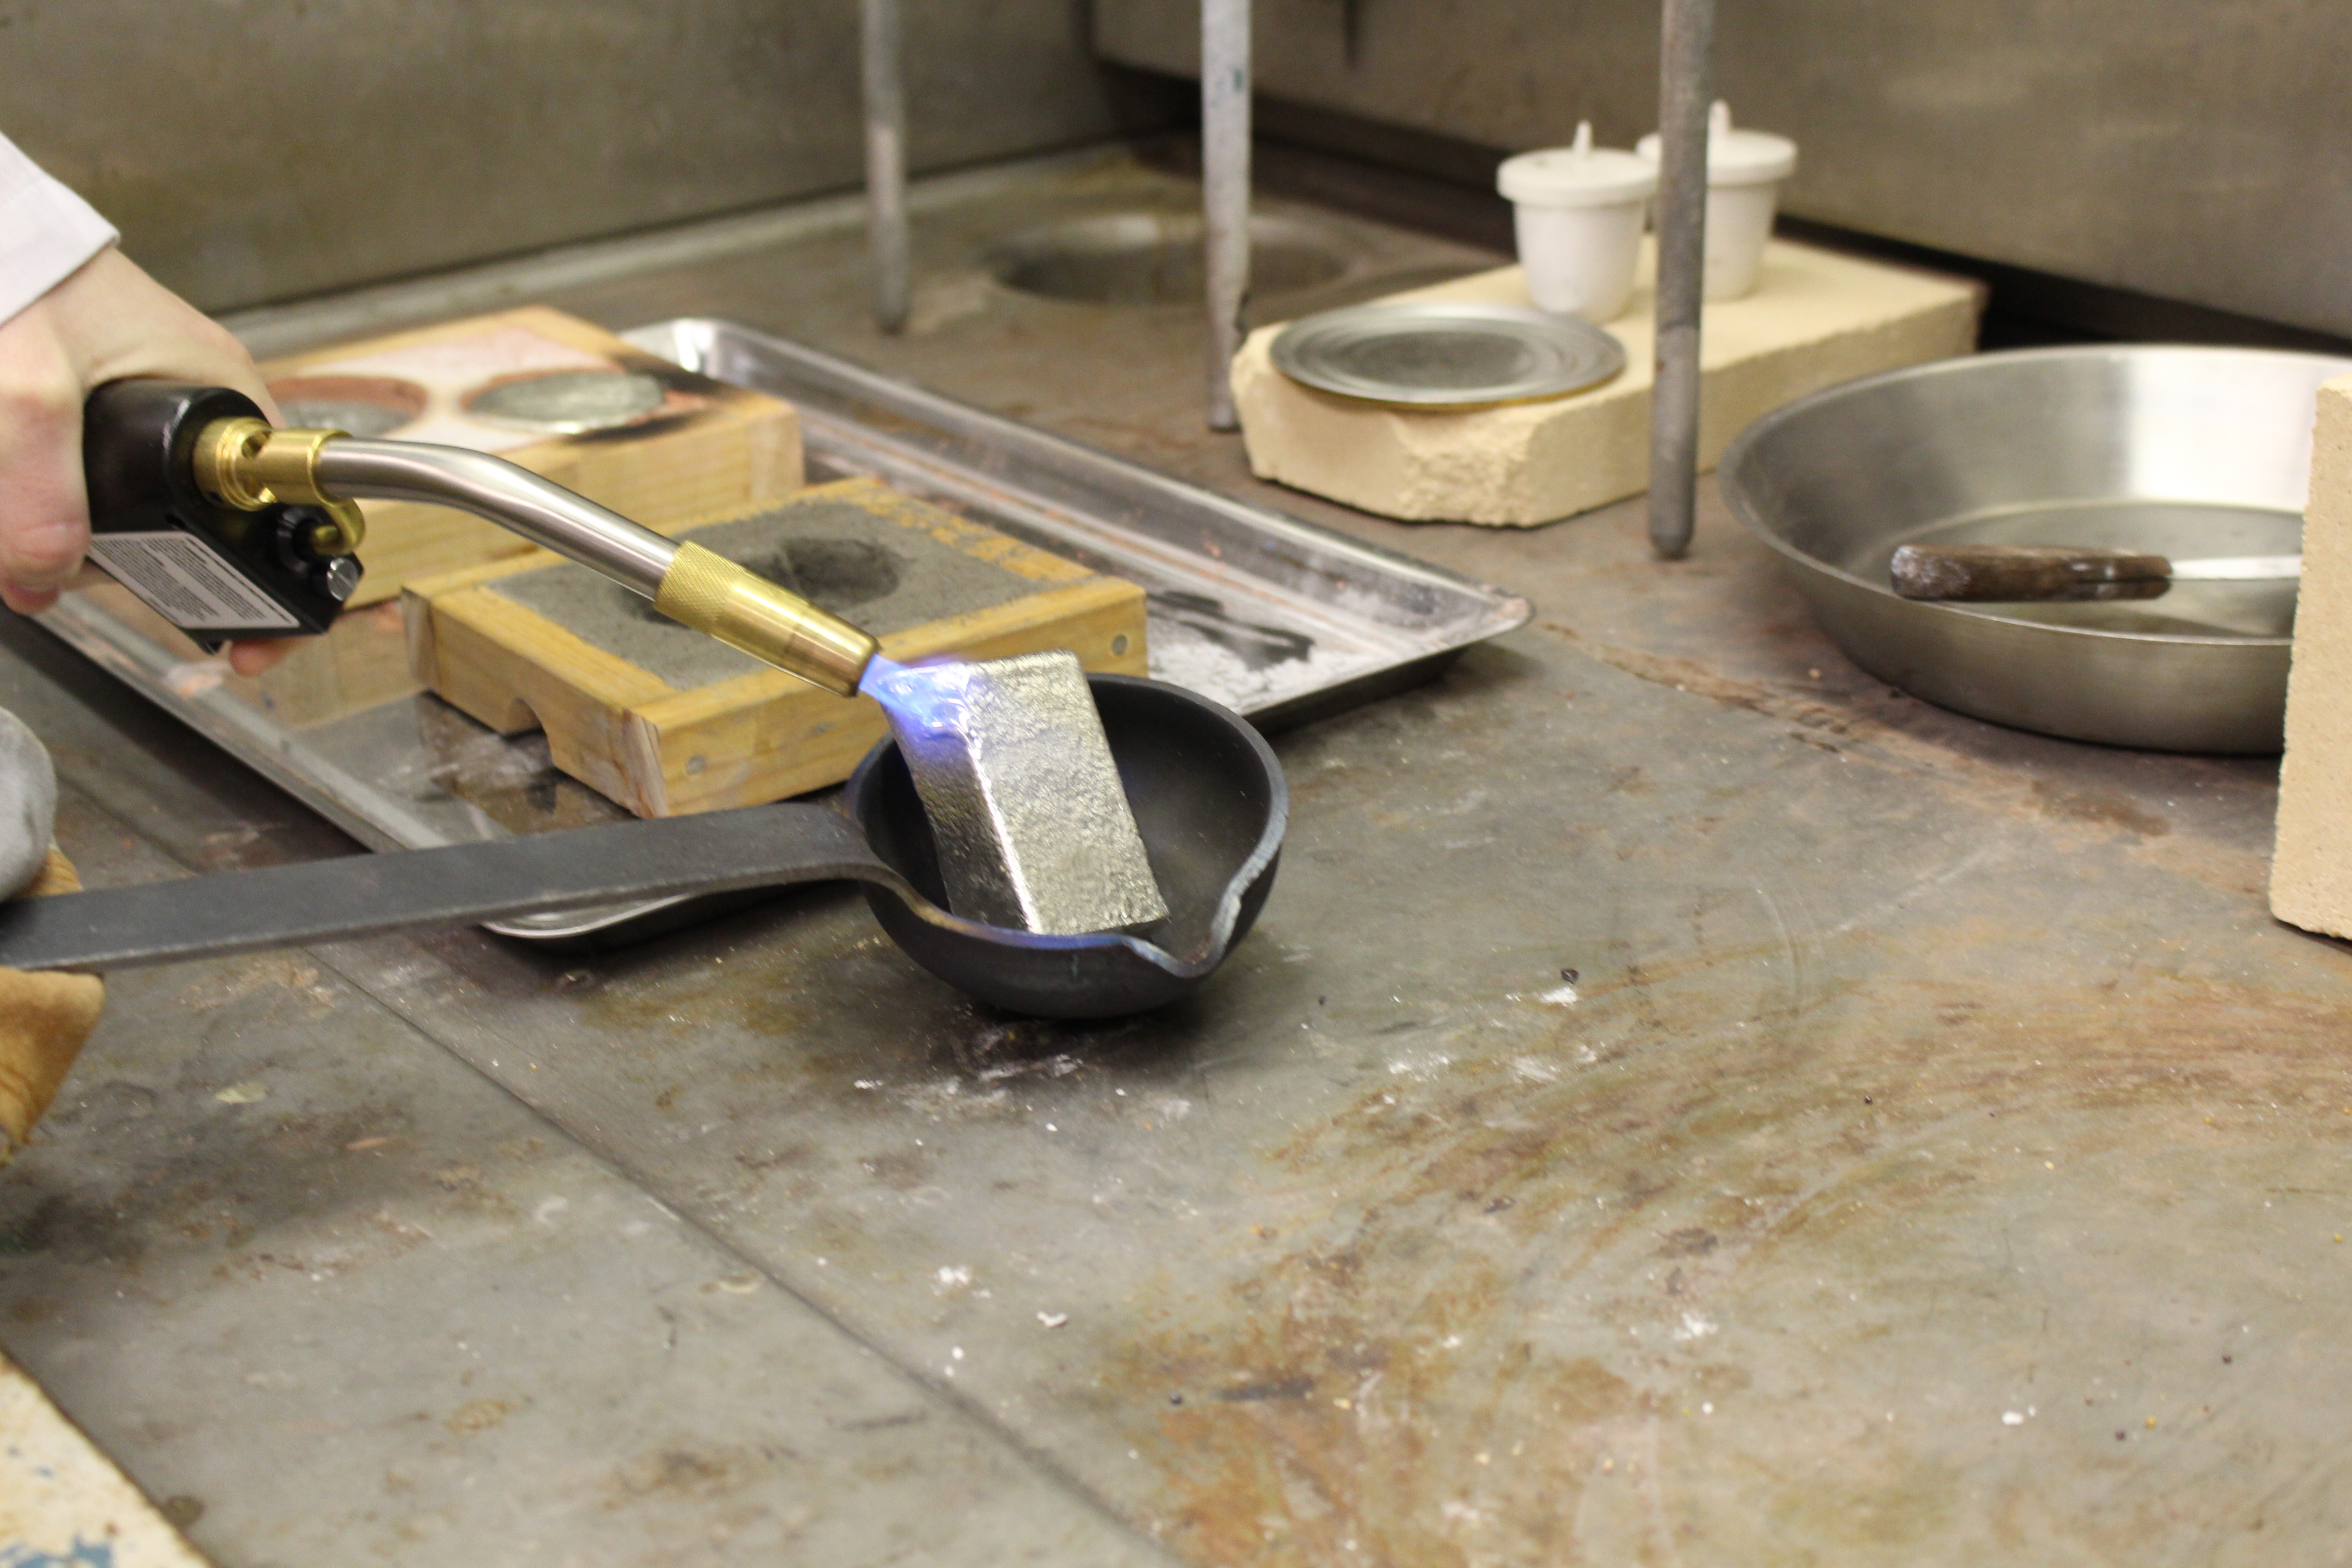
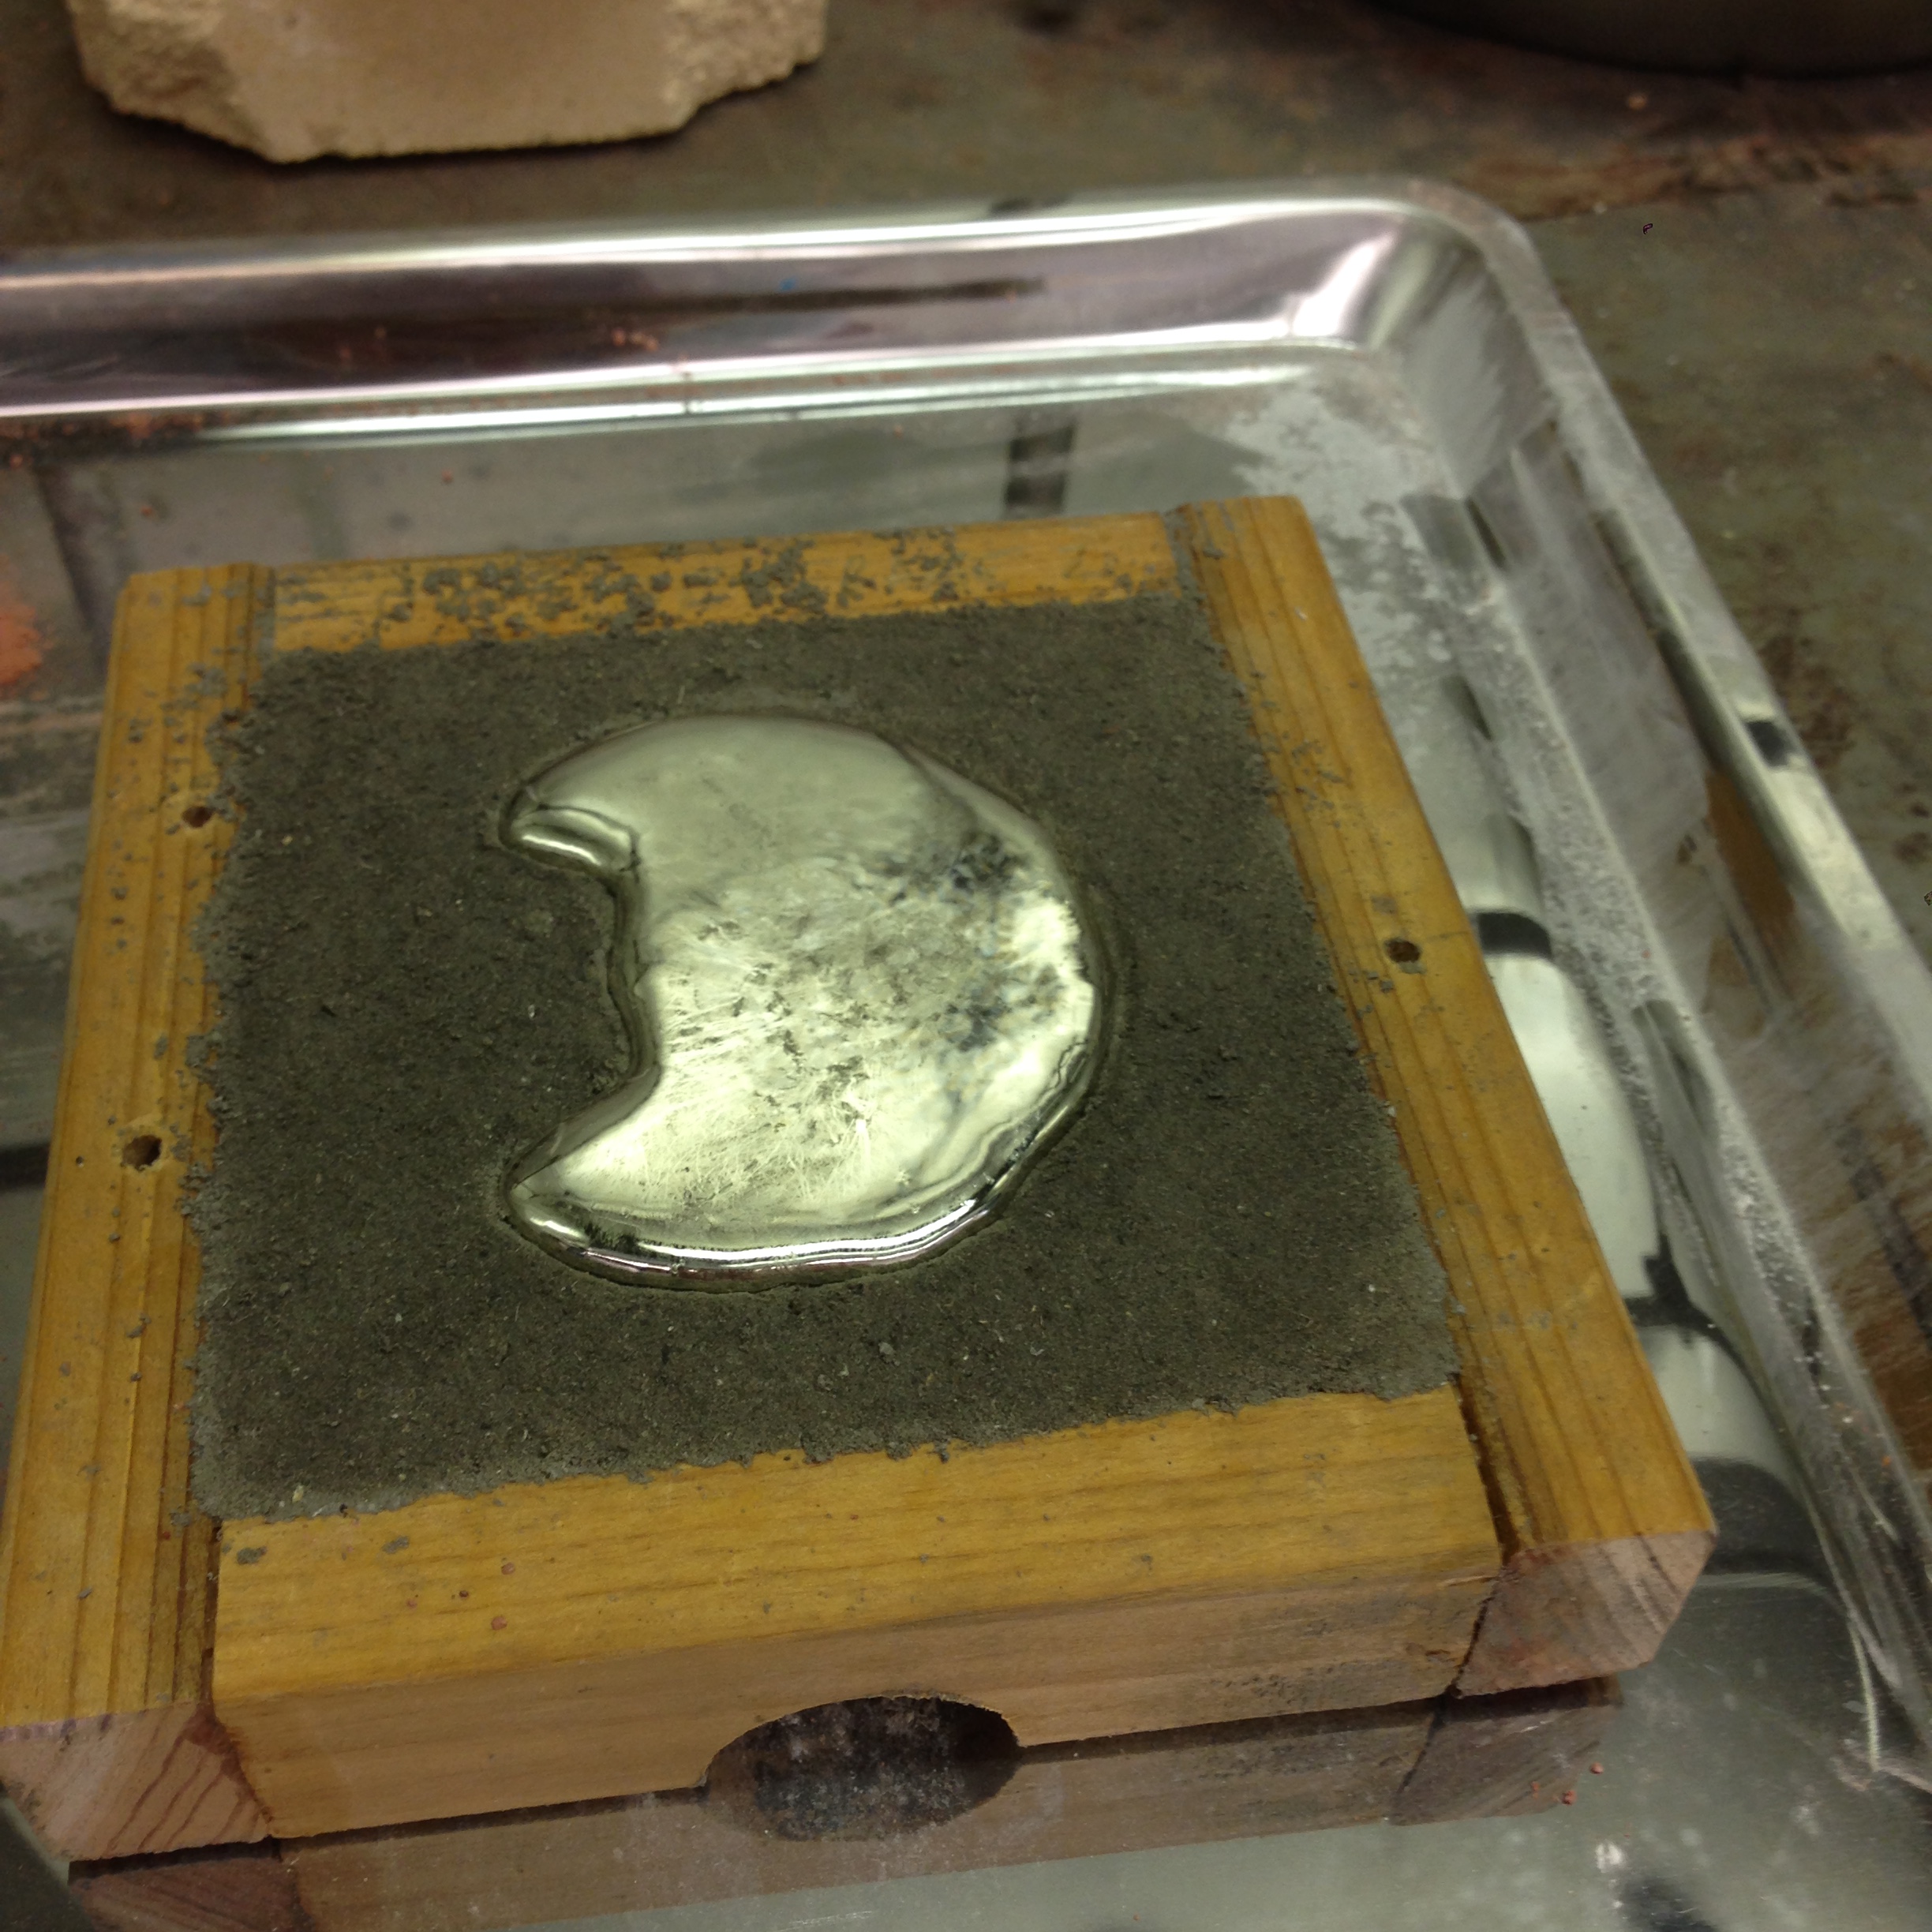
- I had little expectation of a second attempt being much better, so I decided to pour the tin. Jef and Joel showed me how to melt the tin under the fume hood - an entire bar was used and was needed for the deep mold - and I did so. The metal formed a sort of skin on top of it as it melted, but it didn't seem to affect the pour.
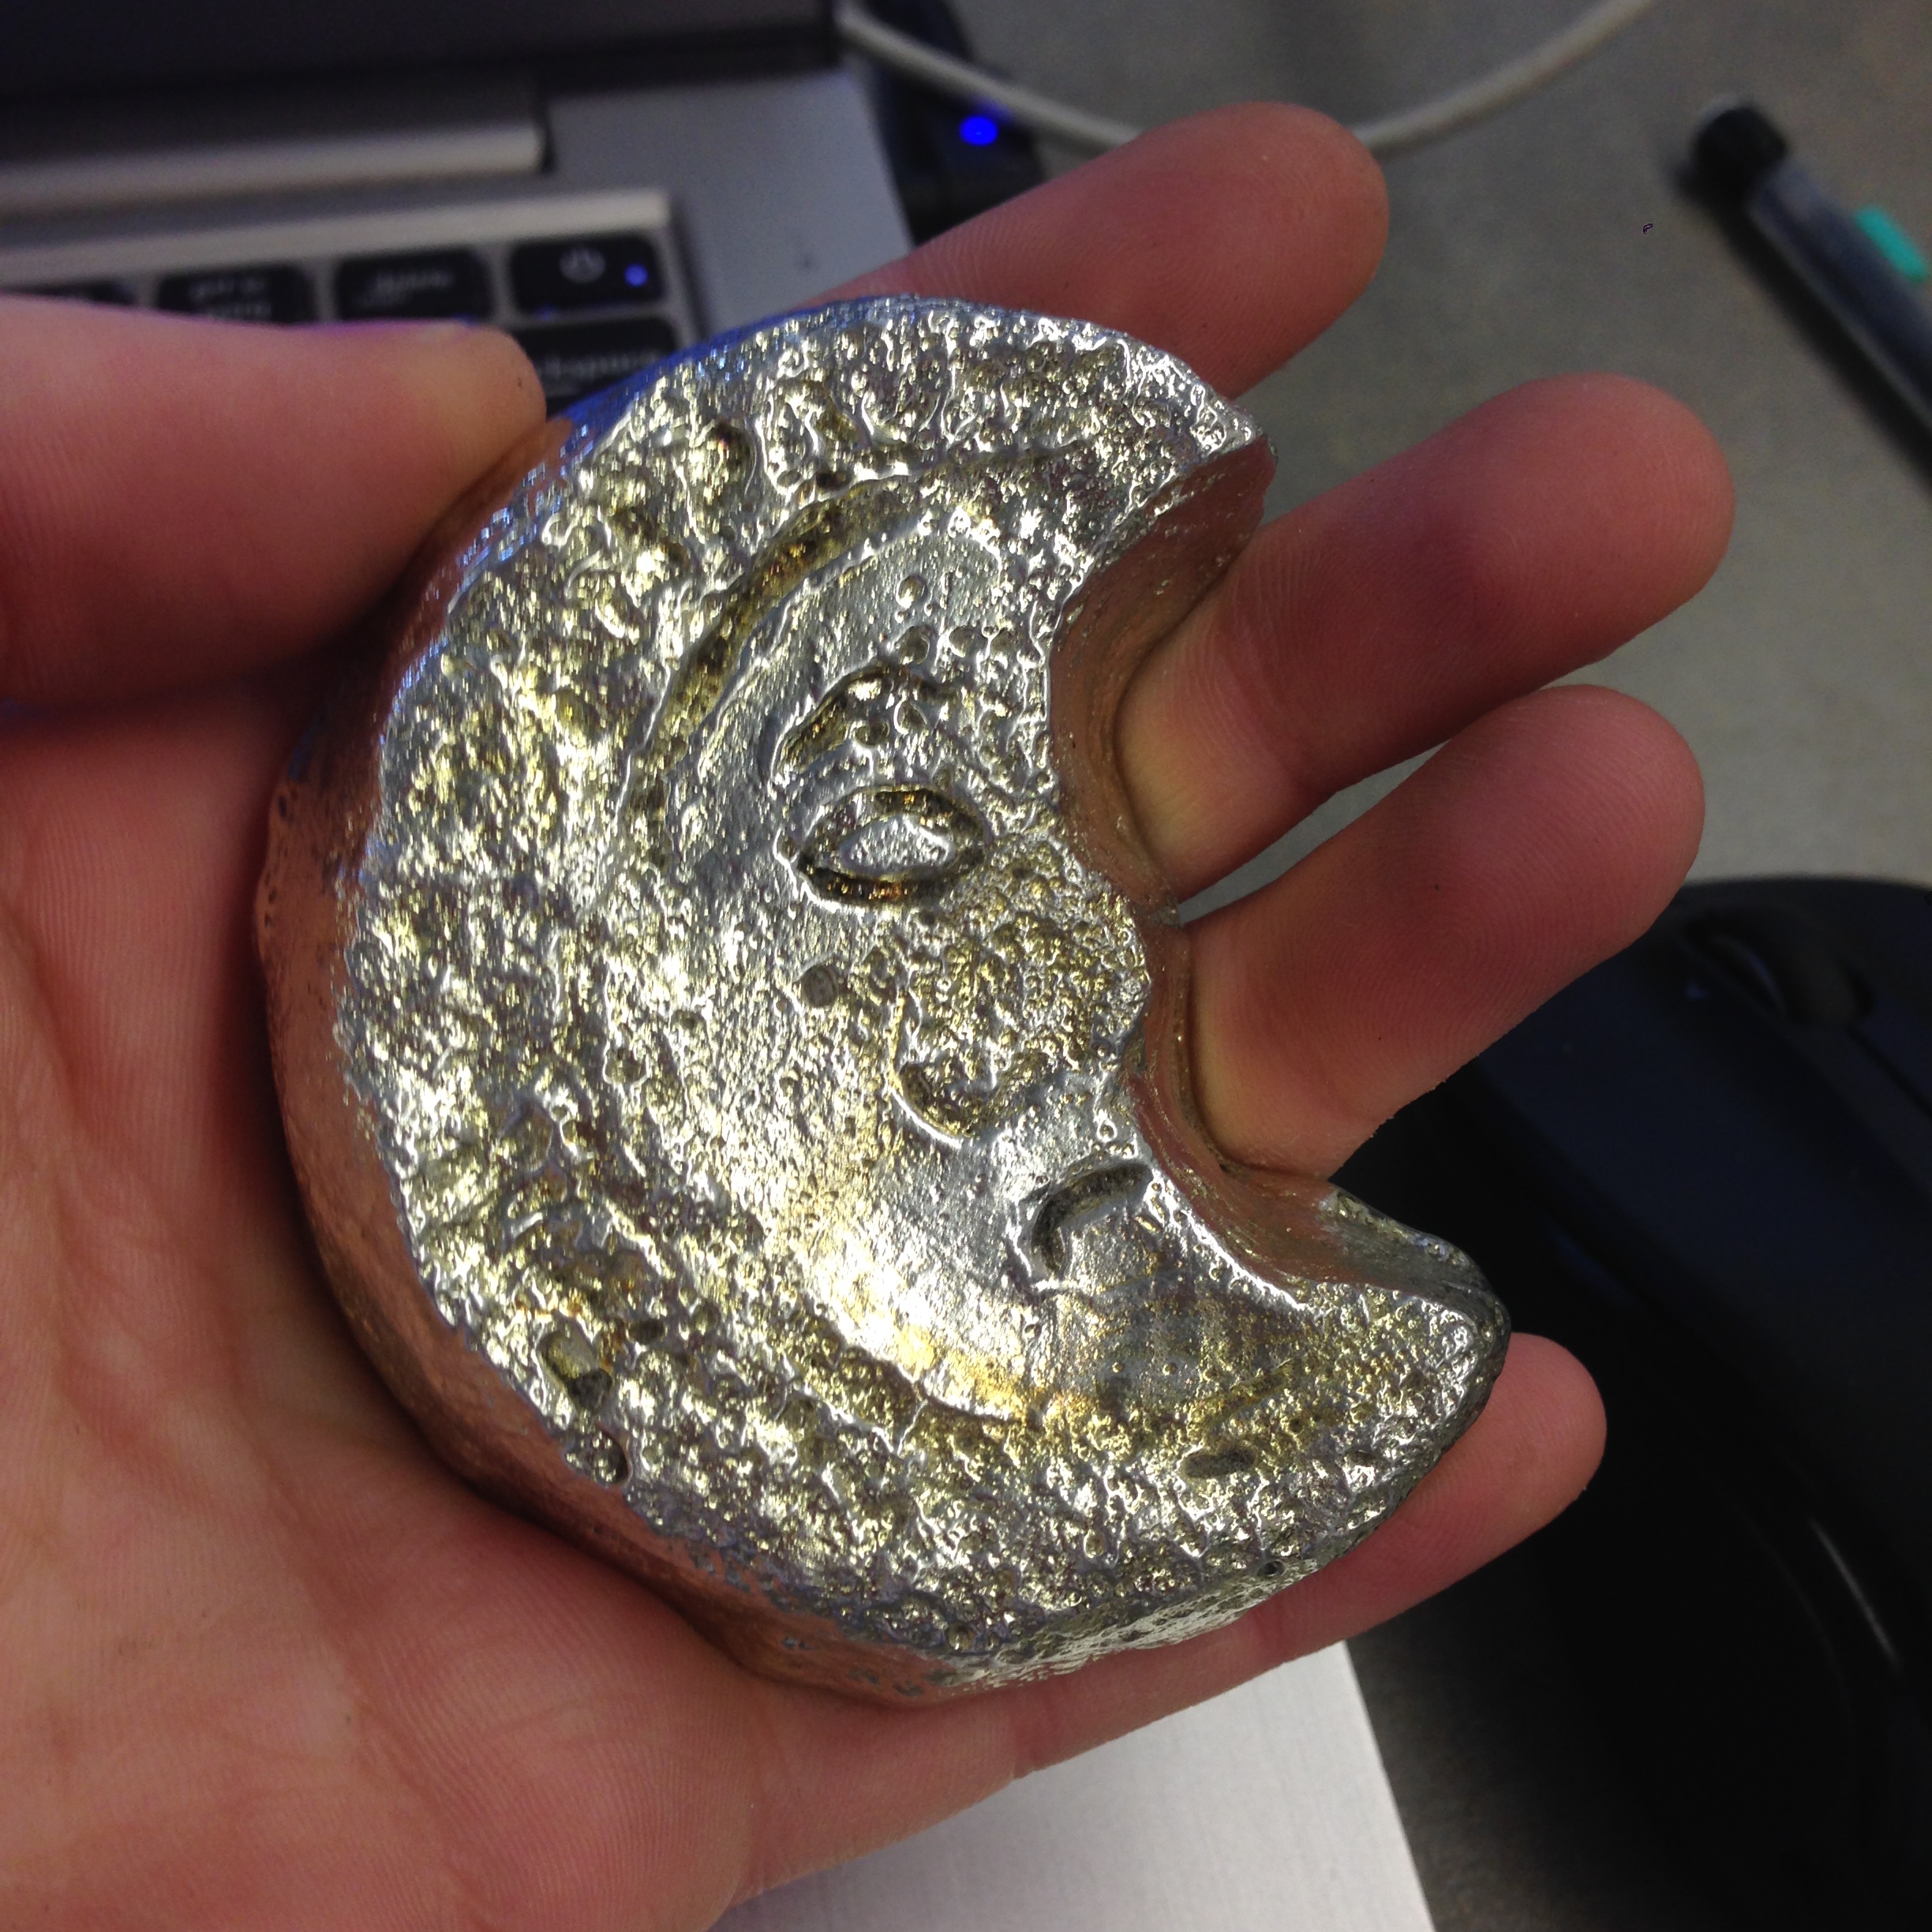
- After half an hour, I removed the still-warm tin from the mold and gathered the ashes to be used again for Steph's cast. A few more details than I had expected actually did come out in the metal, but the cast was still quite rough. The tin also had a golden sheen to it which was unexpected; we are not sure why that might have happened, though perhaps it could have been down to a chemical reaction between the tin and the ashes, or the wine.
